Peppermint ice cream is a crowd favorite holiday treat! Vanilla ice cream mixed with crushed peppermint served in a chocolate dipped waffle cone.

Fans of the peppermint ice cream served at Disneyland during the holidays will love this homemade version! Best of all, the option to make your very own chocolate dipped waffle cone studded with crushed candy canes.
This recipe does not use peppermint extract. I find that peppermint extract can be too overpowering. Instead, this ice cream is get its peppermint flavor from crushed candy canes.

Ice Cream Ingredients
- Heavy Cream : Also labeled as heavy whipping cream, it’s the thick fatty part of the milk that rises to the surface. It is different from whipping cream, which has slightly less fat. For this recipe, you may use either heavy cream or whipping cream. They results between the two are not noticeable.
- Milk : Use reduced fat 2% milk or whole milk. Do not use non-fat or skim milk, which will produce an icy textured ice cream.
- Egg Yolks : Recipe uses large sized egg yolks. Six large yolks is roughly 84 grams. If you use extra-large yolks, measure out yolks by weight. Yolks act as a stabilizer and emulsifier.
- Peppermint Candy : Any hard peppermint candy works including candy canes, round peppermint candies, peppermint mint balls, or peppermint candy sticks. No need to wait for the holidays, you can purchase peppermint candy online all year long!
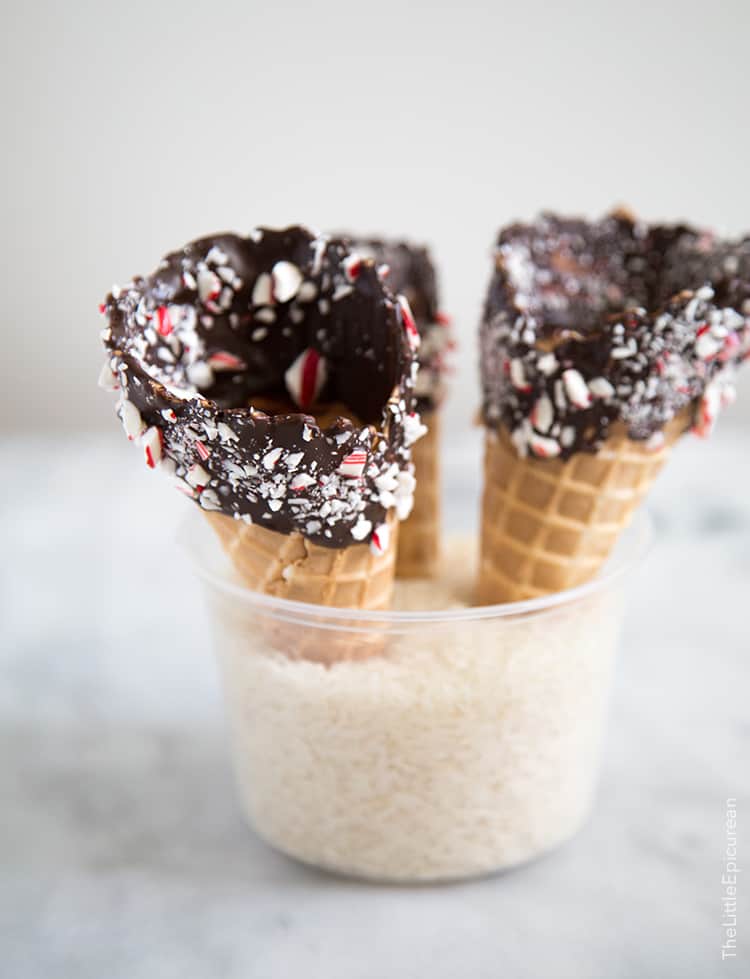
DIY Chocolate Dipped Cones
Grab your favorite store bought waffle cones, chocolate, and peppermint candies.
Melt your choice of chocolate (dark, semi-sweet, or white chocolate). Dip the waffle cones into the melted chocolate and immediately sprinkle with chopped peppermint candies.
Tip: Place chocolate dipped waffle cones in a container filled with uncooked rice (or beans) to allow cones to dry standing upright.
Go the extra mile and use a waffle ice cream cone maker to make cones from scratch!
How to Infuse Peppermint Flavor
I had to consider all my options before tackling this recipe. Should I infuse the crushed peppermint in the ice cream base? Should I use mint extract? How about peppermint extract?
I decided on making a super creamy vanilla ice cream base. Crushed candy canes are added during the final minutes of churring.
How does peppermint ice cream get that color?
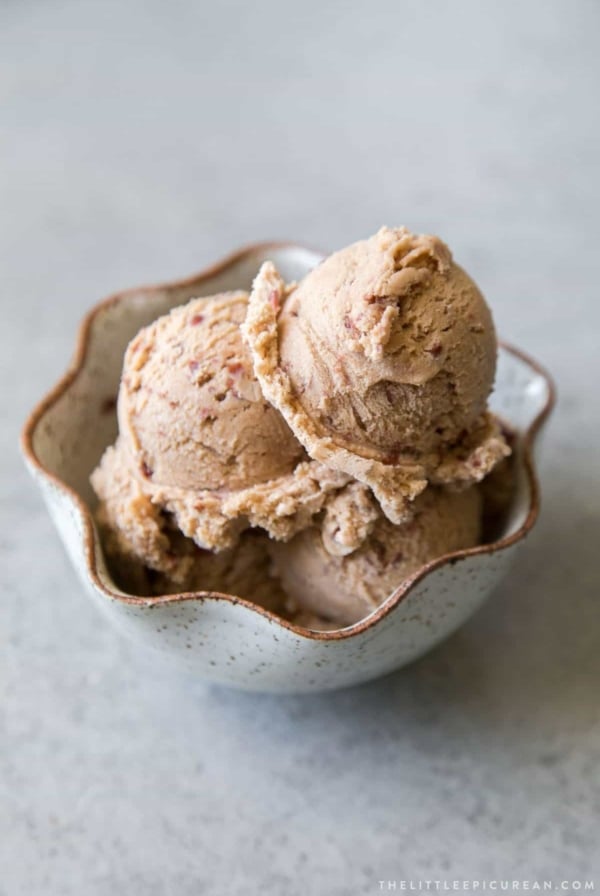
The ice cream is initially pale yellow-white. After a few hours in the freezer, the vanilla ice cream takes on the light pink hues of the candy cane.
The peppermint flavor is forward, yet not overpowering. However, if you want a blast of peppermint, go ahead and add one to two teaspoons of pure peppermint extract.
Recommended Ice Cream Maker
I personally use this compressor ice cream machine. It’s perfect if you make ice cream and sorbet often. This version does not require freezing the canister ahead of time.
I recommend this simpler ice cream maker for infrequent ice cream making. I used this one for several years before upgrading.
The canister does need to be frozen for 24 hours prior to use. I suggest keeping in the freezer at all times just in case you ever need it.
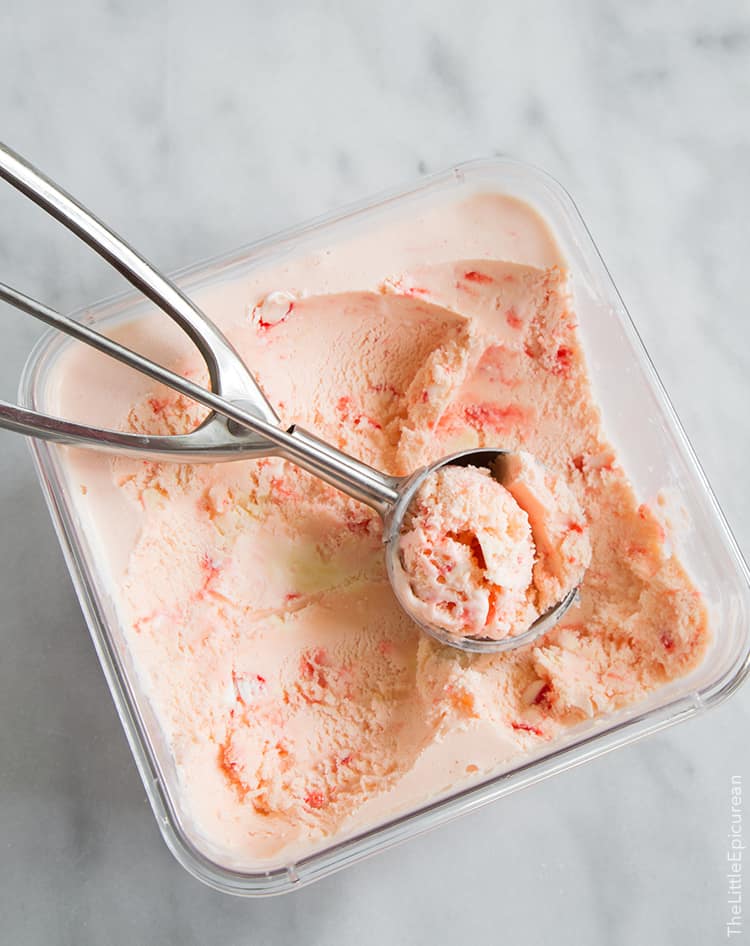
Ice Cream Storage Tips
For best results, keep homemade ice cream covered in an airtight container stored in the coldest part of the freezer.
I recommend using this 2 quart Cambro container. It’s a durable, stackable container. It’s great for homemade ice cream and sorbet recipe since it can hold up to 2 quarts.
This reusable ice cream tub or tight fitting silicone lid freezer storage container are also great options.
Keep ice cream for up to two weeks. Overtime, it will inevitability develop freezer burn, dry out, or absorb other flavors from the freezer.
Related Peppermint Dessert Recipes
- Peppermint Bark Rolls
- Chocolate Peppermint Cake
- Candy Cane Cookies and Cream Cake
- Peppermint Bark Marshmallow Cereal Bars
Peppermint Ice Cream

Equipment
- ice cream machine
Ingredients
- 2 cups heavy cream, (454 g)
- 1 cup milk, (227 g)
- ¼ cup granulated sugar, (50 g)
- 6 large egg yolks, (84 g)
- ½ teaspoon pure vanilla extract
- 1 cup crushed candy cane (peppermint candies)
Chocolate Dipped Cones:
- 1 ½ cup chocolate of choice
- crushed candy cane (peppermint candies), as needed
- 6 waffle cones
Instructions
- In a medium pot, bring cream, milk, and 1 Tbsp of sugar to boil. Meanwhile, in a large bowl whisk together egg yolks and remaining sugar. Once milk begins to boil, lower heat.
- Temper hot milk in sugar-yolk mixture. Slowly add hot milk into yolks about ¼ cup at a time, whisking to distribute heat. Once all the milk has been added, transfer mixture back into the pot.
- Stir over low-medium heat until mixture reaches nappe consistency, or 180°F on a kitchen thermometer. Remove from heat and stir in vanilla. Transfer to an airtight container and let mixture mature in fridge overnight (at least 6 hours).
- Freeze mixture in ice cream maker according to your unit's instructions. Once the volume has increased by half and has reached a soft serve consistency, add crushed candy cane. Continue to churn until candy cane has been distributed. Transfer ice cream to a freezer safe container. Freezer for at least 30 minutes before serving.
Chocolate Dipped Crushed Peppermint Waffle Cones:
- Melt chocolate at half power in the microwave for 20 second intervals or using a double boiler until smooth.
- Dip waffle cones into melted chocolate. If desired use a spoon to coat the inside of the waffle cone with chocolate. Immediately sprinkle crushed candy canes.
- Set in a bowl with uncooked rice to allow chocolate cones to dry standing upright.
Notes
- Use reduced fat 2% milk or whole milk
- Use chopped chocolate, chocolate chips, or chocolate morsels. Be careful not to burn or overheat the chocolate.
Nutrition
Nutrition information is automatically calculated, so should only be used as an approximation.
 Like this recipe? Rate & comment below!


despite all the times i’ve gone to disneyland, none have been during the holidays UNTIL THIS YEAR. and it was so magical, i couldn’t deal. i tried one of these and loved the ice cream, but the cone was too minty for me! your cone seems more moderate with the crushed peppermint (:
I still count down the days until Christmas…well, at least until peppermint ice cream hits the shelves. It’s my crazy winter obsession. I’ll take a double scoop sitting by a fire at Disneyland any way of the week (um – “waiting until next week to visit Disneyland”…jealous).
What a perfect holiday ice cream! Sounds delicious!
Thanks Maya! :)
Peppermint ice cream is my FAVE this time of year! For some reason I find myself craving all kinds of ice cream more in the winter than summer, actually! I love love that the pink color comes from the candy canes, I thought for sure you added food coloring! Merry Christmas!
I enjoy ice cream during the colder months because the ice cream doesn’t melt right away and I am able to really savor it :) Merry Christmas, Katie!
This is AMAZING. Well done! I just might give it a try for an upcoming dinner party.
Thanks so much Kimberly! :)
Hello, LOVE the look of this ice cream!! I was wondering if there was anyway to make this without the ice cream maker? I’ve never made my own ice cream before, but this looks so irisistable, I fell inspired and festive! :D
Hi Sandra! I haven’t tested this recipe without an ice cream maker. If you don’t have an ice cream maker you could totally try making a semi-freddo version of this. OR you could also buy your favorite vanilla ice cream and stir in some crushed candy canes for a quick fix :)