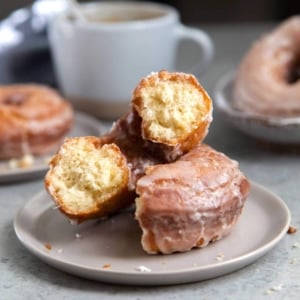
Fry up a batch of these brown butter glazed old fashioned donuts! Invite some friends over because these are best enjoyed fresh from the fryer.
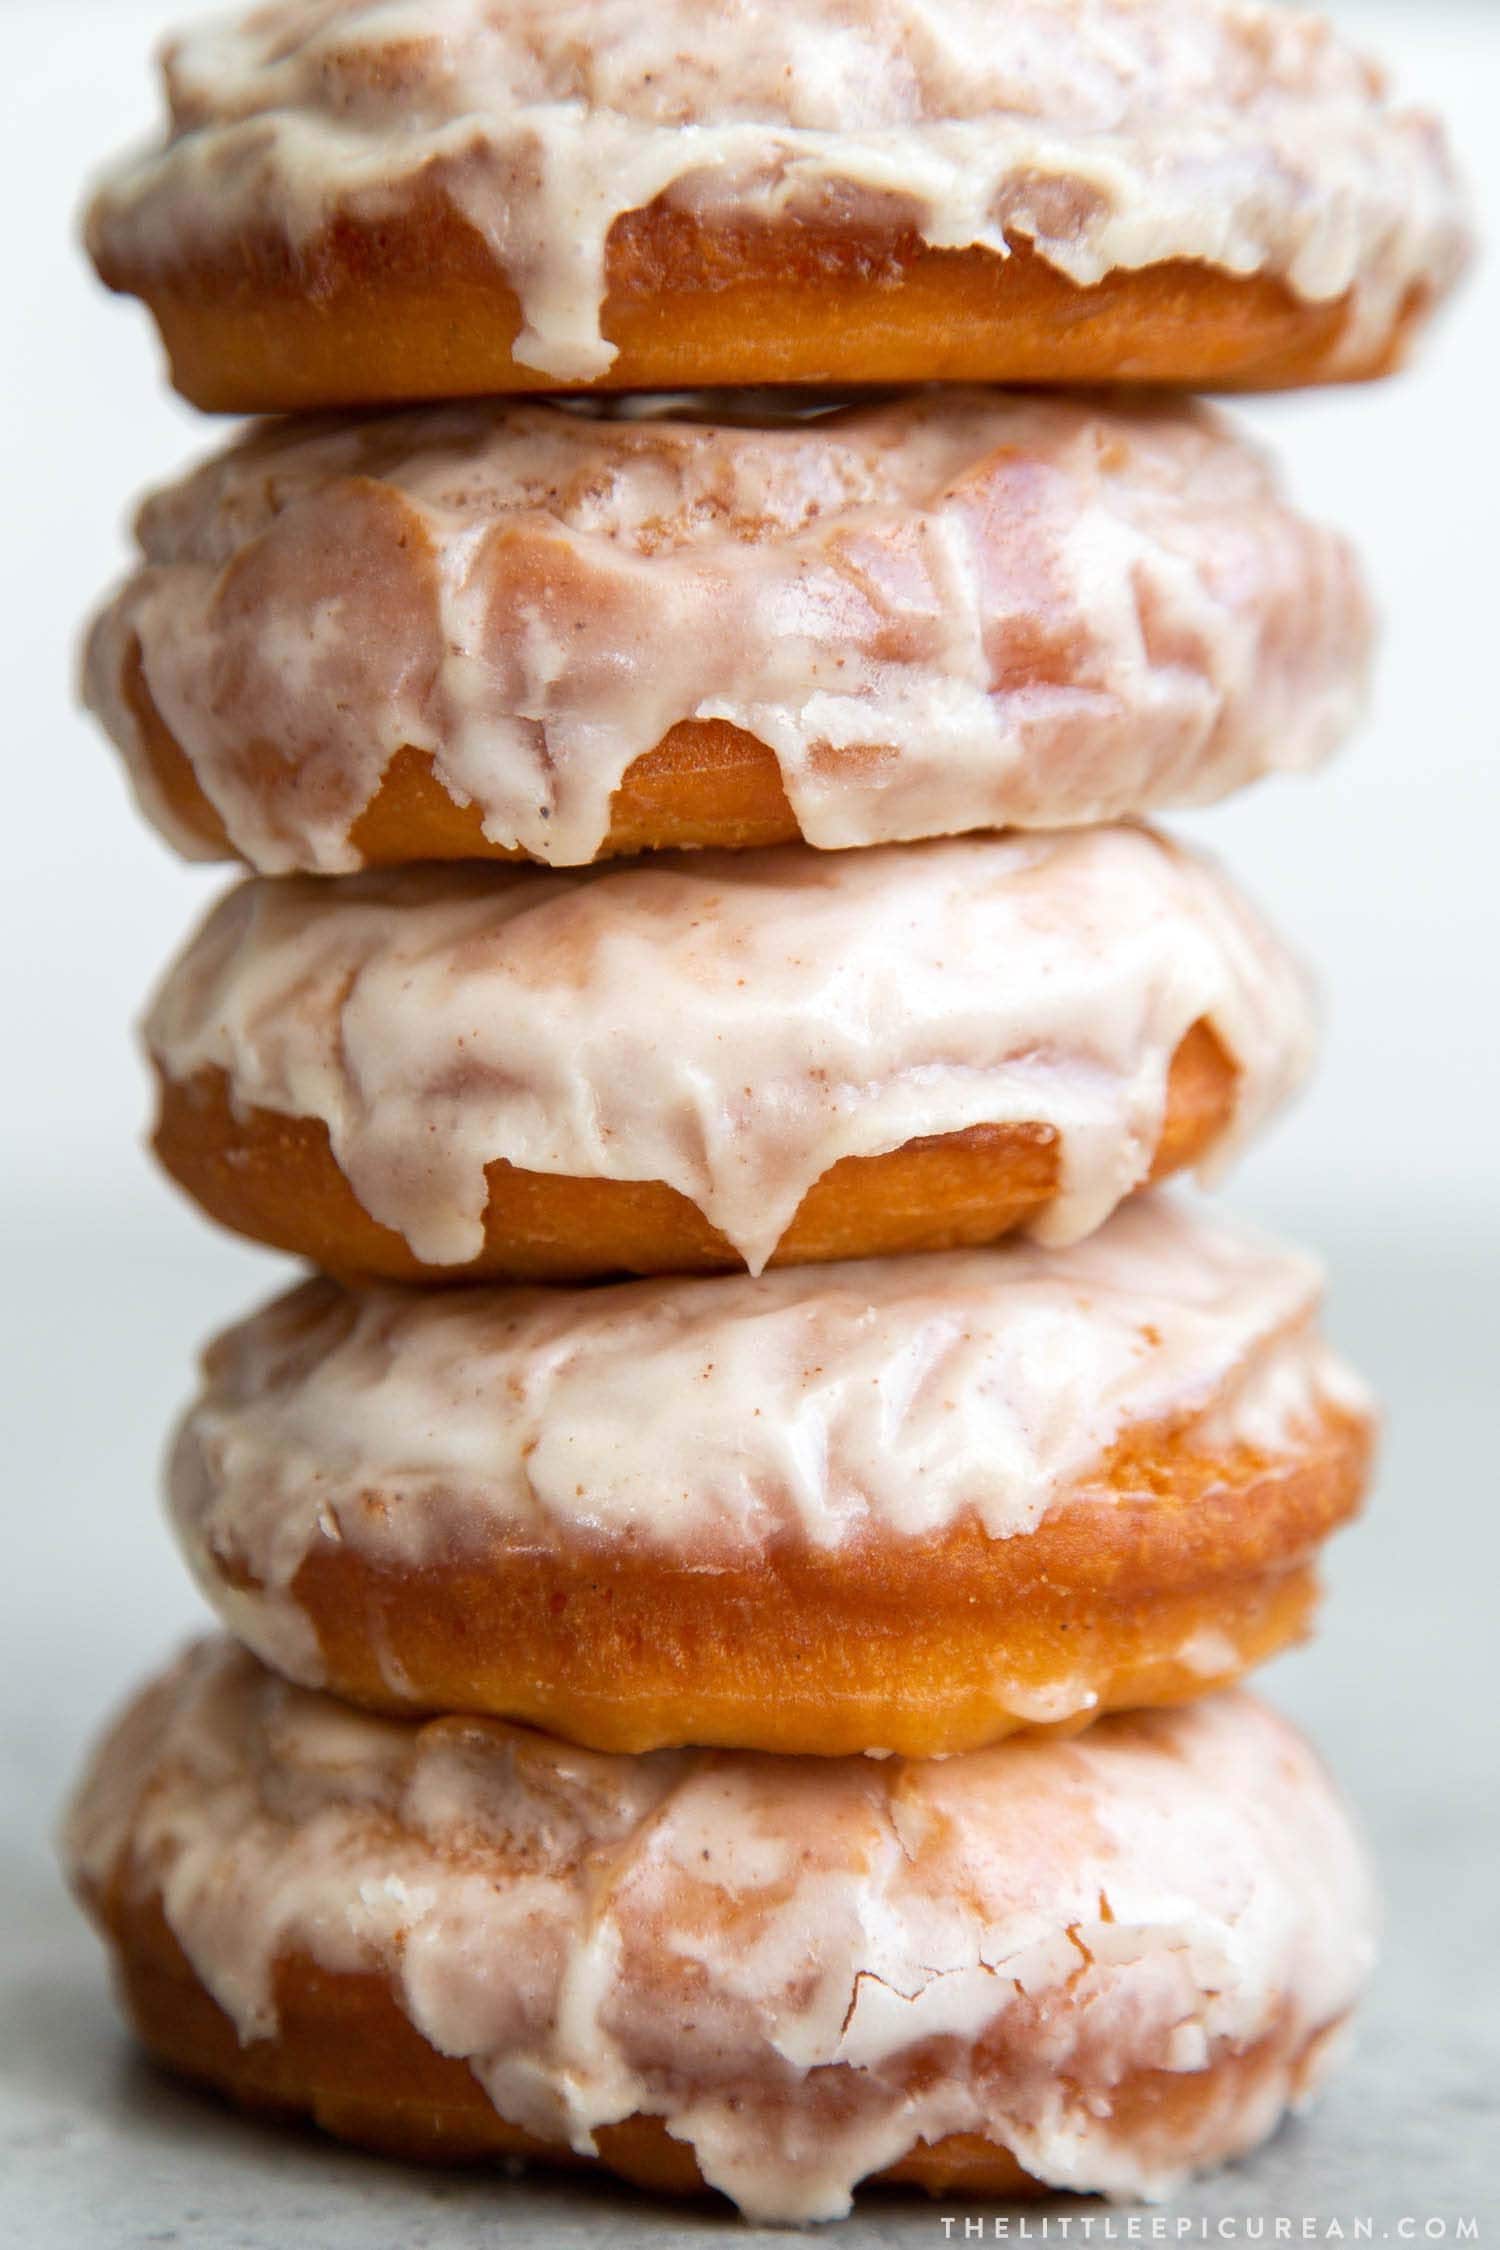
To me, donuts are the ultimate comfort food. They can be enjoyed any time of day.
It’s no wonder why so many 24-hour donut shops exist. Whether you crave these fried sweet treats at 9am or midnight… donuts are always a good idea!
These old fashioned donuts are special. They’re glaze with nutty, rich brown butter.
The brown brown adds an extra pop of flavor that keeps you coming back for another bite.
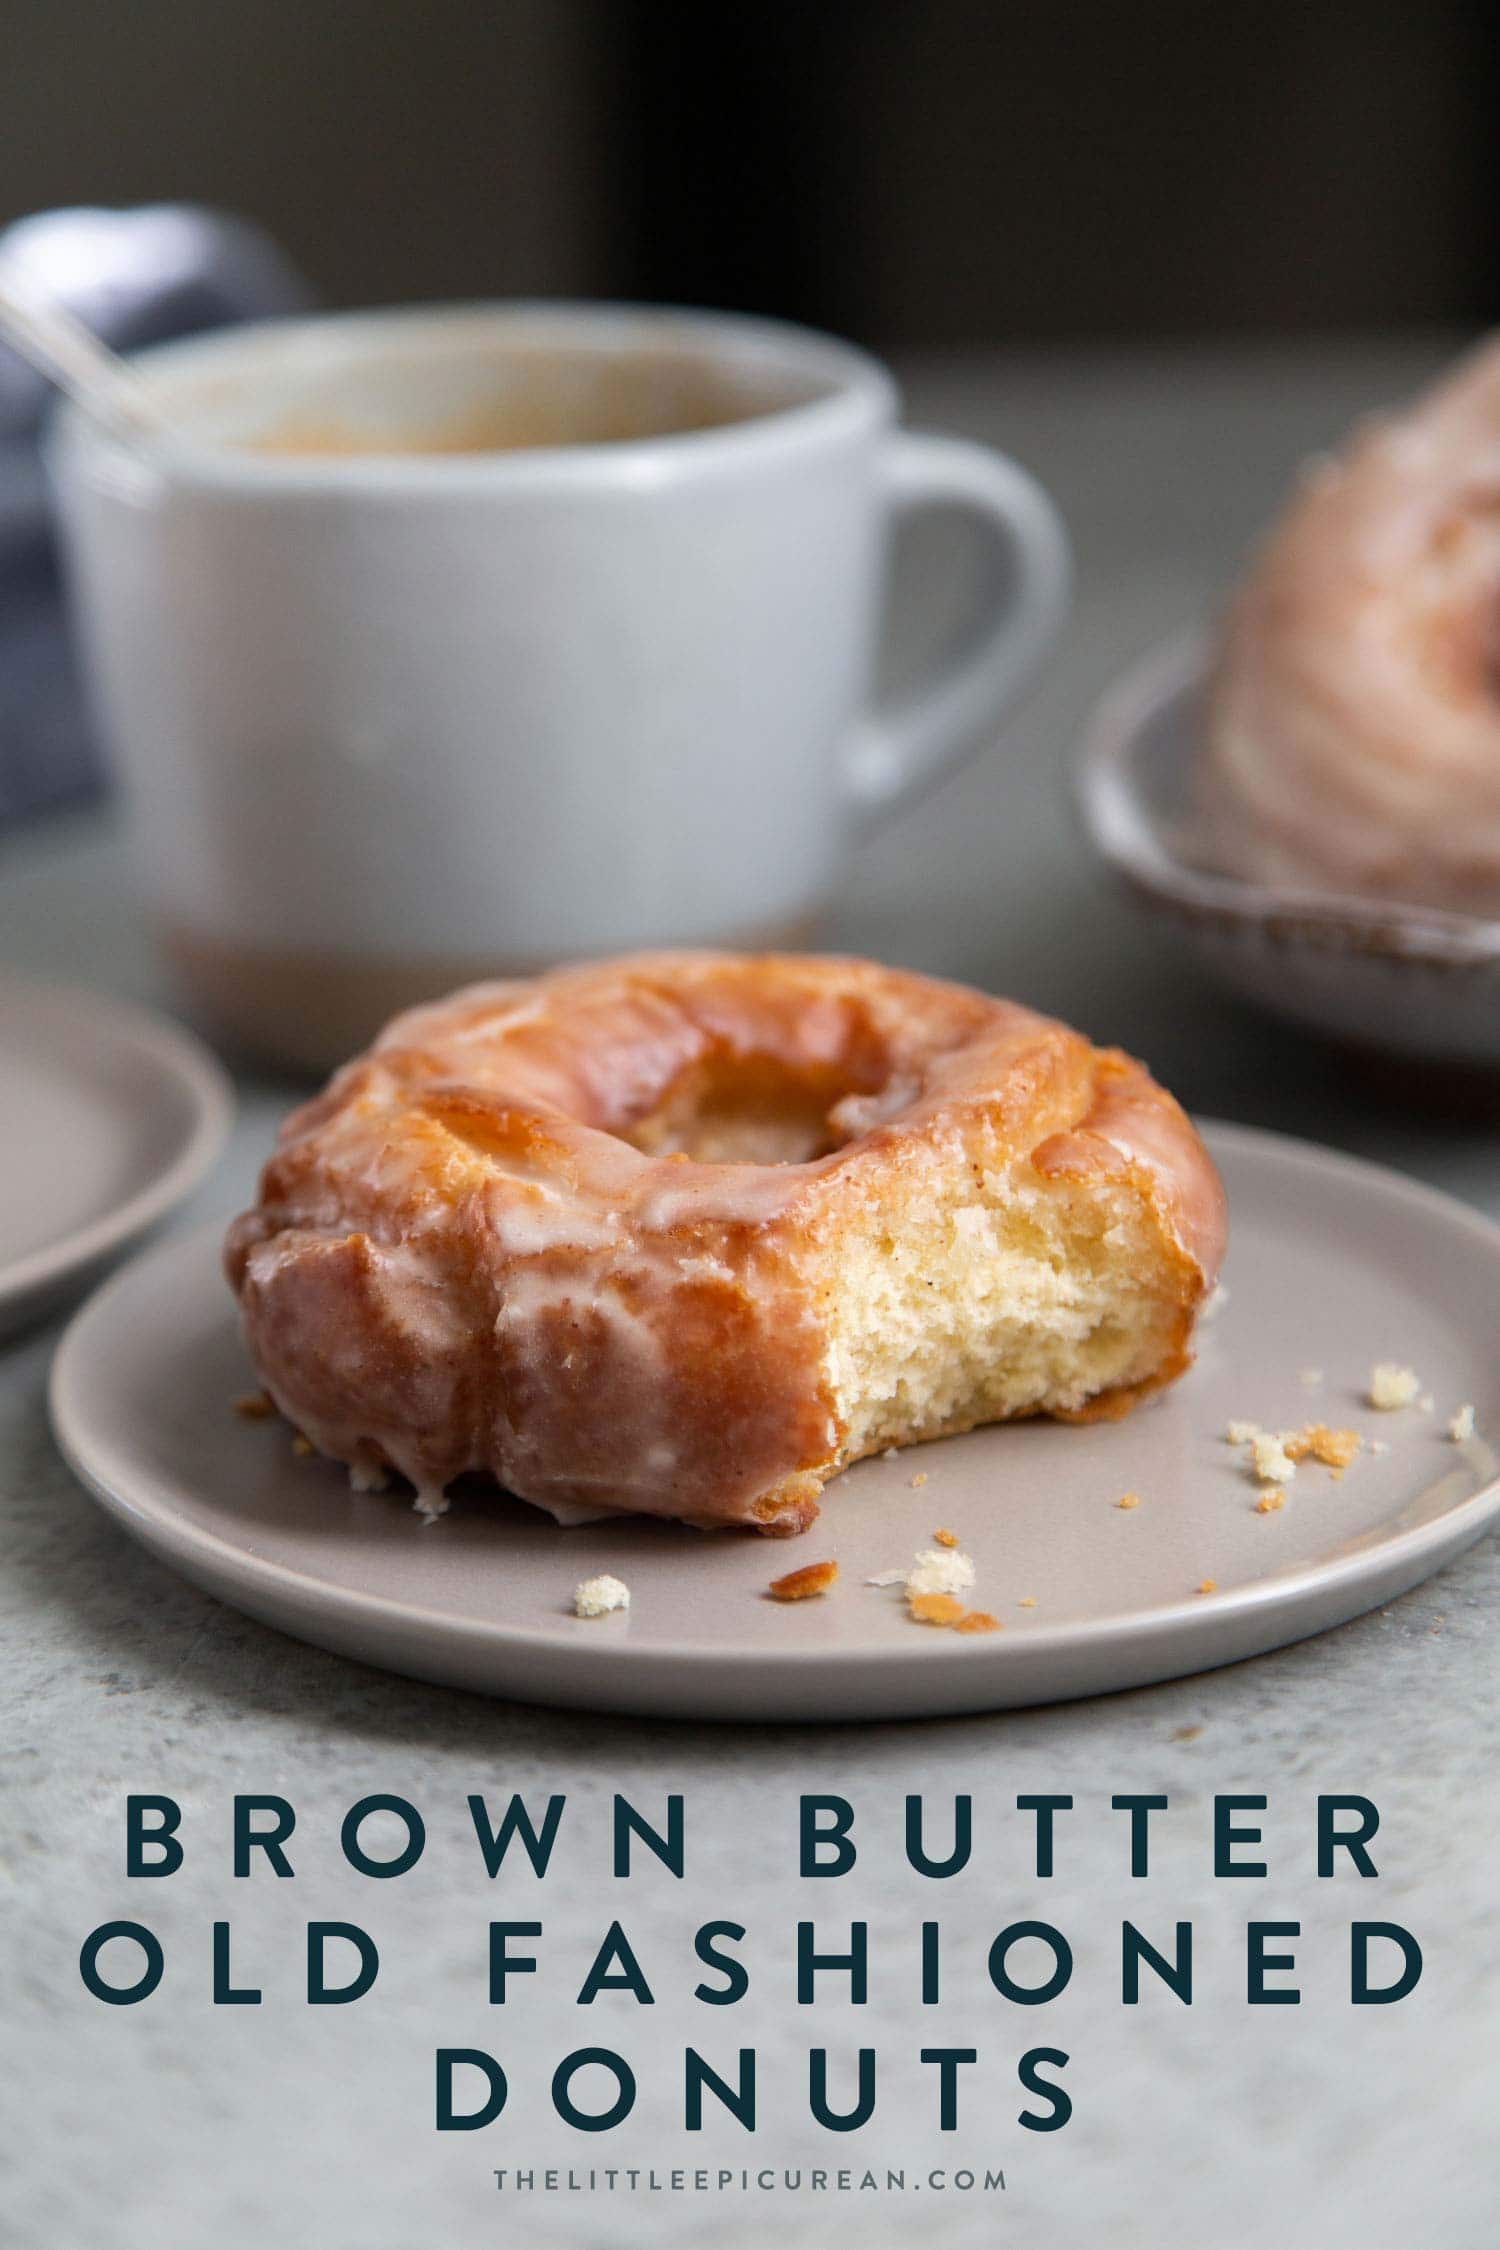
Table of Contents
Old Fashioned Donuts
Have you checked out the donut section of the recipe index? My love for these portable fried goodies is blatantly obvious.
While old fashioned donuts are suitable year round, these special brown butter glazed ones are perfect for autumn and winter.
The inviting warm flavors of the brown butter glaze makes you yearn for cozy sweaters, fluffy blankets, and warm mugs of hot cocoa.
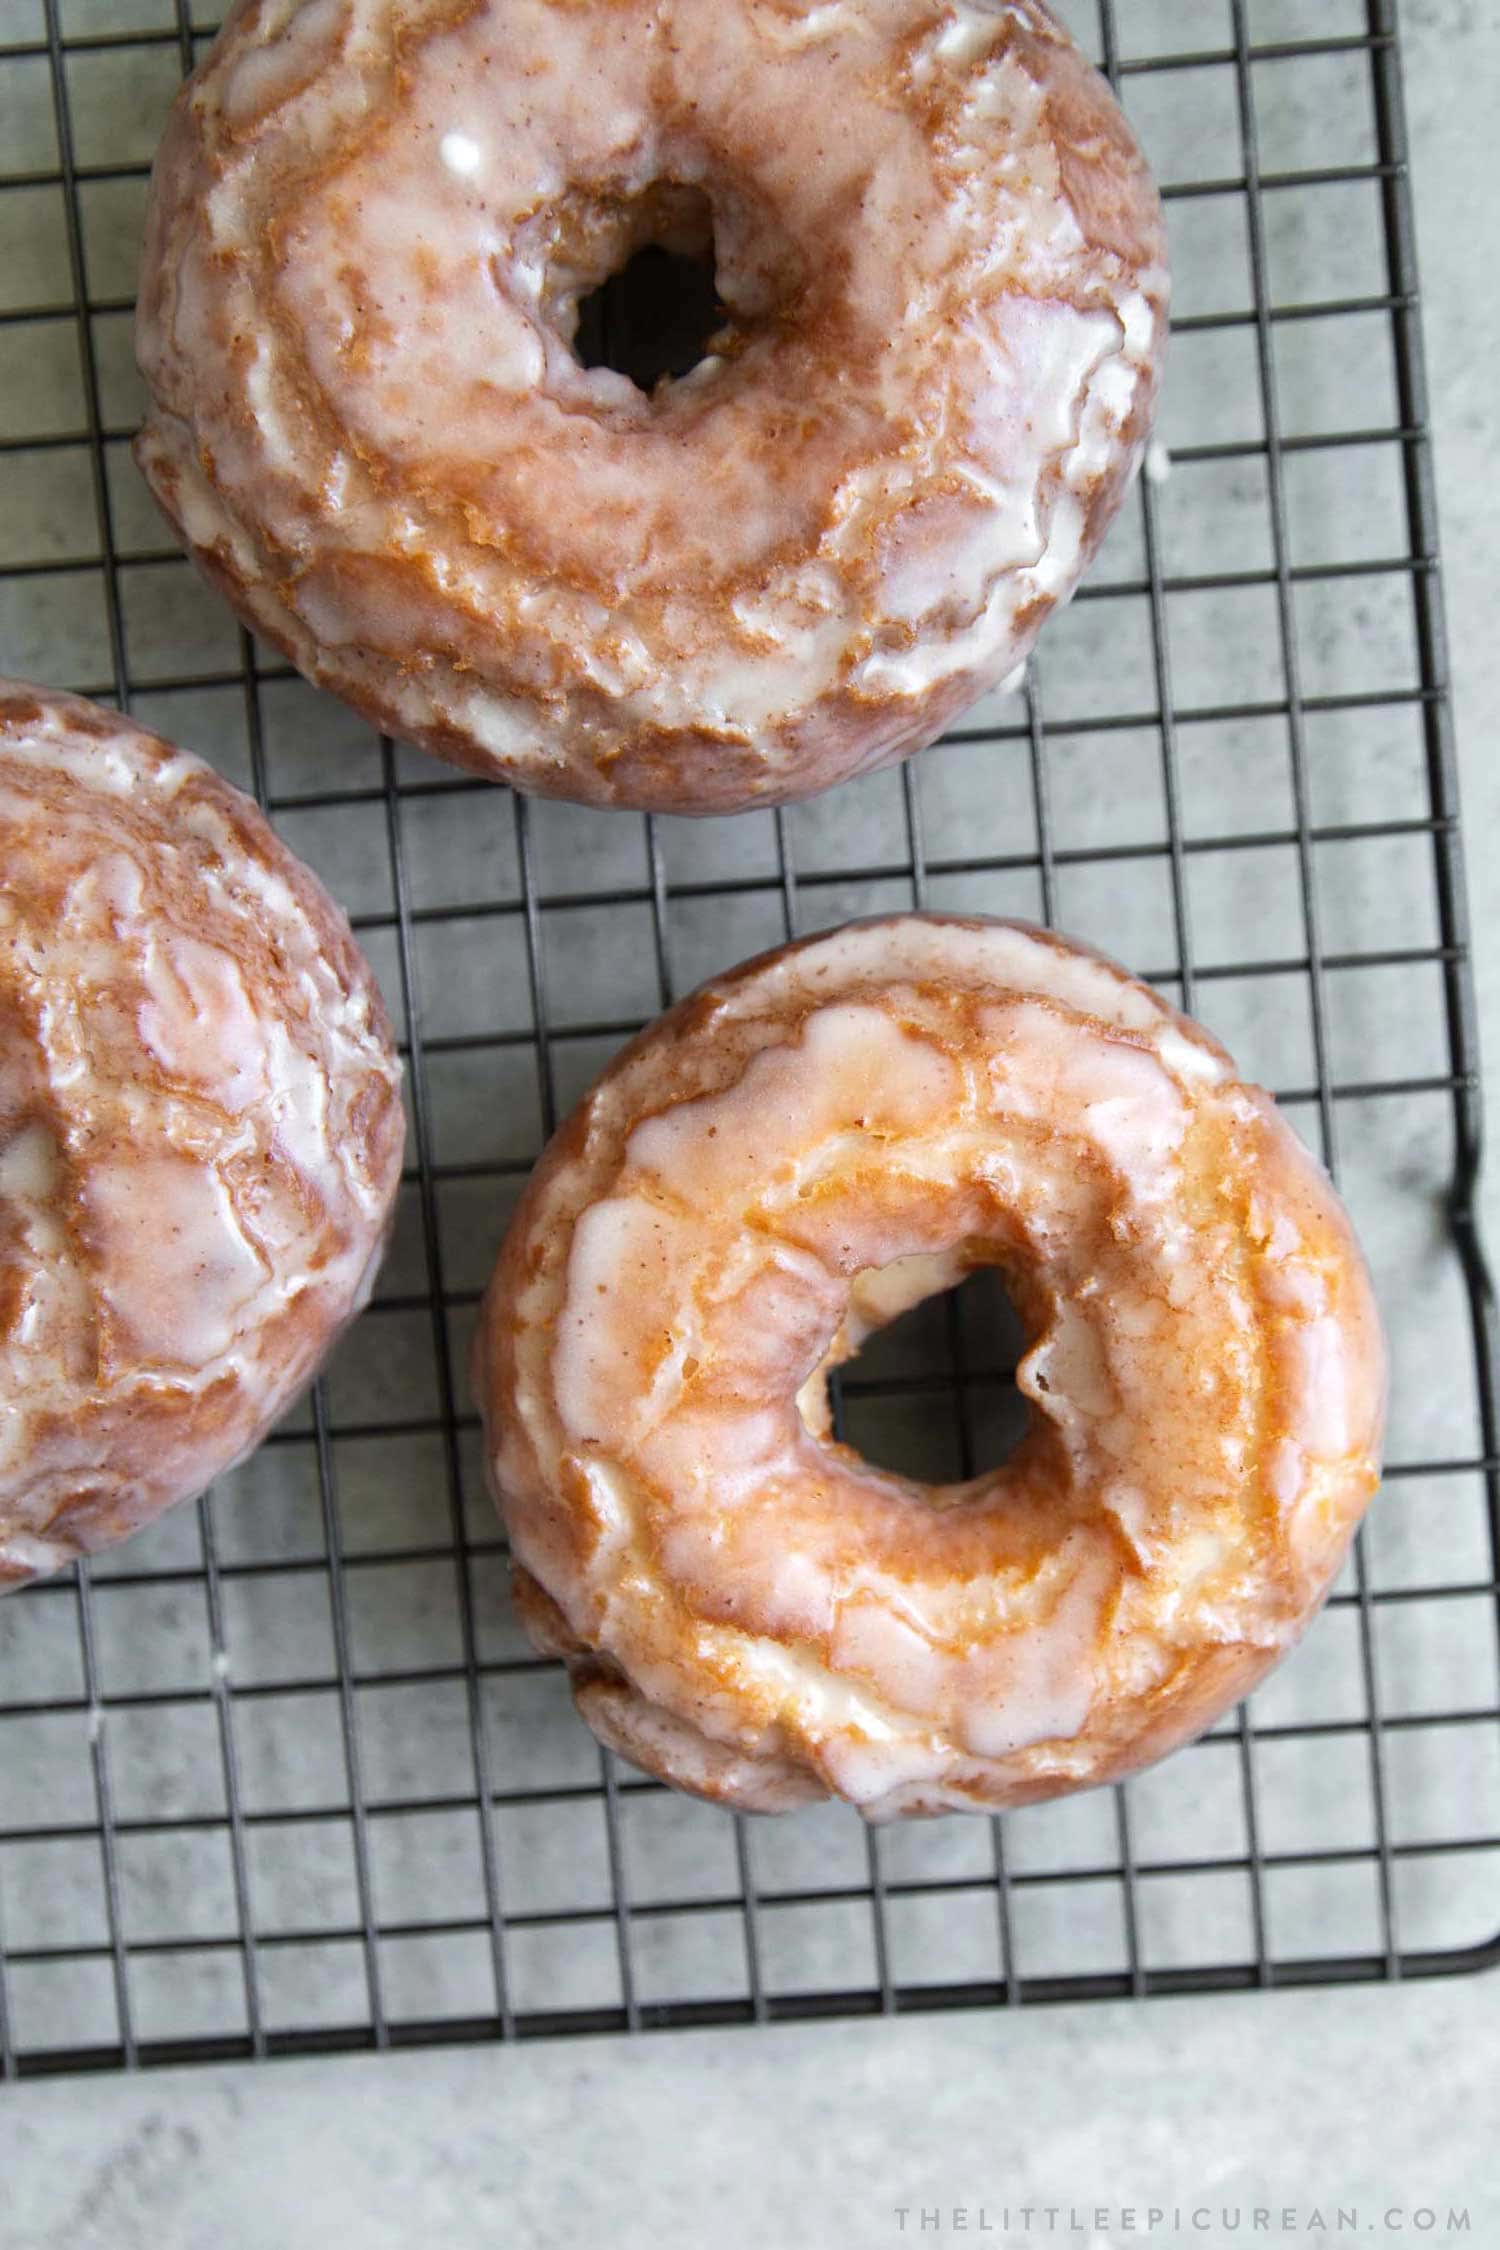
These brown butter glazed old fashioned donuts are great to make with loved ones this holiday season!
No Yeast Donuts
The dough contains no yeast! As such, it doesn’t require any proofing.
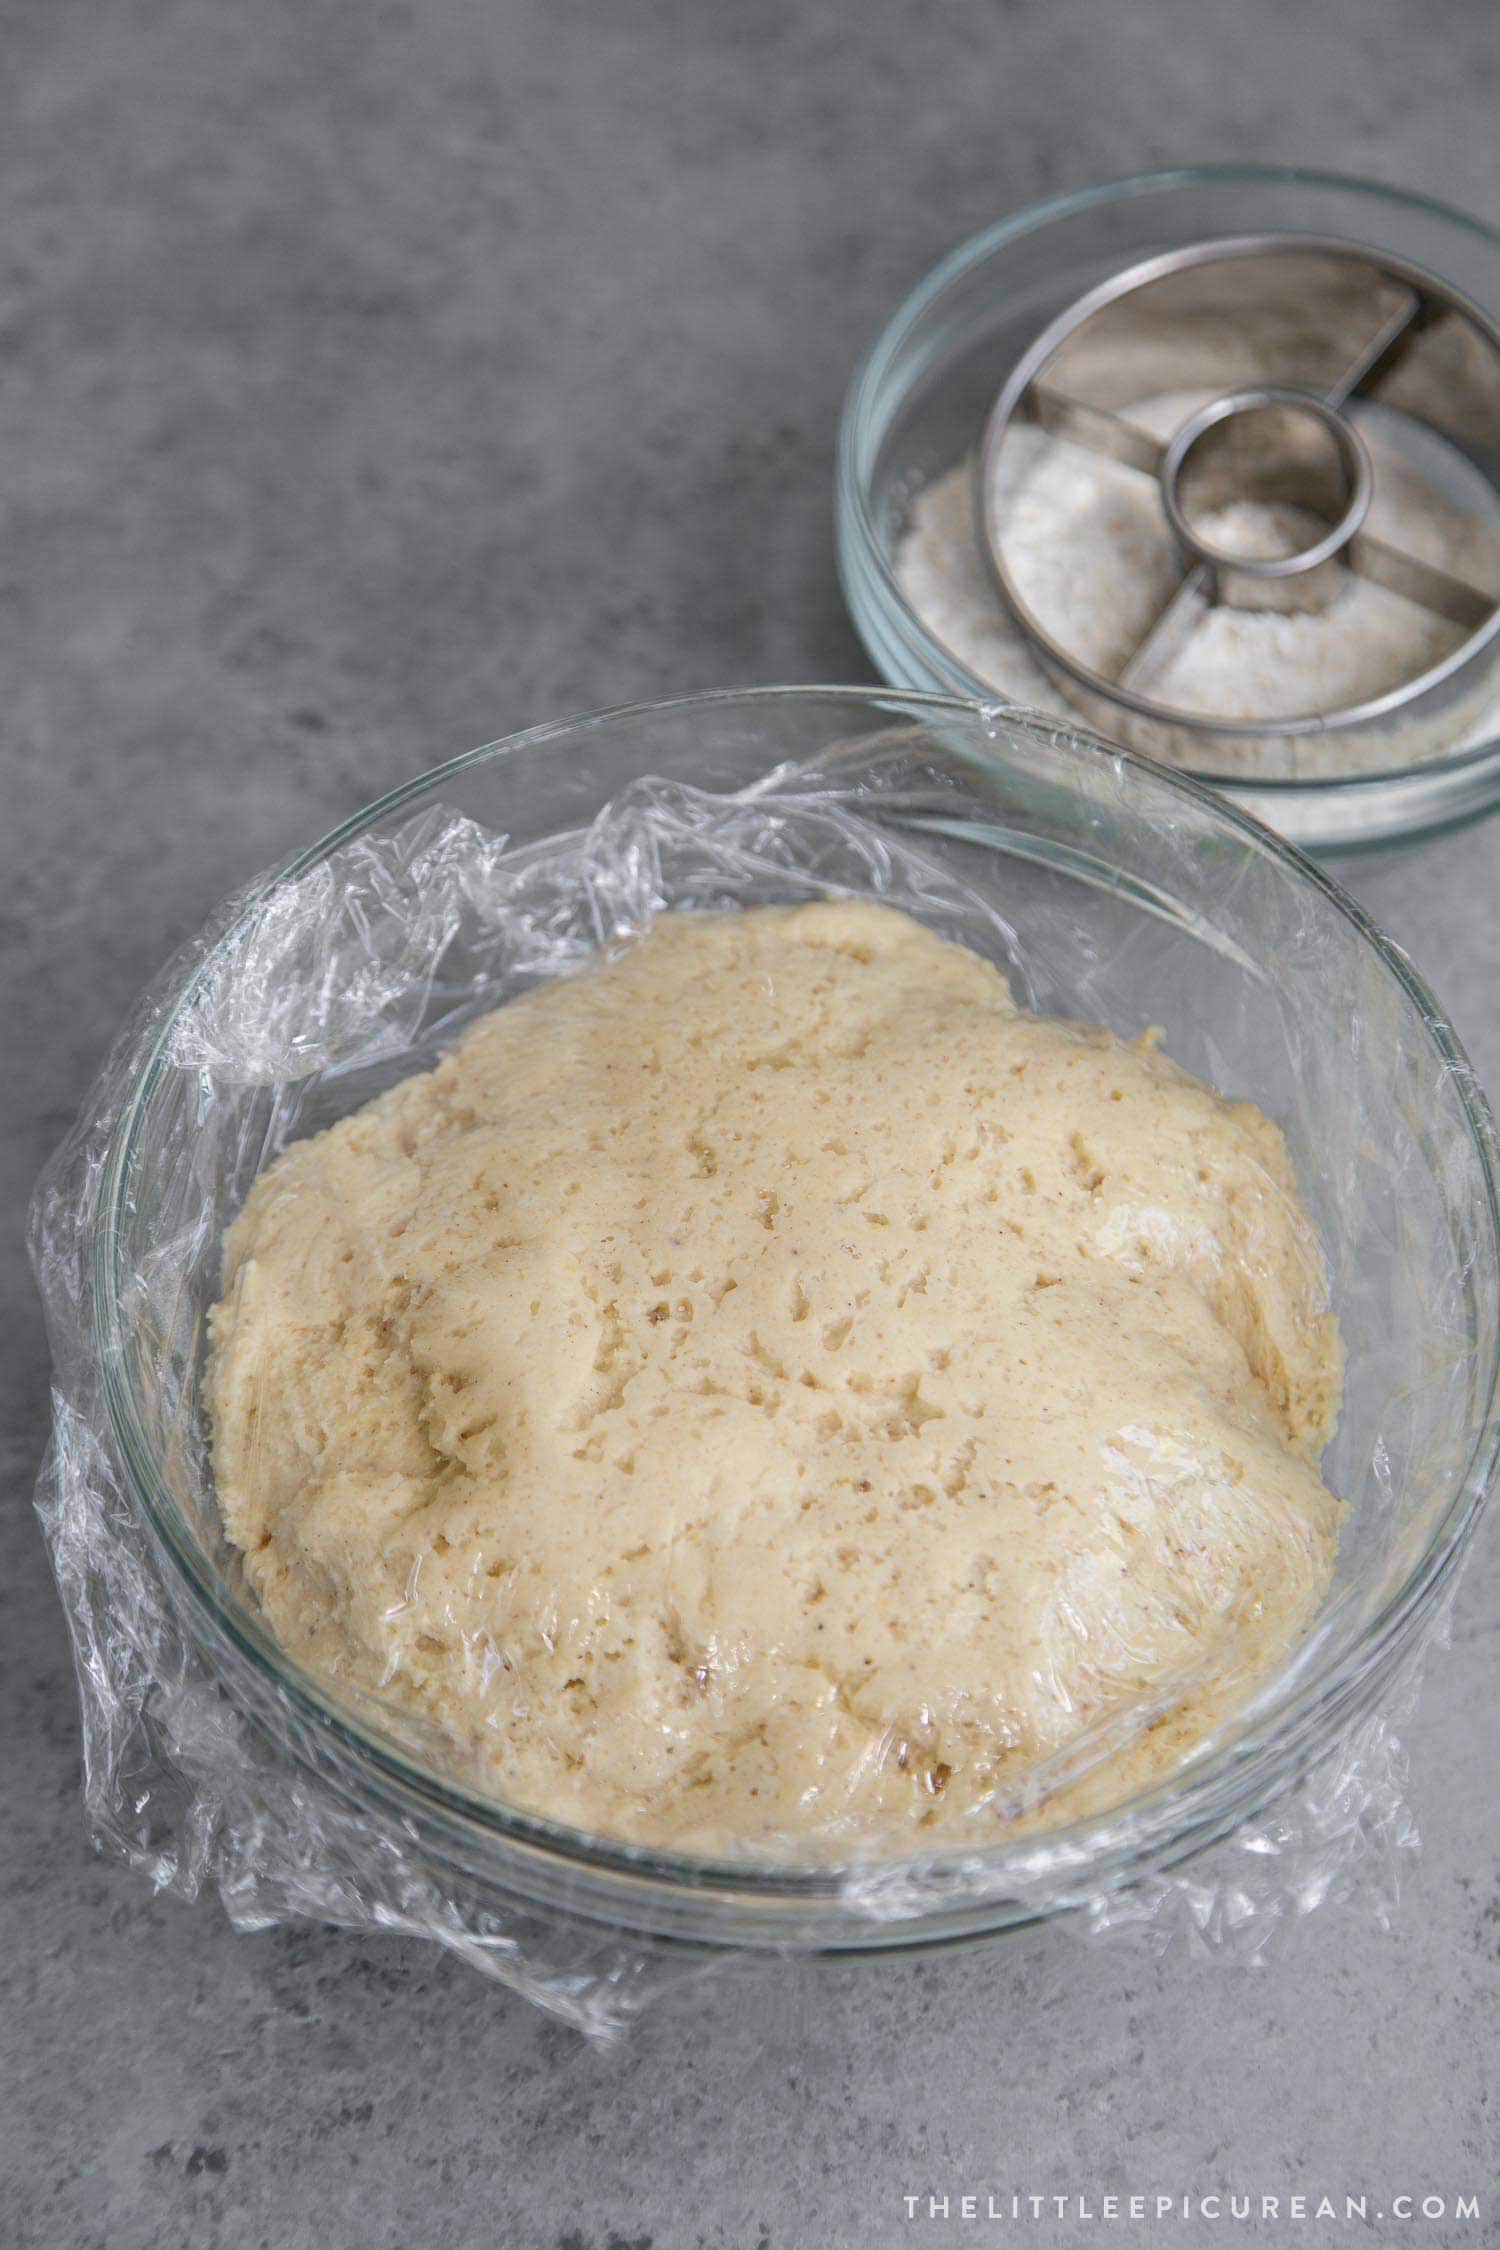
However, the dough does need to be chilled in the fridge for about an hour. Alternatively, you can prepare the dough the day before.
Since the dough relies on baking powder for leavening, make sure to use relatively FRESH baking powder.
Check the expiration dates and note when you first opened the package. Over time, baking powder will lose its leavening powers.
Mixing Together Dough
Have you ever mixed together cookie dough? Yes? Then you can totally make this donut dough!
The dough comes together very easily in a stand mixer.
The recipe calls for cake flour. In a pinch, you may use all-purpose flour.
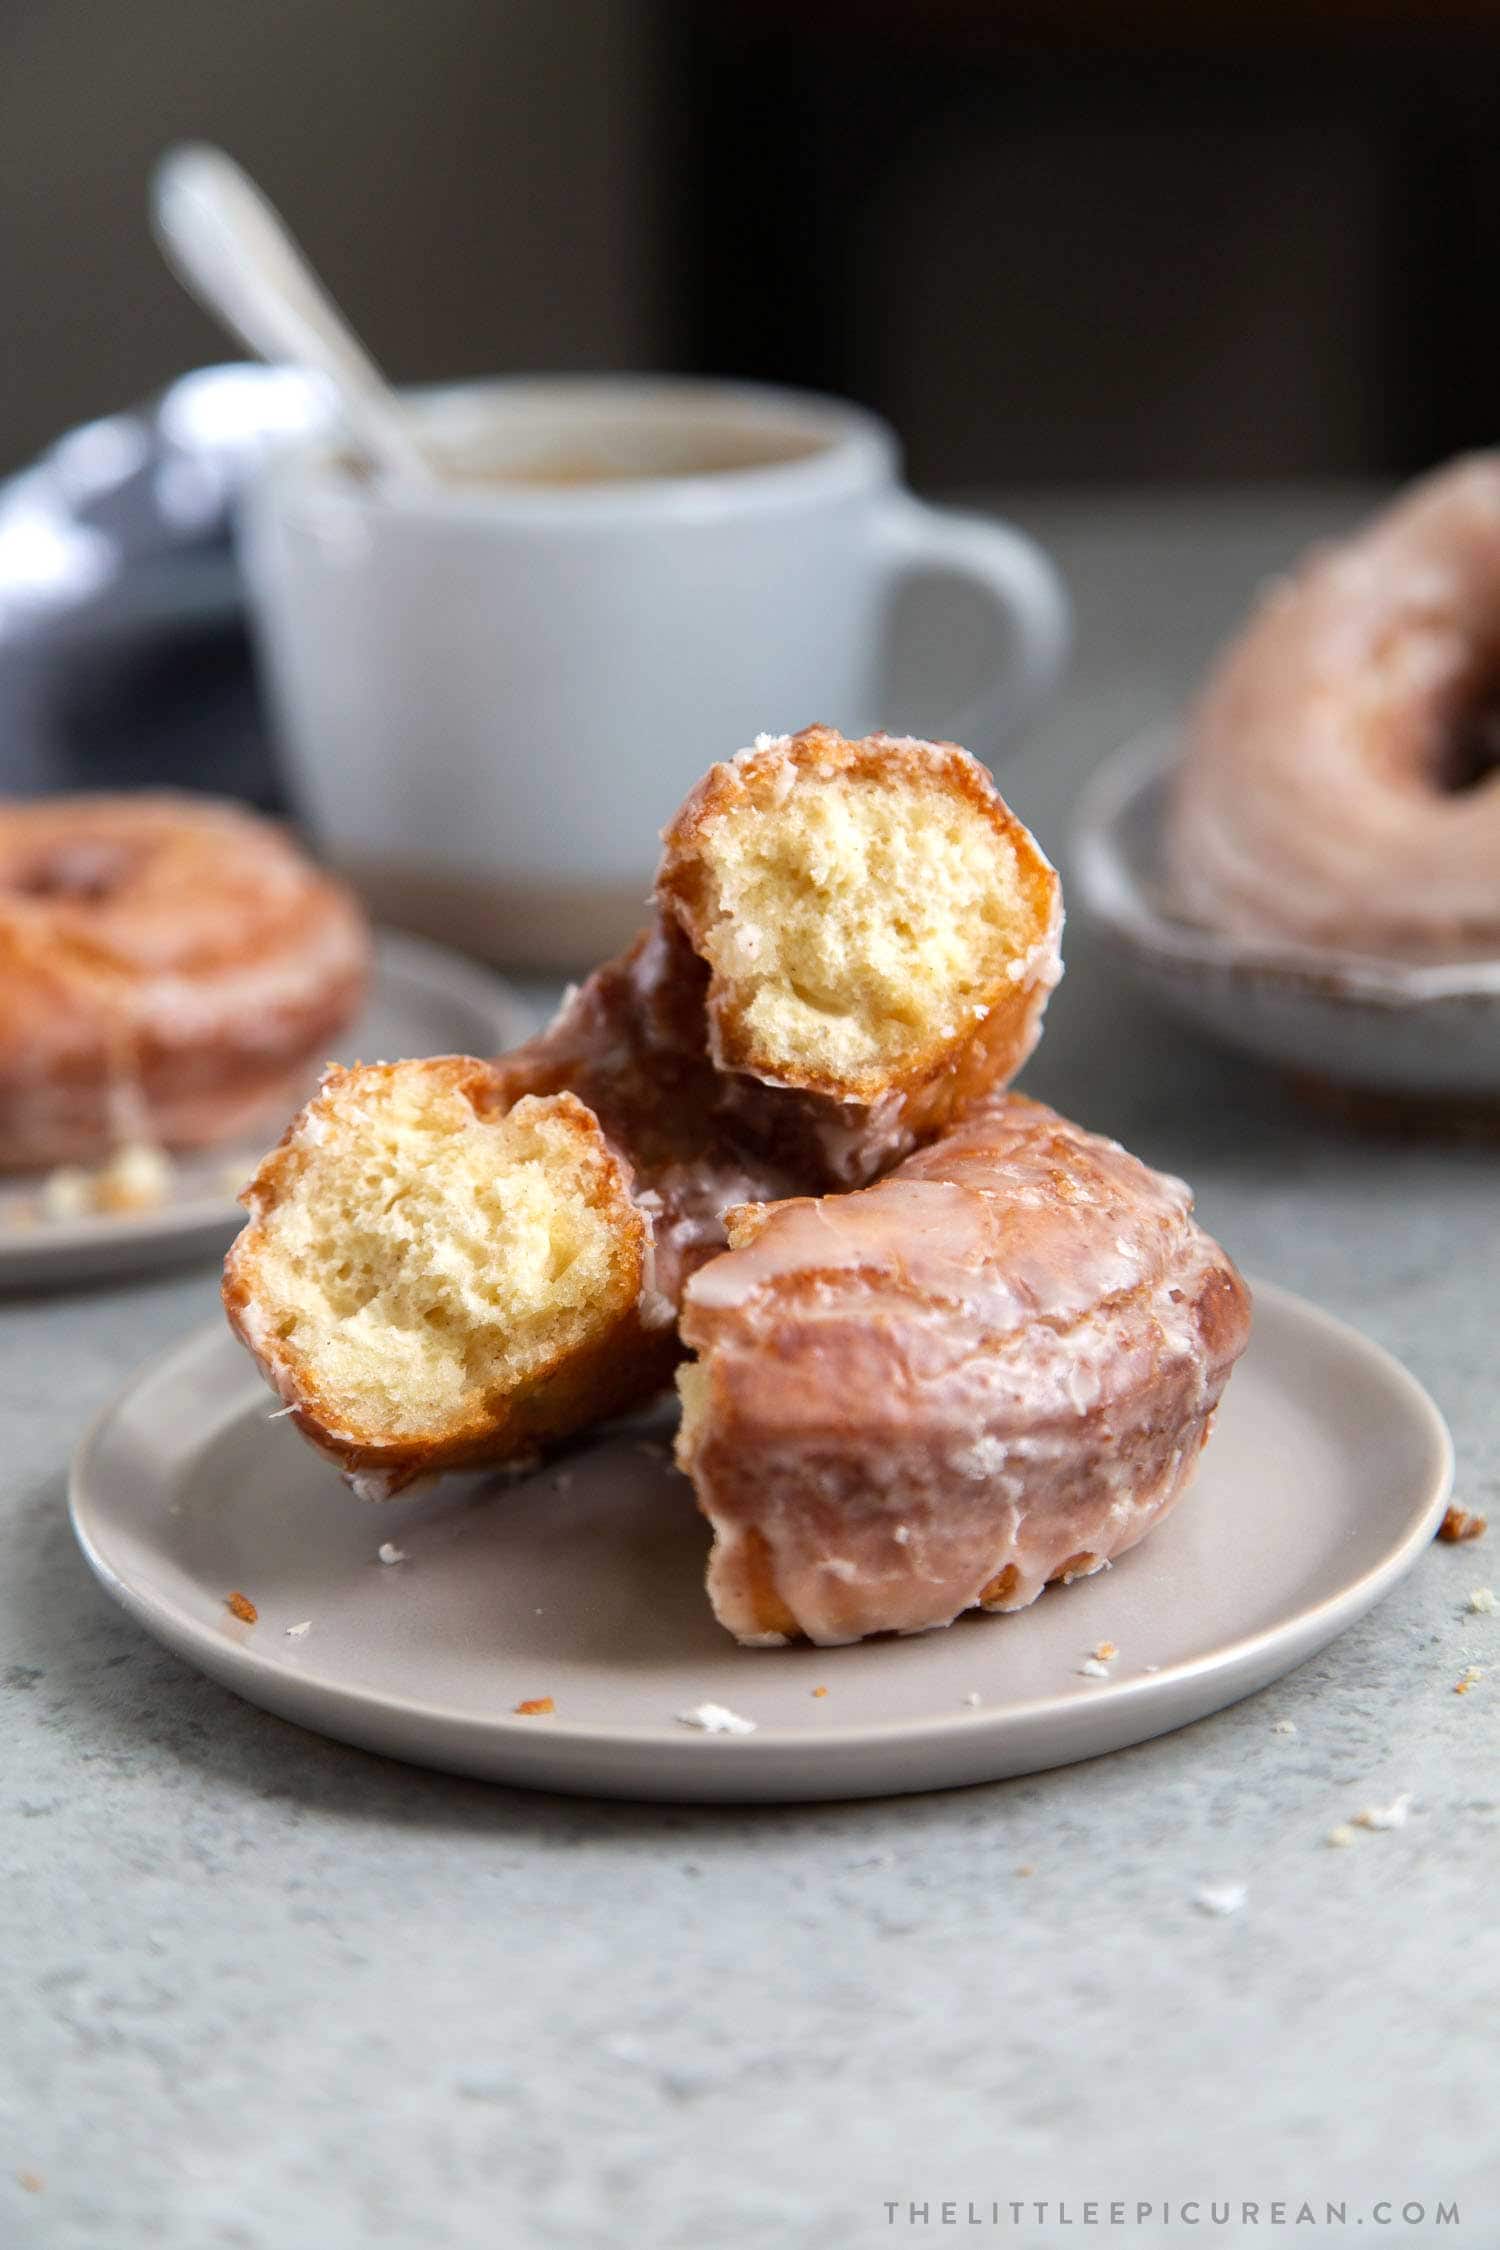
Cake flour has a lower protein content compared to all-purpose flour. As such, cake flour results in a softer interior.
While this dough does not require proofing or rising, it does have to be refrigerated before rolling and frying.
Why chill the dough?
The dough is very moist and sticky.
Chilling the dough allows any gluten formed during mixing to relax. Which in turn, creates a softer cake donut.
More importantly, chilling allows the flour to absorb the moisture from the eggs and sour cream. This will ensure easier rolling.
[NOTE: If you don’t want to wait, I suggest trying this coconut cake doughnut recipe. These coconut donuts can be rolled and fried immediately after mixing the dough. ]
Flour is your friend
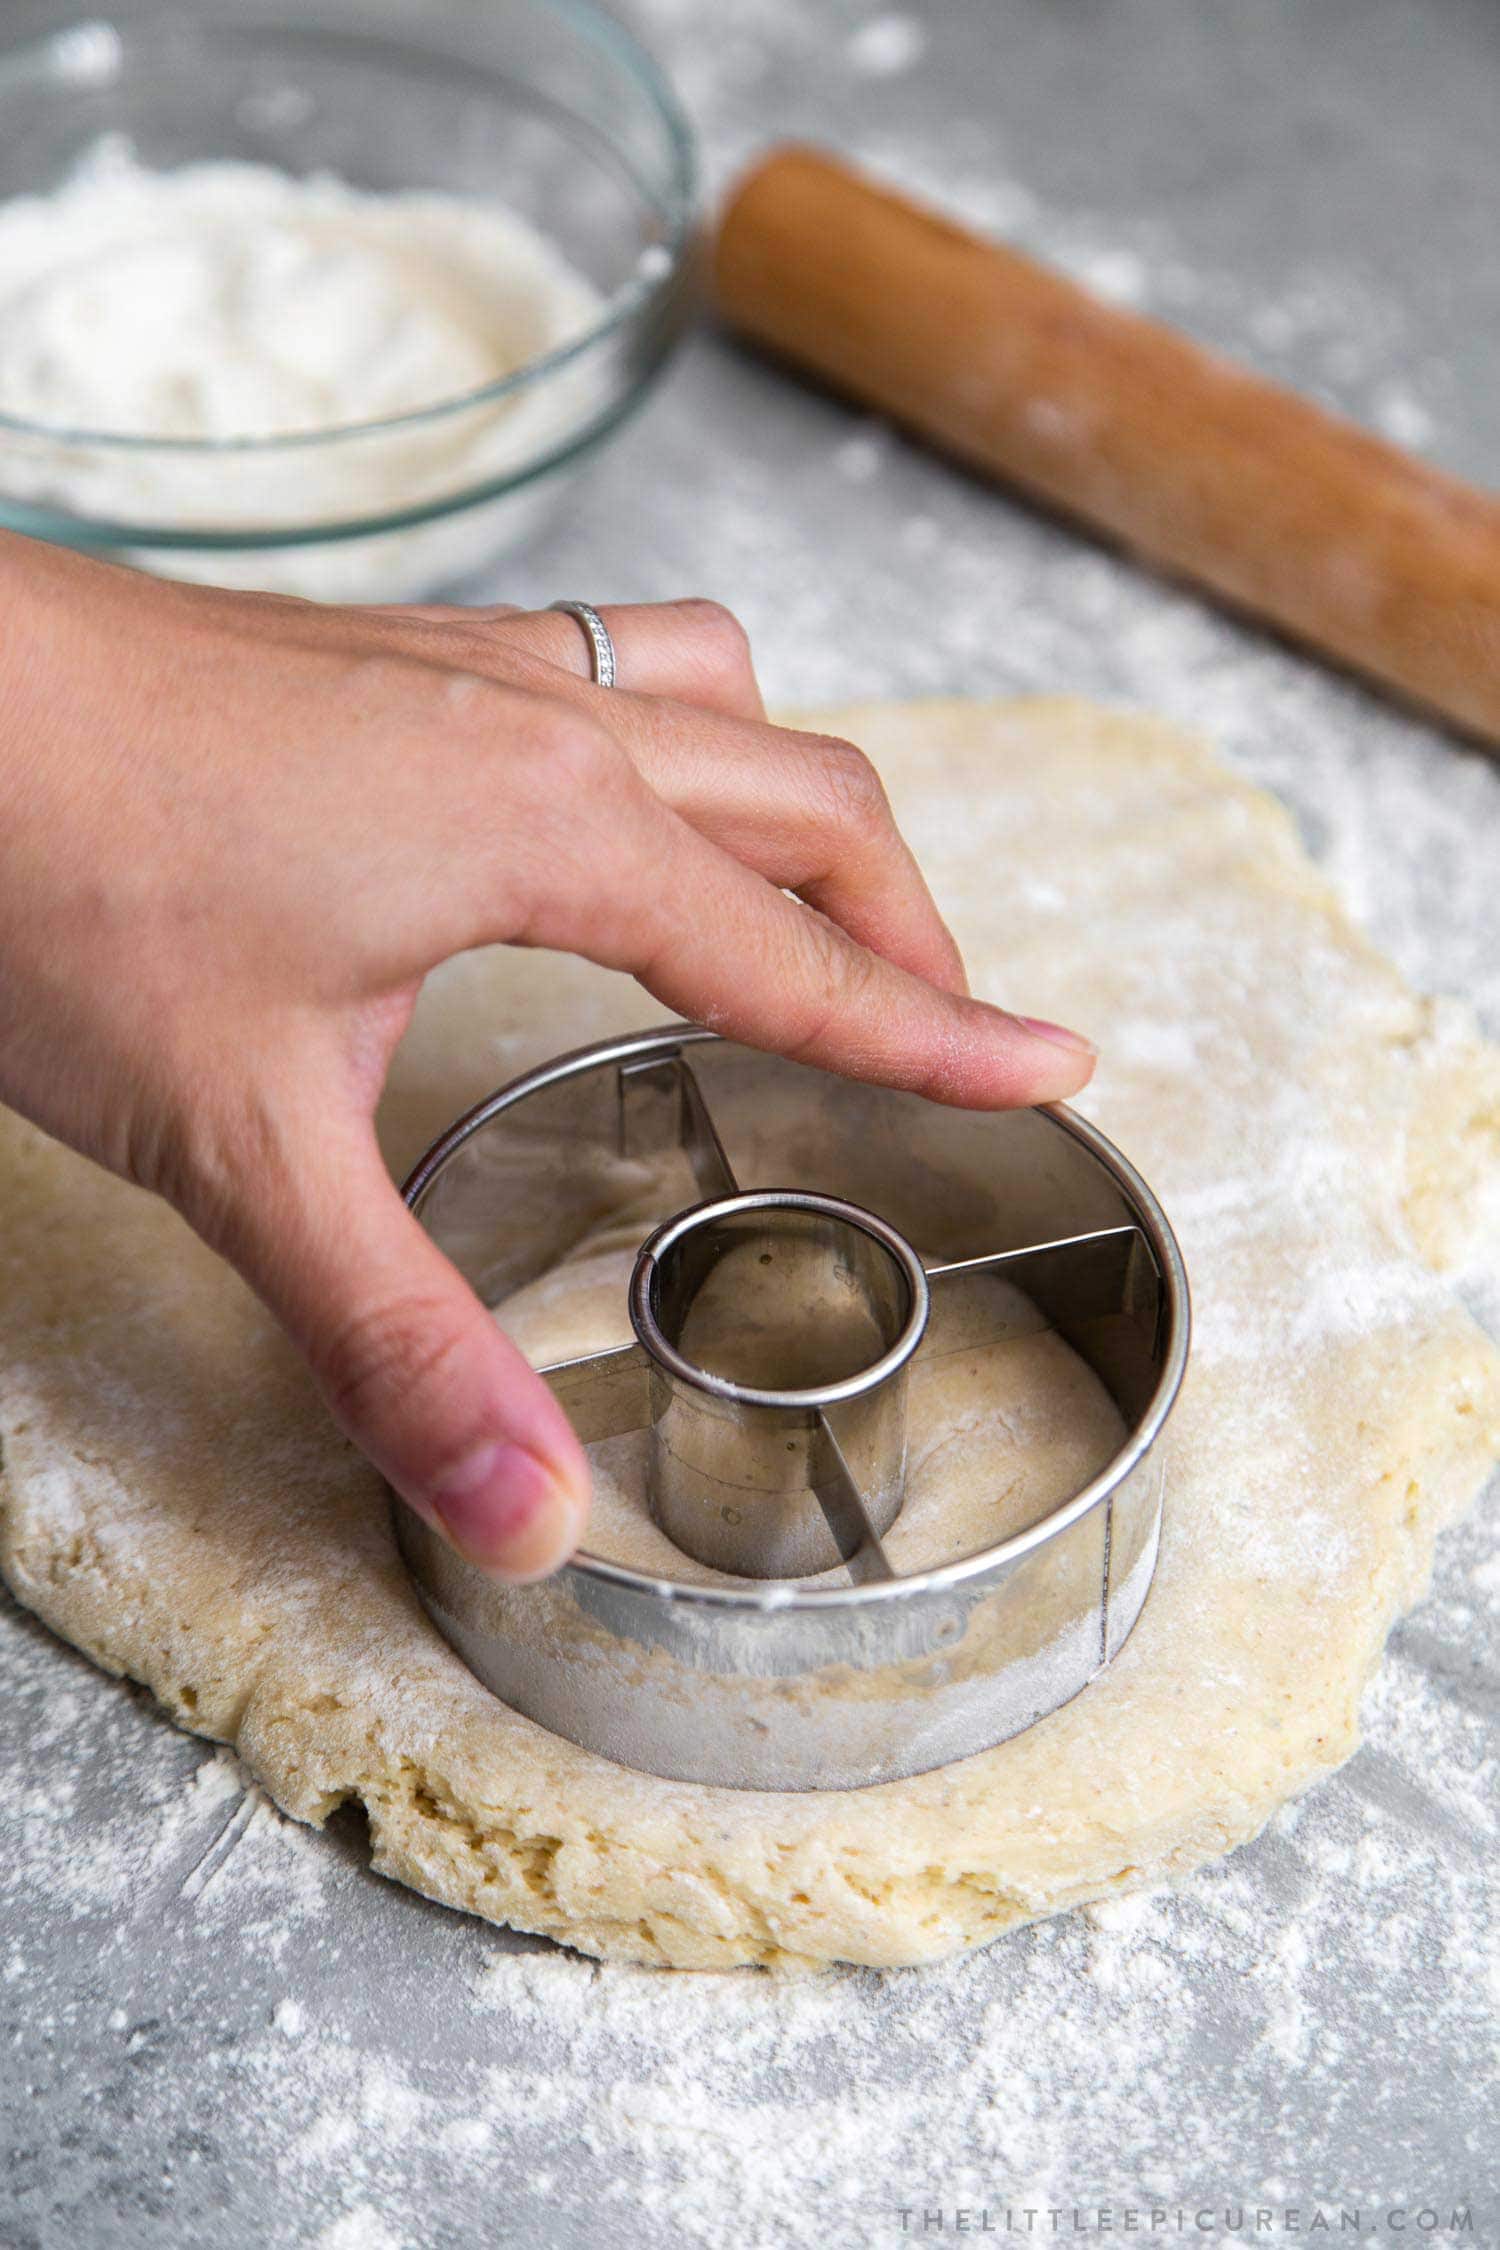
One word of warning. THIS DOUGH IS VERY STICKY!
Flour your hands, generously flour your work surface, and be sure to flour your 3 1/2-inch dough cutter often. (Amazon affiliate link)
If you don’t have a handy dandy doughnut cutter, simply use a 3 1/2-inch round cookie cutter paired with a 1-inch round cutter for the center.
Re-Roll Dough Several Times
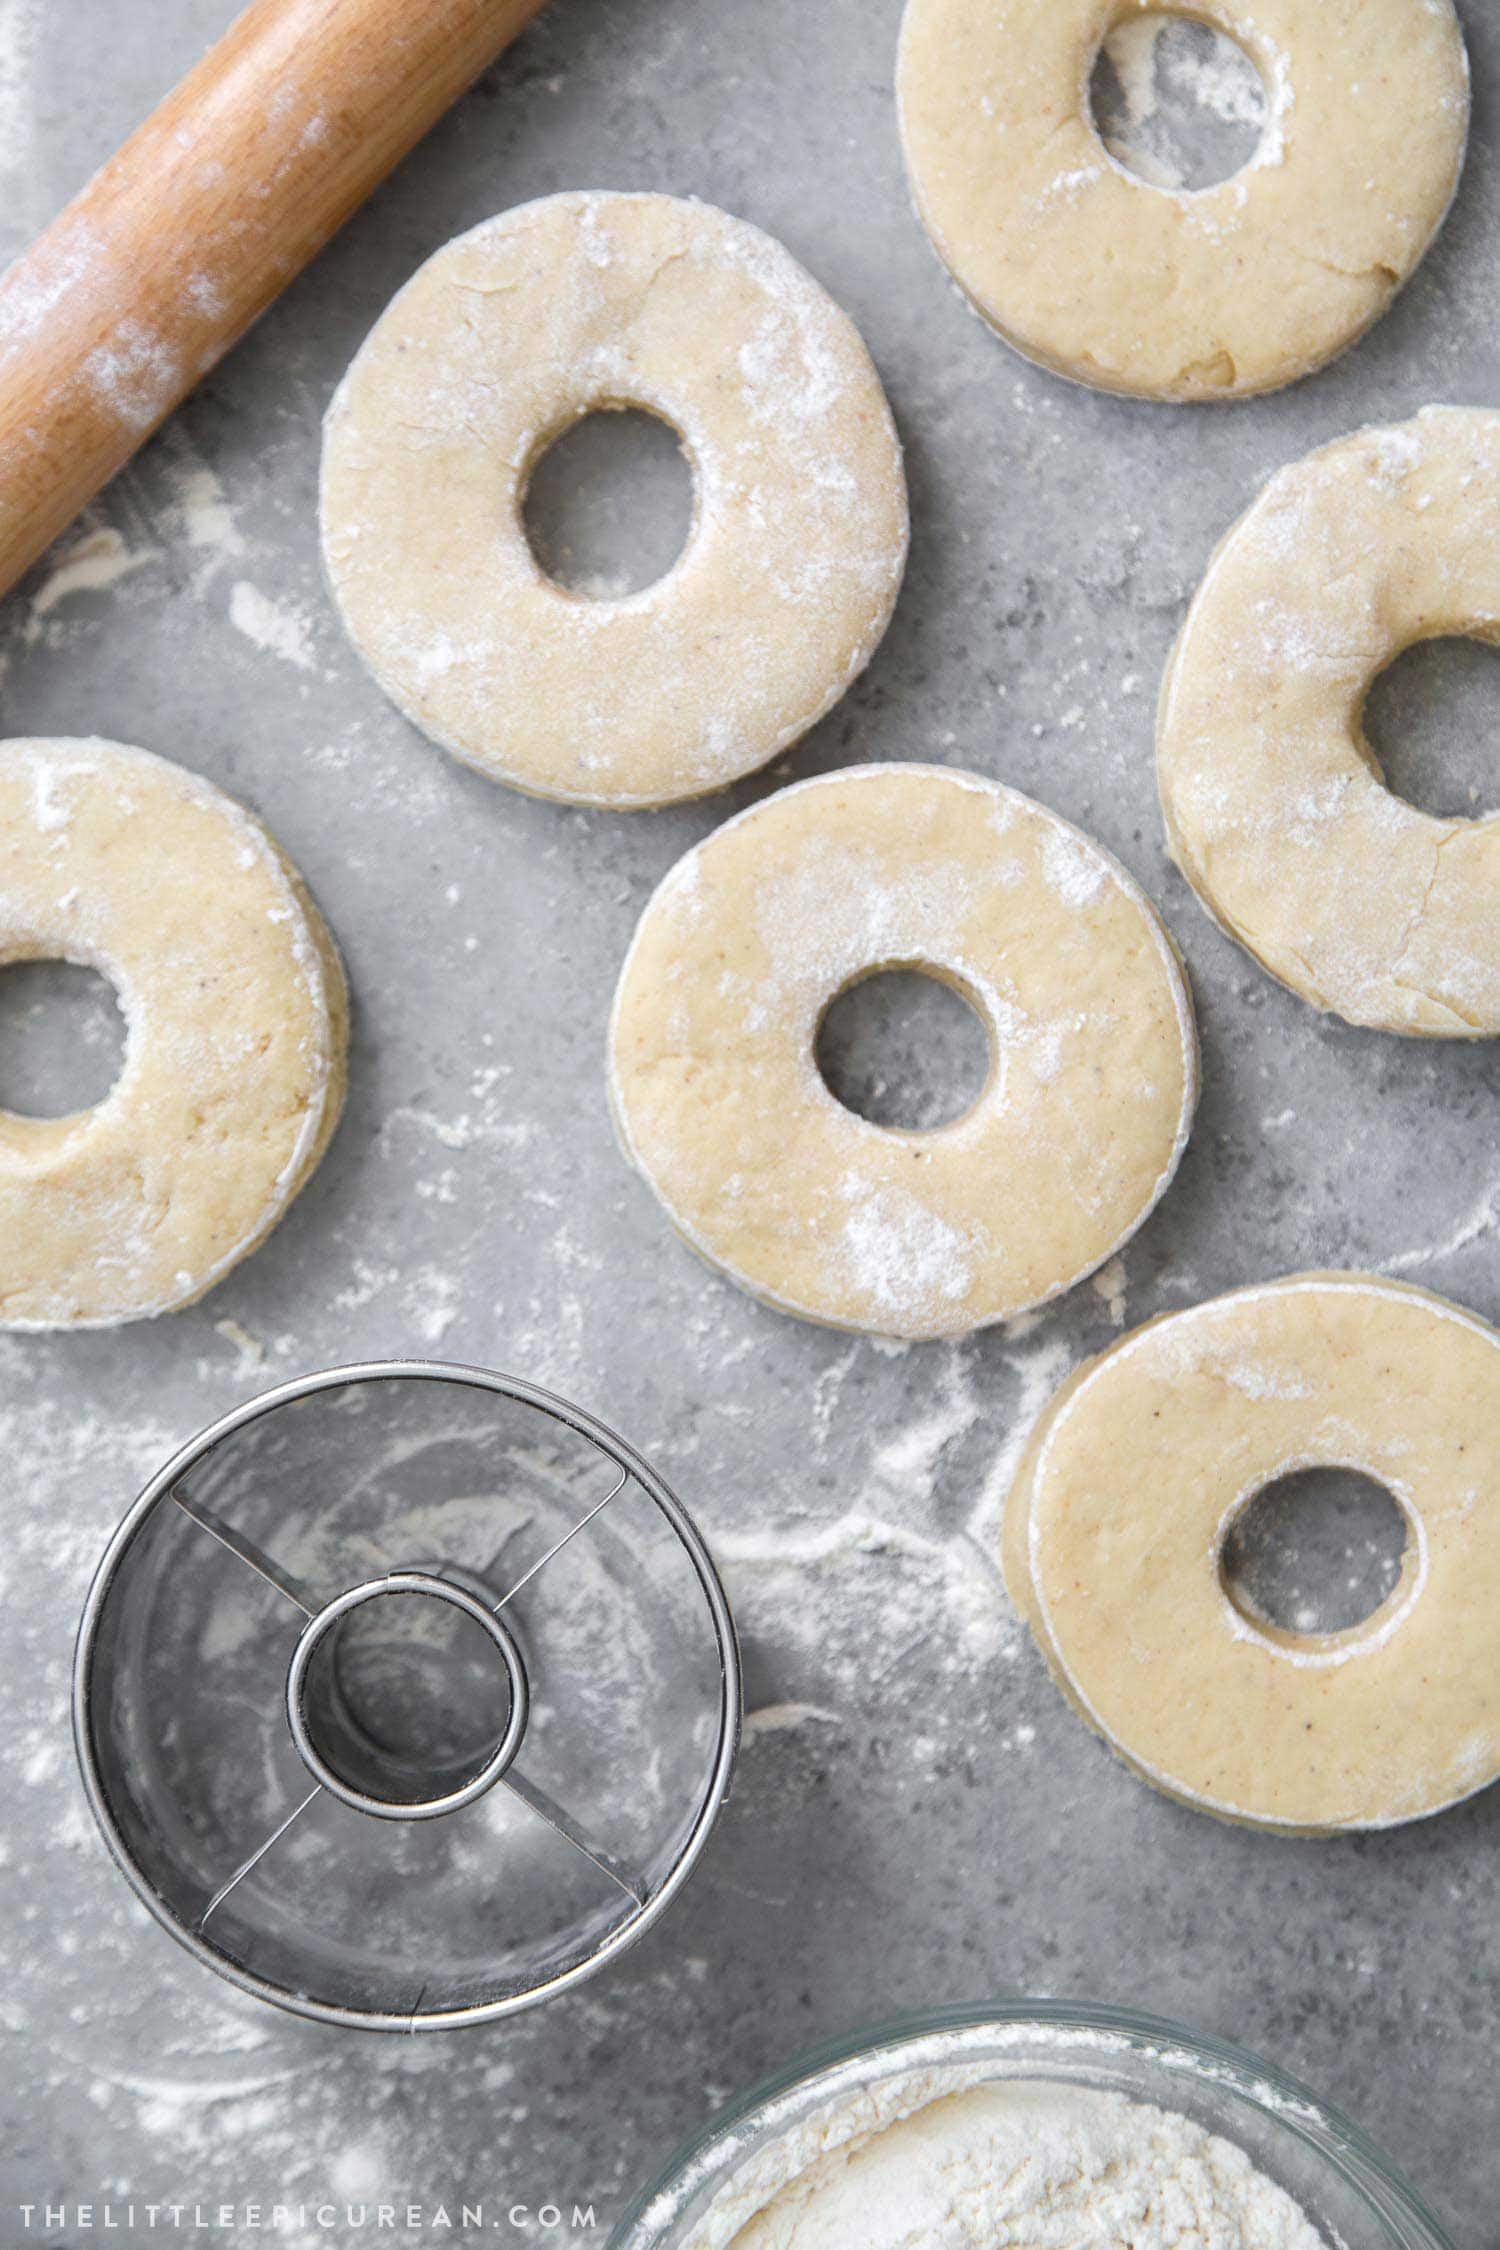
Since this dough does not contain yeast, the dough can be re-rolled several times. Gather any dough scrapes, knead together until smooth, and roll out again to punch out additional rounds.
With the dough rolled to a thickness of a little less than 1/2-inch, I was able to punch out 10 donut rings.
I did not save any donut holes. Instead, I rerolled the 1-inch donut holes to make additional donut rings.
Shortening Versus Oil Frying
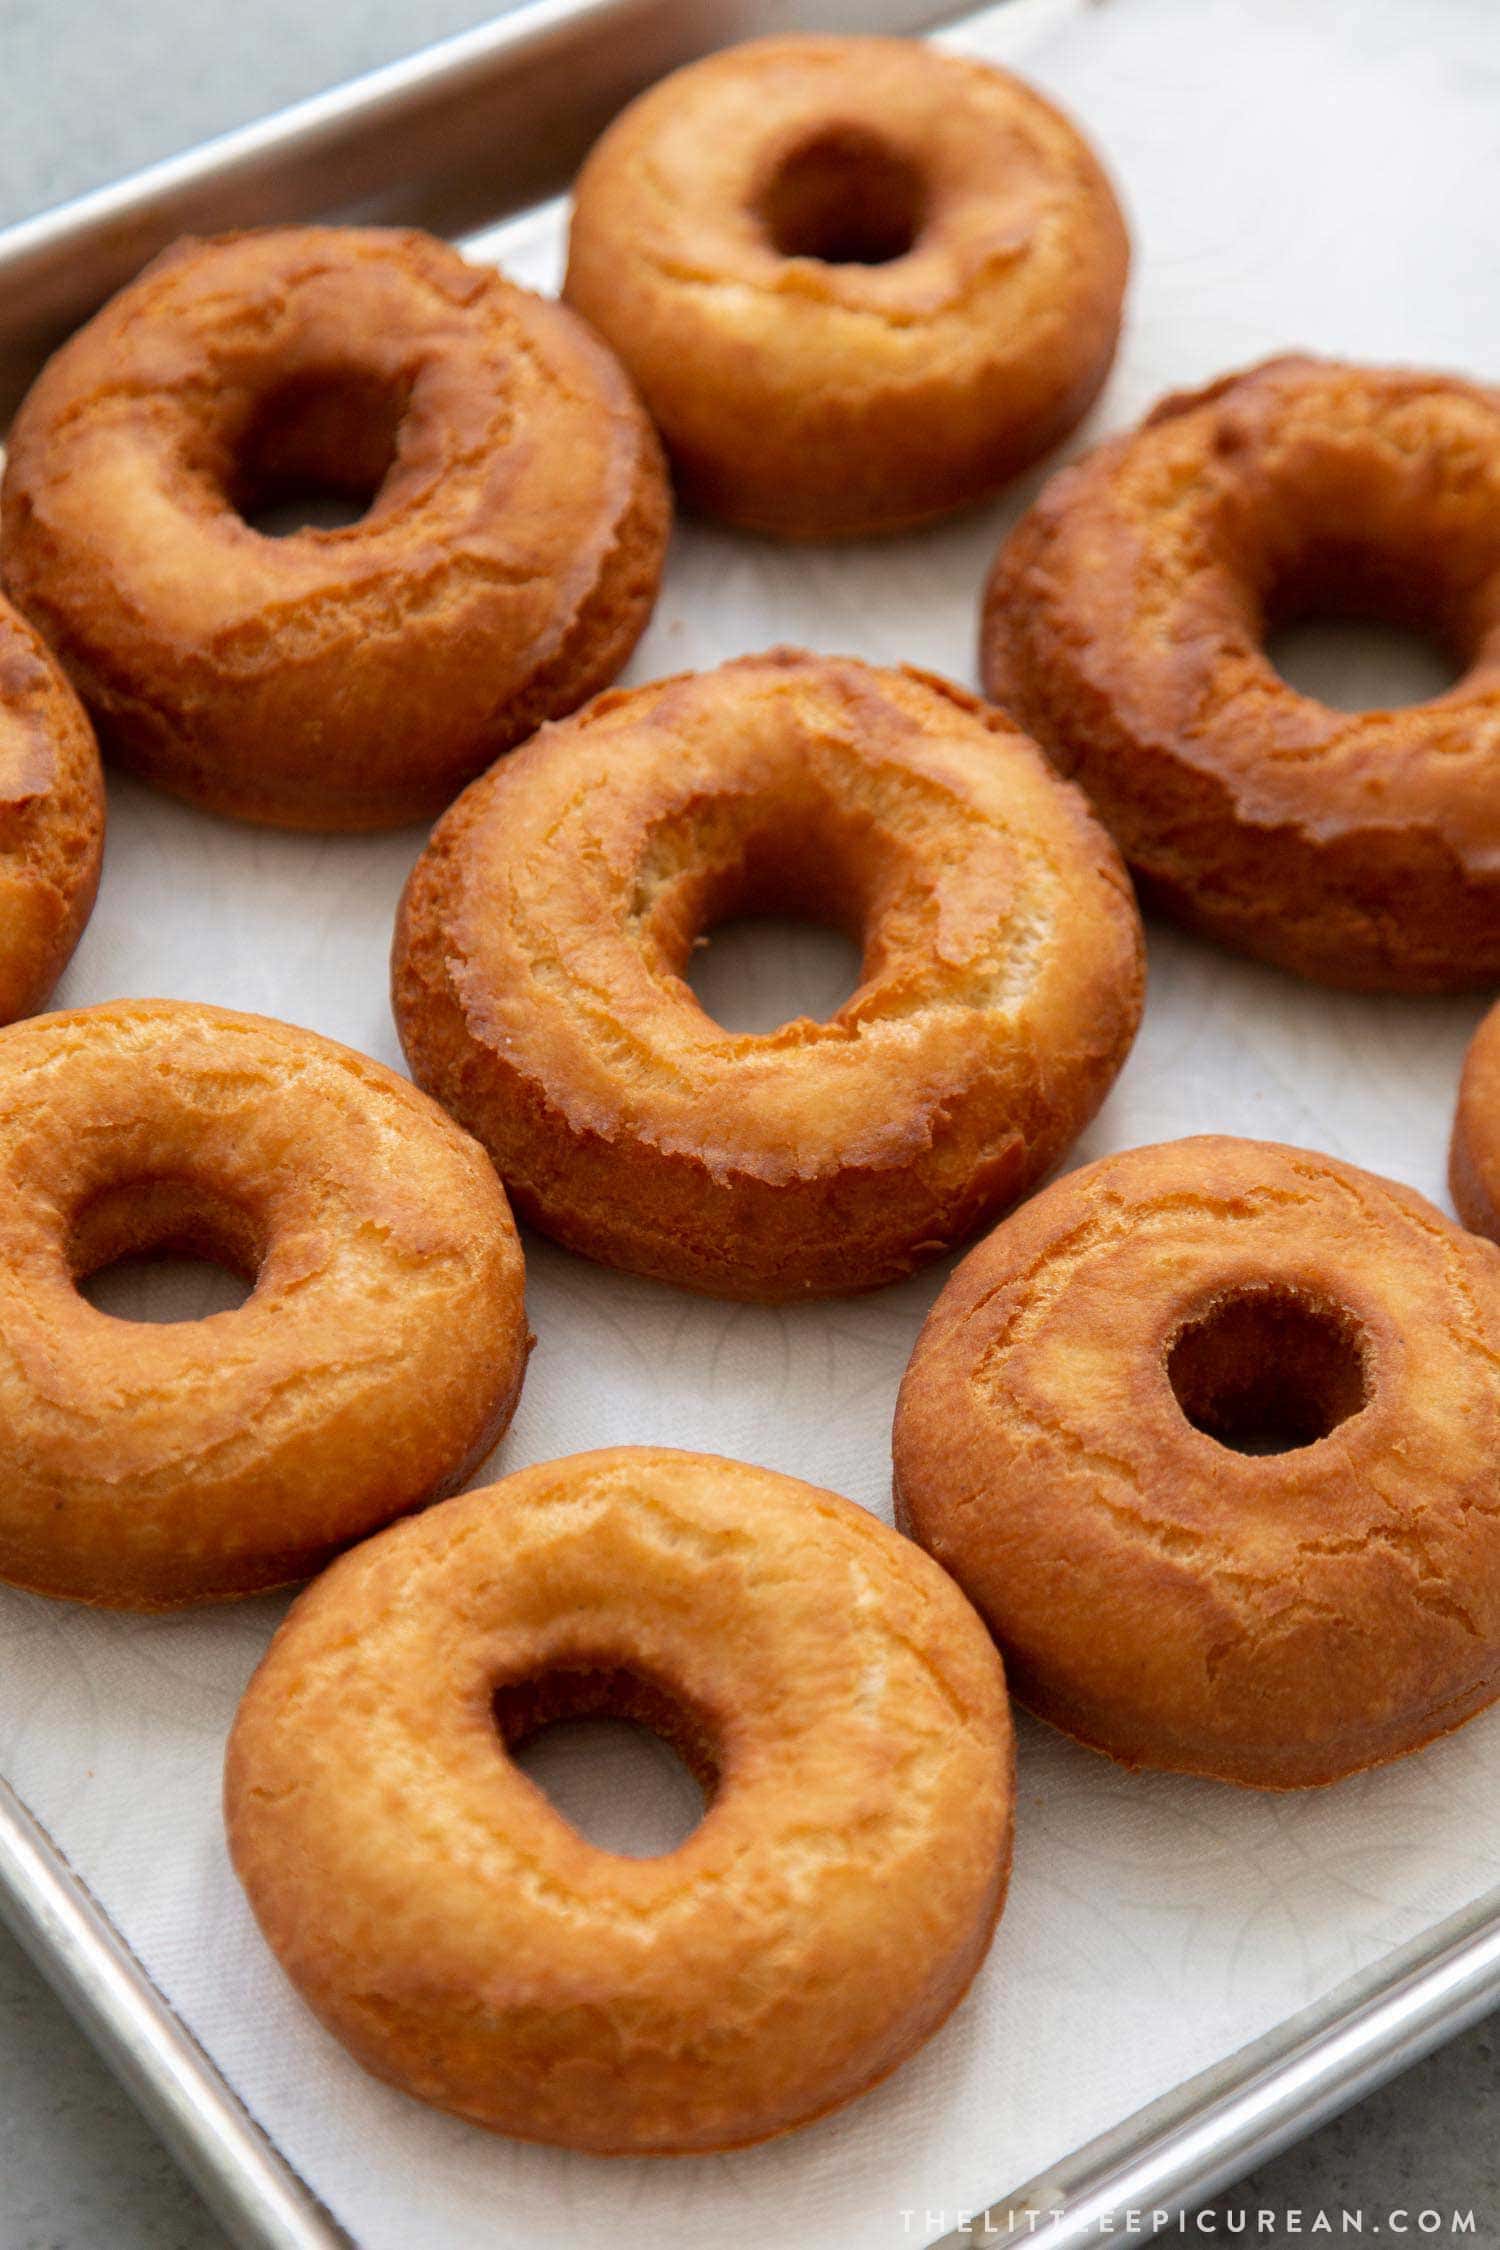
The majority of donut shops fry their goods in vegetable shortening. Since shortening is solid at room temperature, the fried donuts will look and feel less greasy. Frying in shortening also results in a crispier exterior.
If you have access to restaurant supply stores, I suggest using “Donut Fry Shortening.” Otherwise, use standard vegetable shortening.
However, since most of us don’t have giant tubs of shortening at home, you can certainly fry these donuts in vegetable oil or canola oil.
Canola oil is slightly healthier, while vegetable oil (which is really just soybean oil) is the cheapest option. These two oils have a high smoke point, making them suitable for deep frying.
Brown Butter Glaze
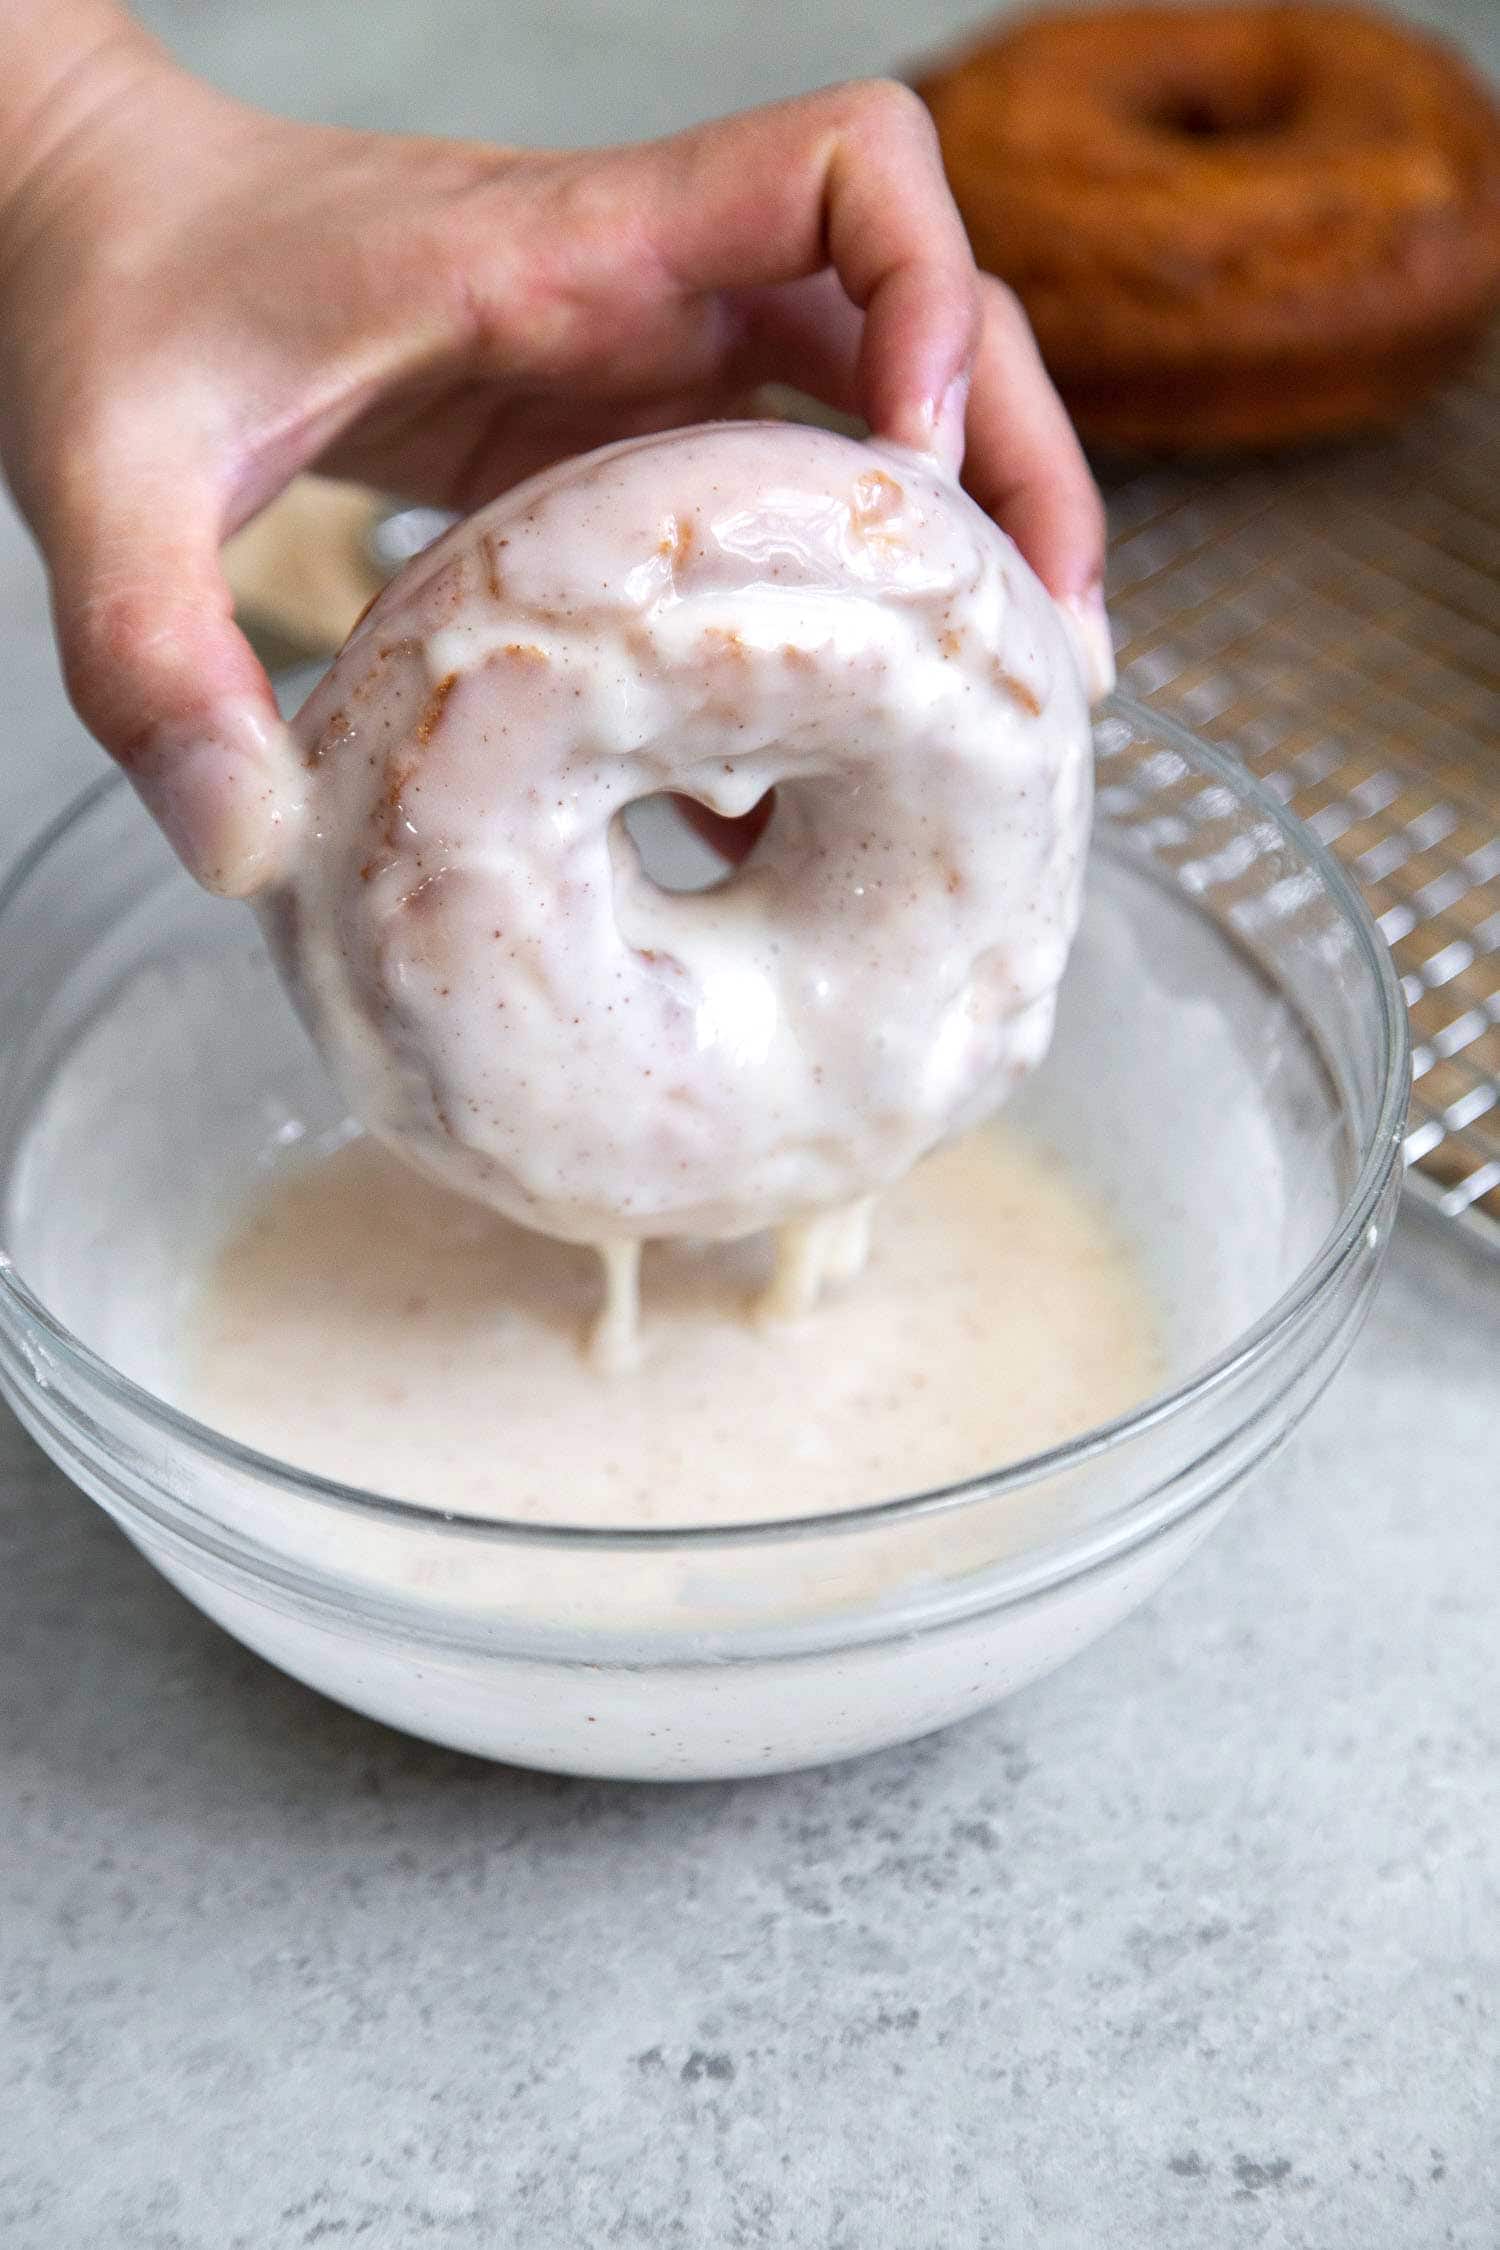
Old fashioned donuts are great on their own, even without glaze. But, I highly recommend taking the extra step to coat the warm donuts in this sweet and nutty brown butter glaze.
The glaze is made from a mixture of powdered sugar, light corn syrup, pure vanilla extract, and liquid brown butter. The glaze is thinned out with hot warm, until the desired consistency is achieved.
Use of corn syrup is optional. Corn syrup gives the glaze a nice shine.
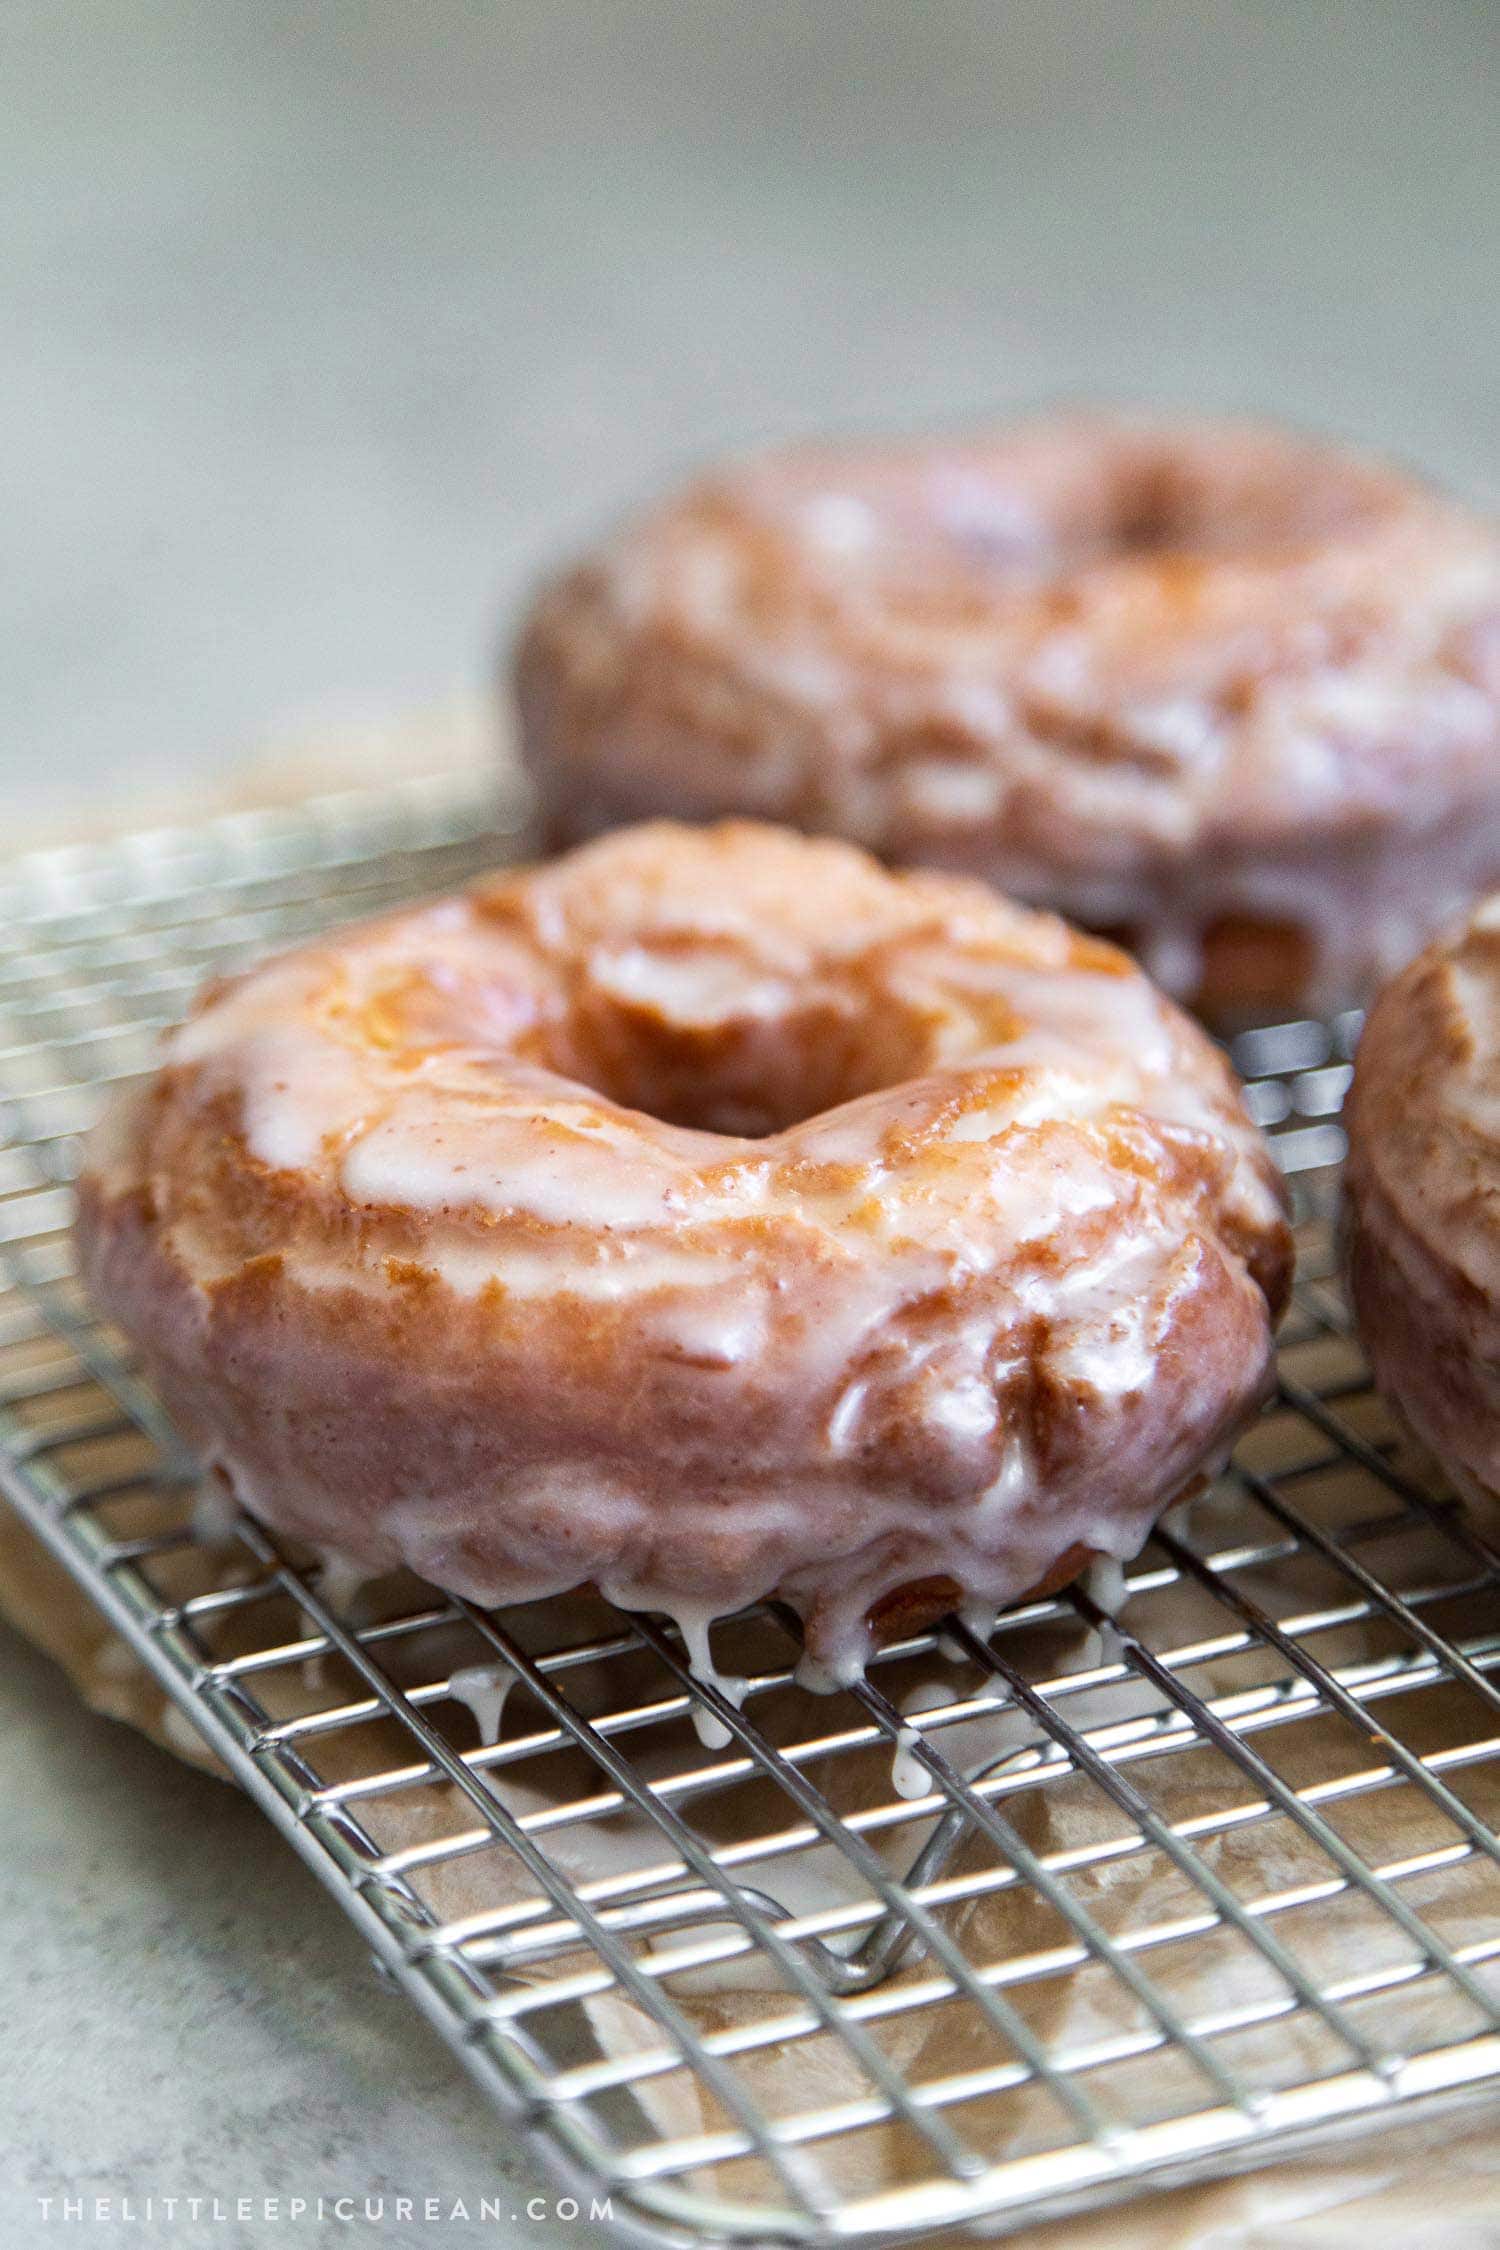
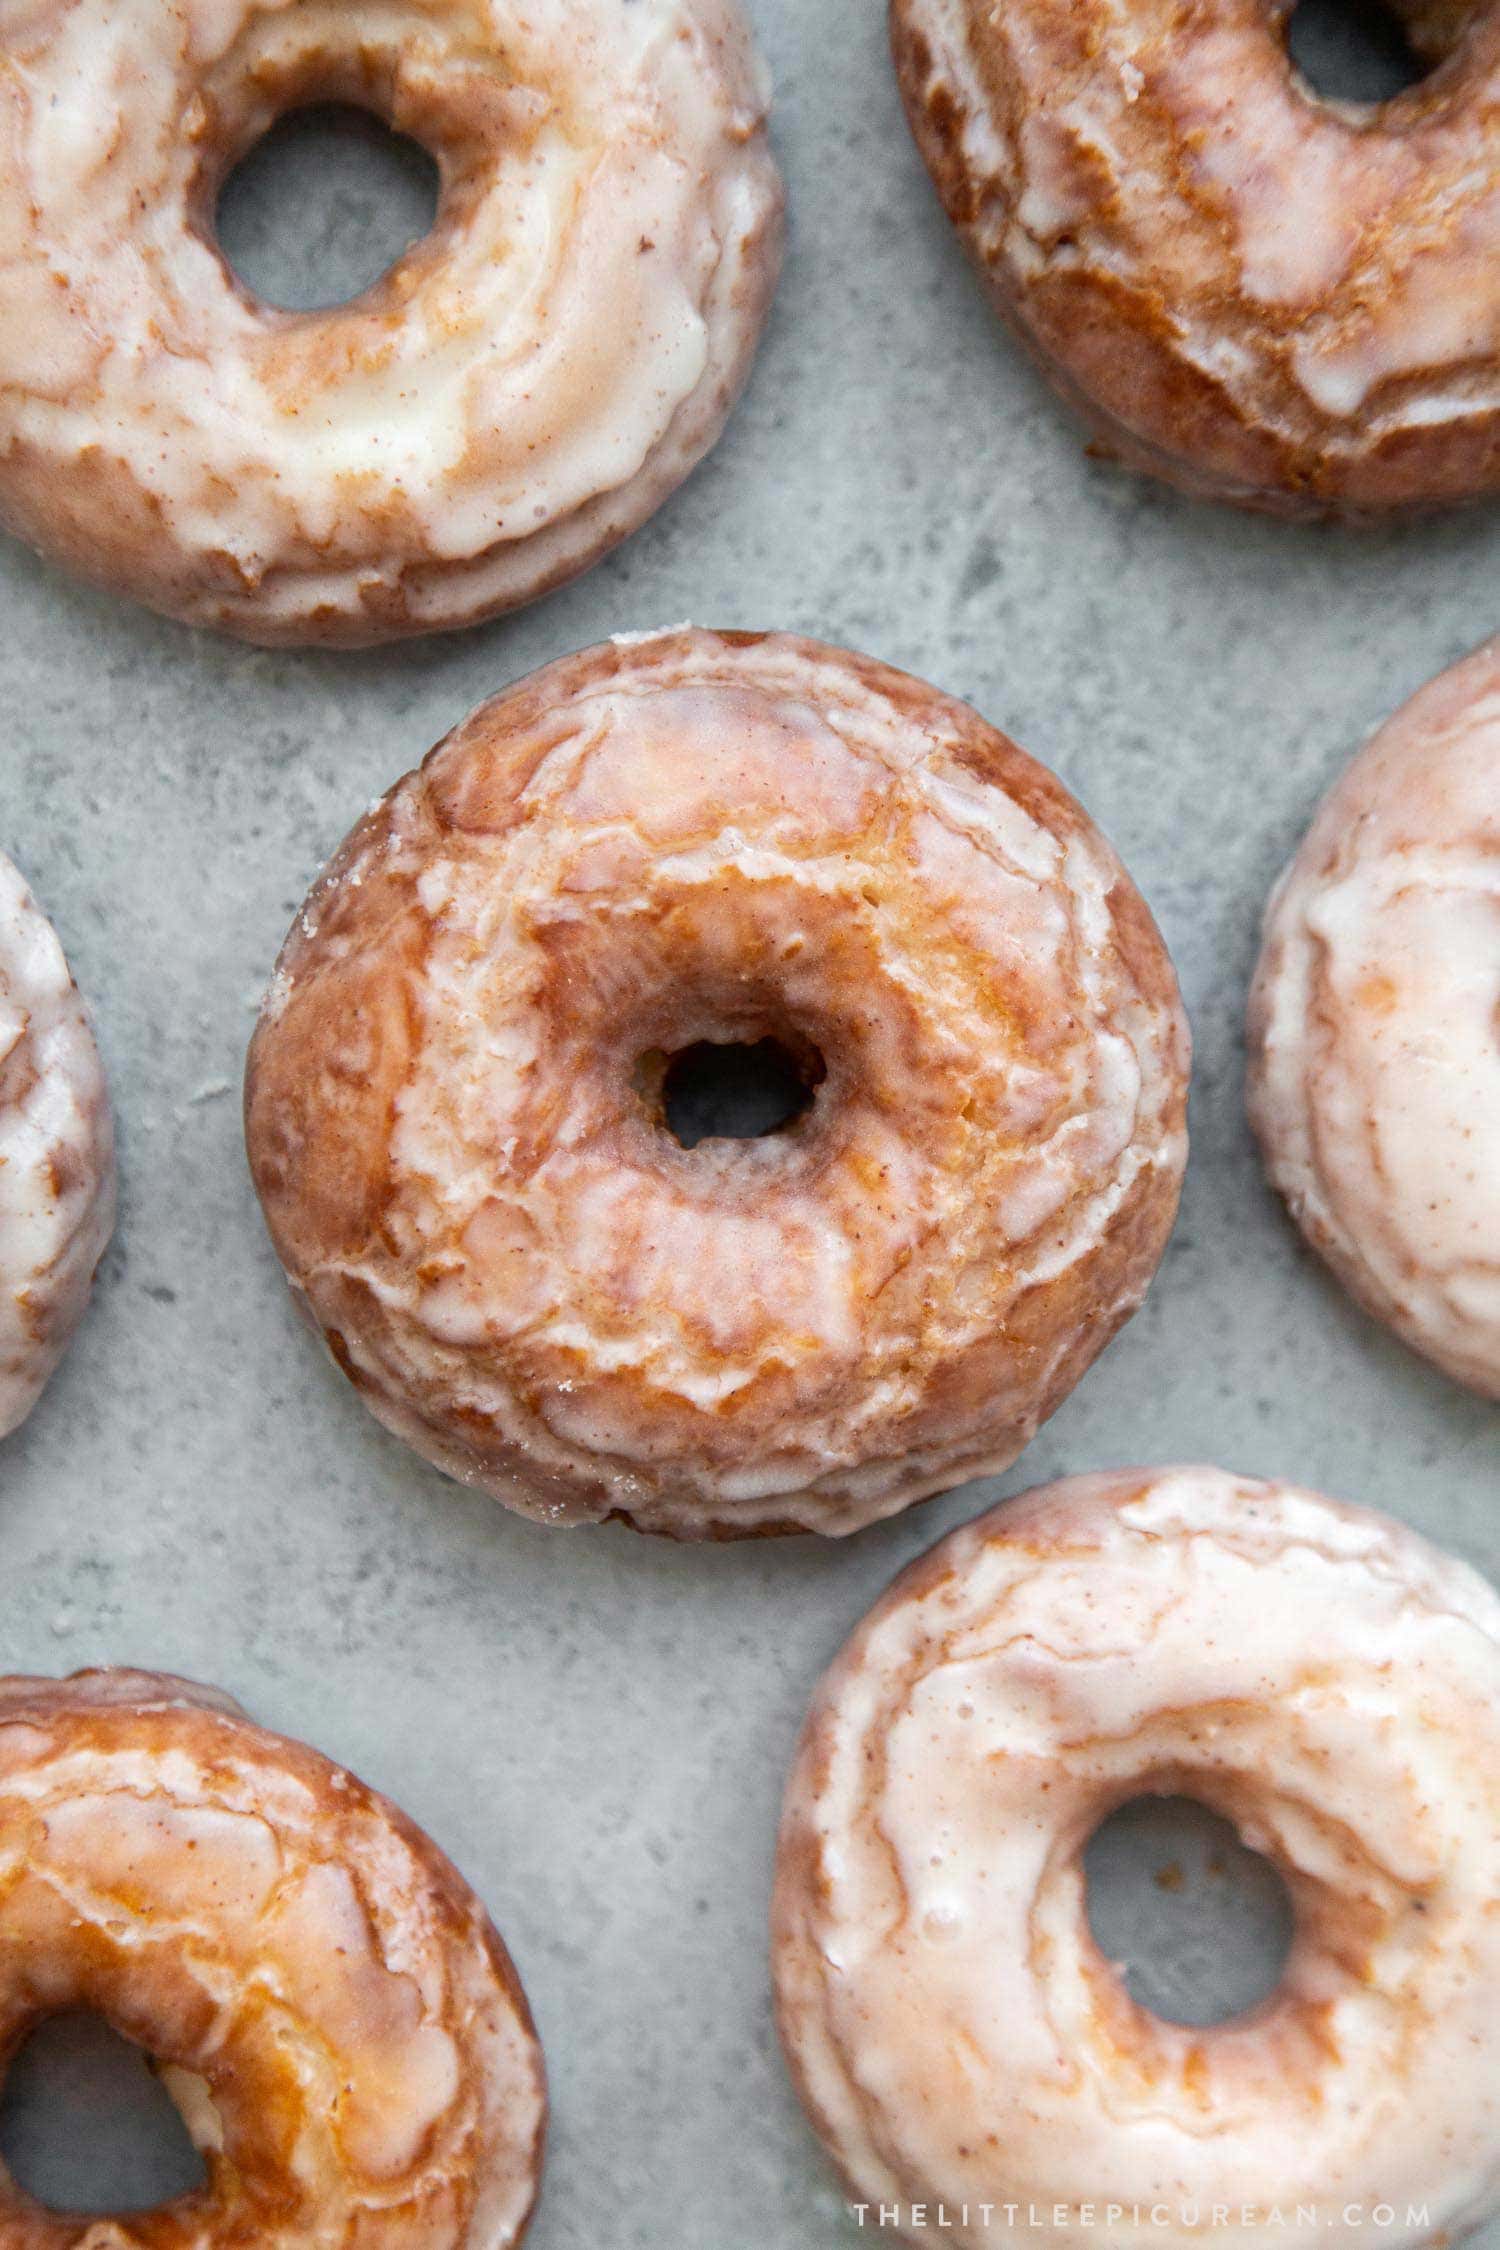
I prefer the glaze on the thin side. It allows the glaze to fill all the nooks and crannies of the old fashioned donut.
The thinner glaze also allows for double glazing, if you’re into that. (Which I am very into.)
Storage and Leftovers
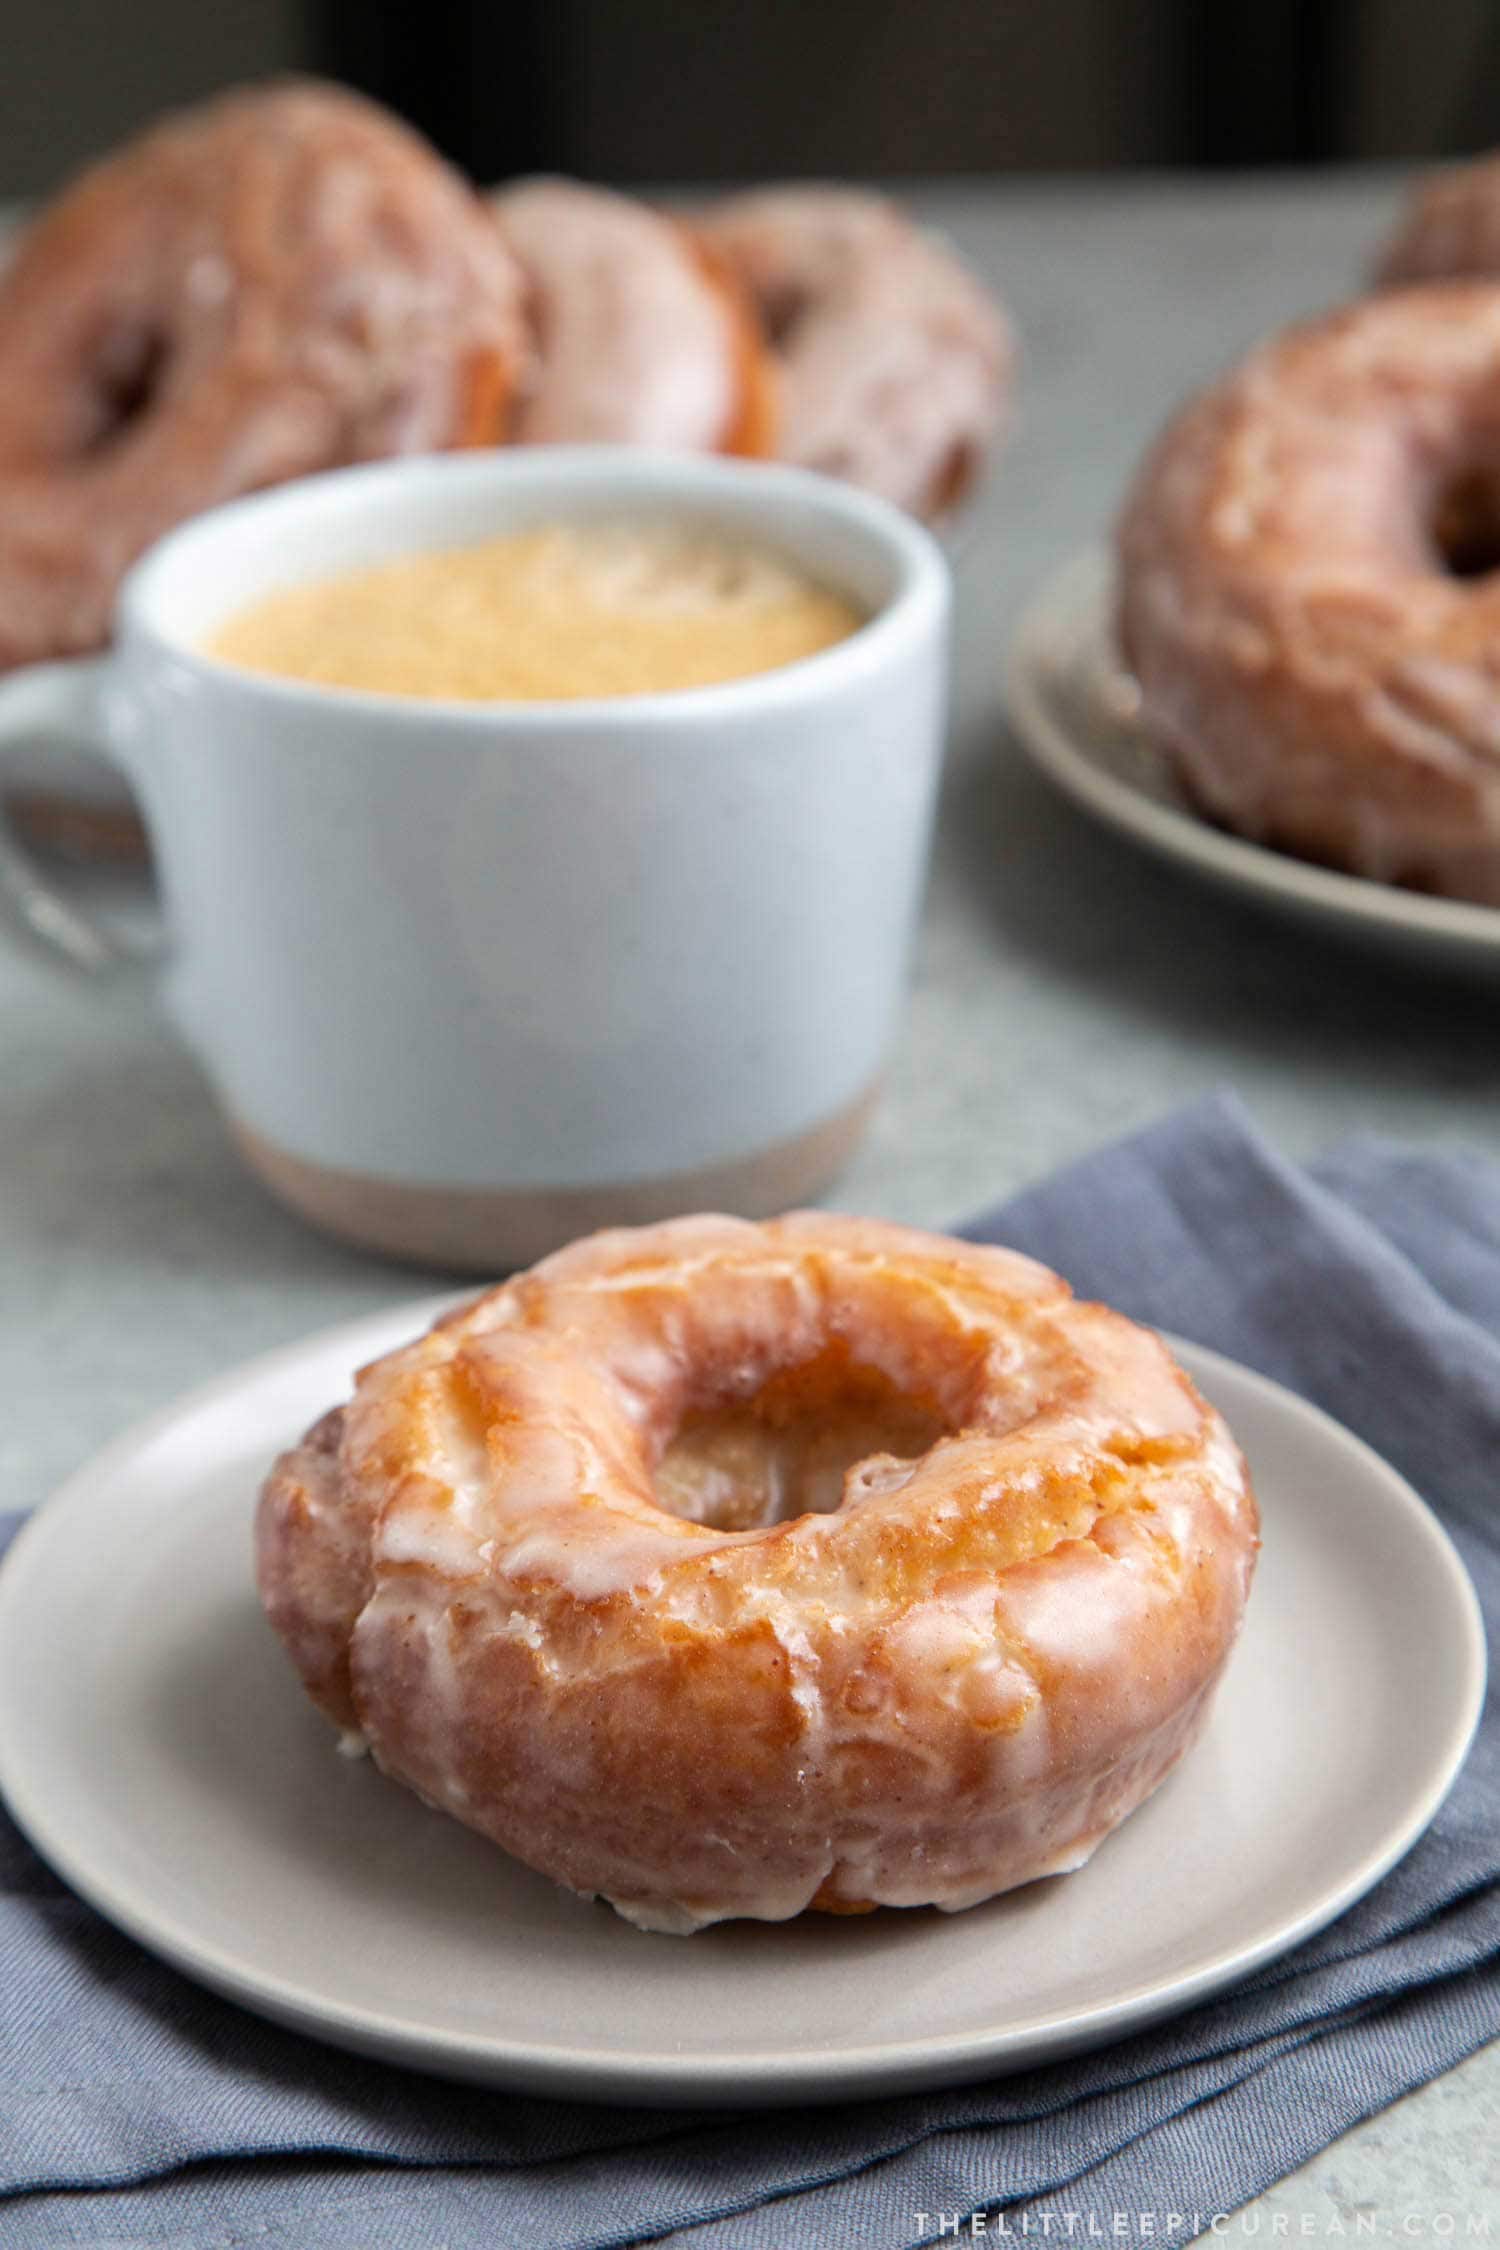
As with all fried foods, these donuts are best served the same day they are fried. Ideally, you want to enjoy these donuts within hours of frying.
Should you have any leftovers or plan to transport these donuts, store them in a breathable box (like a cardboard bakery box or container with the lid slightly ajar).
The glaze needs air circulation. Otherwise, it will melt and make the donuts soggy.
Brown Butter Glaze Old Fashioned Donuts
Ingredients
Dough:
- 2 ½ cup cake flour, (300 g)
- 1 Tablespoon baking powder
- 1 teaspoon kosher salt
- ½ teaspoon freshly grated nutmeg, or ground nutmeg
- ¼ teaspoon ground cinnamon
- ½ cup granulated sugar, (100 g)
- 2 Tablespoon vegetable shortening, (25 g)*
- 1 large egg,, room temp
- 1 large egg yolk,, room temp
- ¾ cup sour cream,, (170 g)room temp
- vegetable oil,, or vegetable shortening for frying
Brown Butter Glaze:
- 6 Tablespoon unsalted butter, (85 g)
- 350 grams powdered sugar, (confectioners' sugar)
- 1 teaspoon light corn syrup, *
- ½ teaspoon pure vanilla extract
- 6 Tablespoon hot water
- pinch kosher salt
Instructions
Dough:
- In a large bowl, whisk together cake flour, baking powder, salt, nutmeg, and cinnamon. Set aside.
- In the bowl of stand mixer fitted with a paddle attachment (or using an electric hand mixer), cream together sugar, vegetable shortening, egg, and egg yolk. Scrape down bowl as needed to ensure thorough mixing.
- Add sour cream. Mix on medium speed until well combined.
- Add flour mixture in three additions. Mix on low speed until there are no longer dry streaks of flour. The dough will be VERY tacky and sticky. Use a sturdy spatula or bowl scraper to transfer dough to a medium bowl. Directly cover dough with plastic wrap. Chill dough in the fridge for at least 1 hour, or up to overnight.
Frying:
- Attach candy thermometer to a large heavy bottomed pot (cast iron or Dutch oven, preferred because of heat retention). Fill pot about 3-inches deep with shortening or oil. Set over medium heat and bring to 350°F.
- Remove chilled dough from fridge. Dough will still be VERY sticky. Transfer dough to a generously floured work surface. Flour the top of dough and pat (or roll) dough to a thickness a little under ½-inch.
- Using a floured 3 ½-inch doughnut cutter (or using round cookie cutters), stamp out doughnut rings. Transfer rings to a lightly floured baking sheet.
- Gather dough scrapes, knead together, and re-roll to stamp out additional doughnut rings.
- Brush off any excess flour from doughnut rings. Once oil comes to temperature, carefully place 2-4 donuts at a time into hot oil. Do not overcrowd the pot. Cook for 90 seconds to 2 minutes on each side, until golden in color. NOTE: Keep any eye on thermometer and adjust heat accordingly to maintain even, constant cooking temperature.*
- Drain cooked doughnuts on a wire rack or paper-towel lined baking sheet.
Brown Butter Glaze:
- In a heavy bottomed sauce pot, melt butter over medium heat. Once the butter has melted, continue to cook. Swirl pan occasionally to ensure even heating. The mixture will bubble and foam as it cooks. The bubbling will be vigorous at the beginning, but it will subside.
- Continue to cook until butter smells nutty and the milk solids at the bottom of the pot have turned rich golden brown in color.
- Remove from heat and pour into a heat-safe bowl. Be sure to scrape out as much from the browned milk solid bits. Set aside.
- Sift powdered sugar into a medium bowl. Stir in corn syrup, vanilla, and warm brown butter. Once mixture is well combined. add in hot water. Mix until smooth.
- Dip warm donuts into glaze. Allow excess glaze to drip back into bowl. Set glazed donuts on wire rack. Allow glaze to set. Enjoy donuts immediately, warm or at room temperature.
Notes
- Attach candy thermometer to frying pot to maintain proper cooking temperature. Oil temperature will fluctuate as you add raw dough to hot oil.
- I prefer to use vegetable oil in the dough because it lends to a less greasy donut. You may use unsalted butter, if preferred.
- Light corn syrup in glaze is optional. Corn syrup helps to keep glaze shiny.
Nutrition
Nutrition information is automatically calculated, so should only be used as an approximation.
 Like this recipe? Rate & comment below!


I made these tonight because I’ve been craving sour cream donuts. The brown buttered glaze really takes this recipe over the edge. It’s sweet without being TOO sweet, the nuttiness from the butter is such a nice touch. I’ll definitely be making this again.
I bake regularly but this is the first time I’ve made donuts. The recipe was straightforward and easy to follow!
These sounds amazing! I am going to try them after I move. Any idea how close these are to the Butter and Salt donuts at Sidecar Donuts in CA? It is amazing with a cult following and I have been trying to find a recipe for them for years! Espially since I dont live in CA anymore. I don’t remember there being cinnamon or spice in them.
I am very familiar with Sidecar Doughnuts. We go there often! Unfortunately, these are not close to the Butter and Salt donuts. This recipe is more similar to the Old Fashioned donuts from Top Pot Doughnuts in Seattle.
Do you have the nutrition facts for one donut
No, I do not provide any nutritional information for any of the recipes shared on this site.
The brown butter glaze..? Absolutely delicious beyond words!
Thank you!
is there a way that I could add ube halaya to make it an ube doughnut? thanks
I have an upcoming recipe for ube doughnuts. It doesn’t quite work well in this old fashioned recipe. If you want to turn this one into an ube version, you can add ube extract for flavor.
Nevermind I see it lol last comment?
Recipe says sour cream but ingredients don’t this is very confusing. Do I absolutely need it?
Looks mouthwatering! The quality of your doughnuts looks amazing but I’m more amazed about how your stay slim despite the many delicious desserts you cook. :)
Thank you! It’s all about enjoying sweets in moderation…and exercise! :)
I love the baking science detail you provide. Will be making these this weekend.