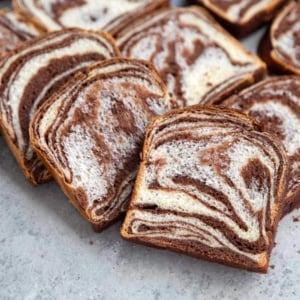
Soft and fluffy chocolate milk bread is great for toast, sweet sandwiches, and stuffed French toast. And of course, it’s delicious enjoyed on its own!
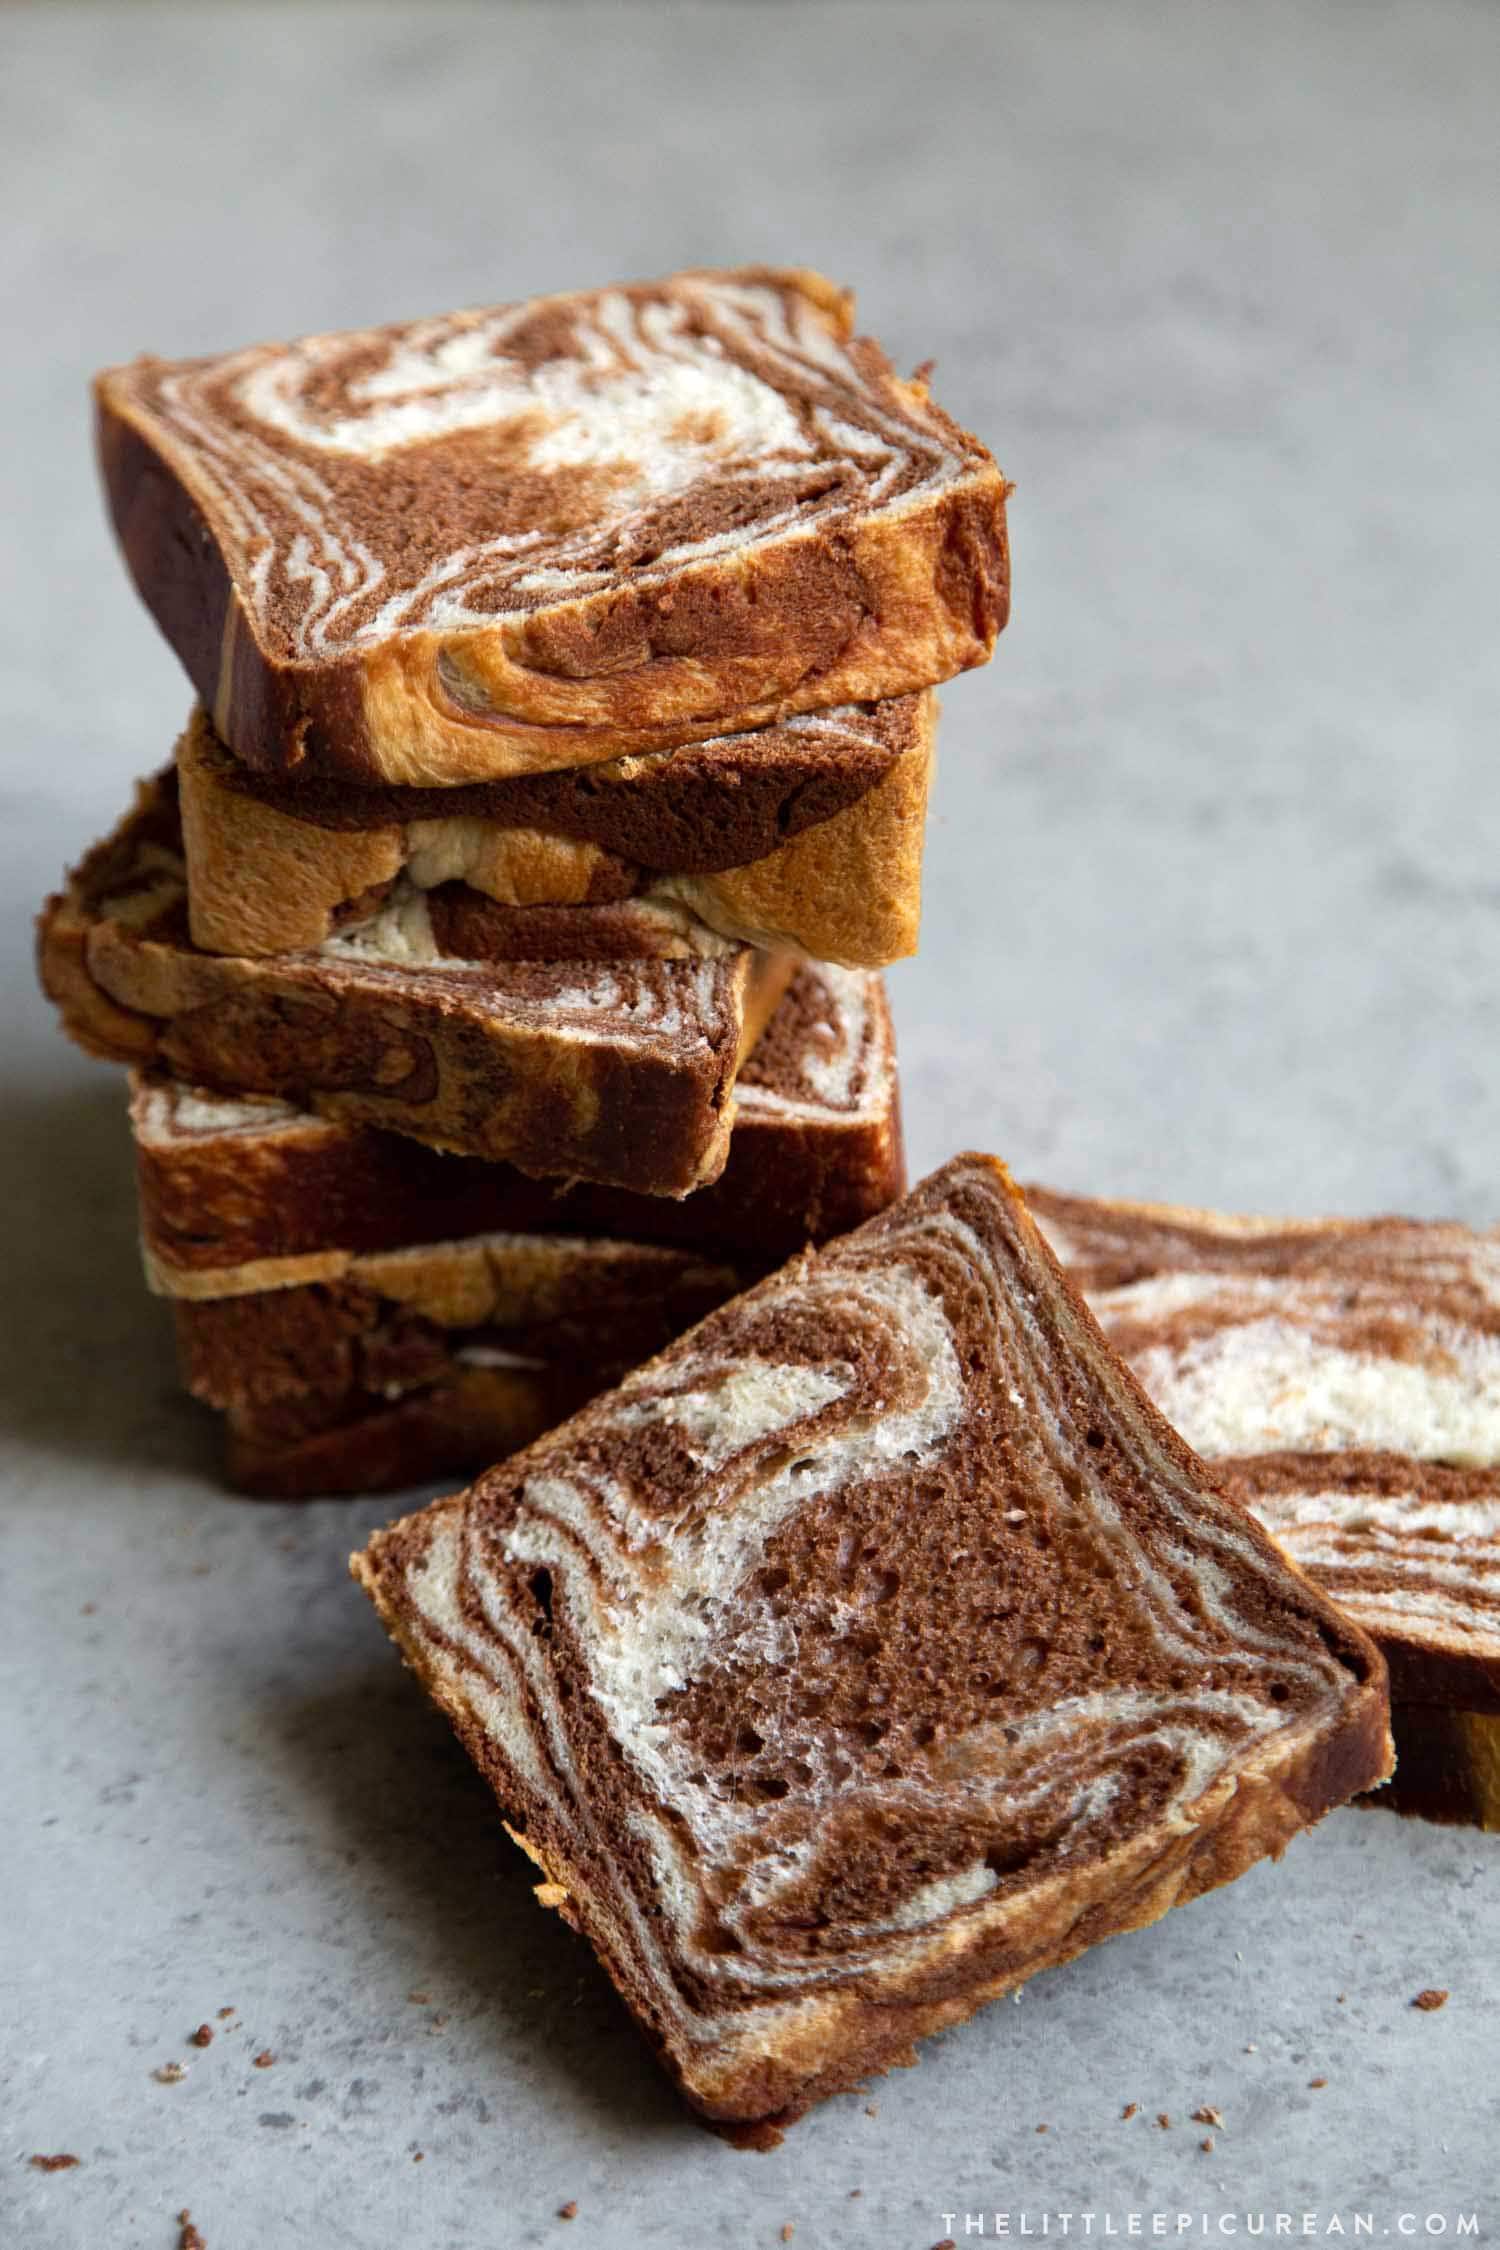
I’ve been experimenting with different flavored milk breads due to the popularity of this Japanese Milk Bread.
After the success of Ube Milk Bread, I’m back with a second variation.
Say hello to this super versatile Chocolate Milk Bread!
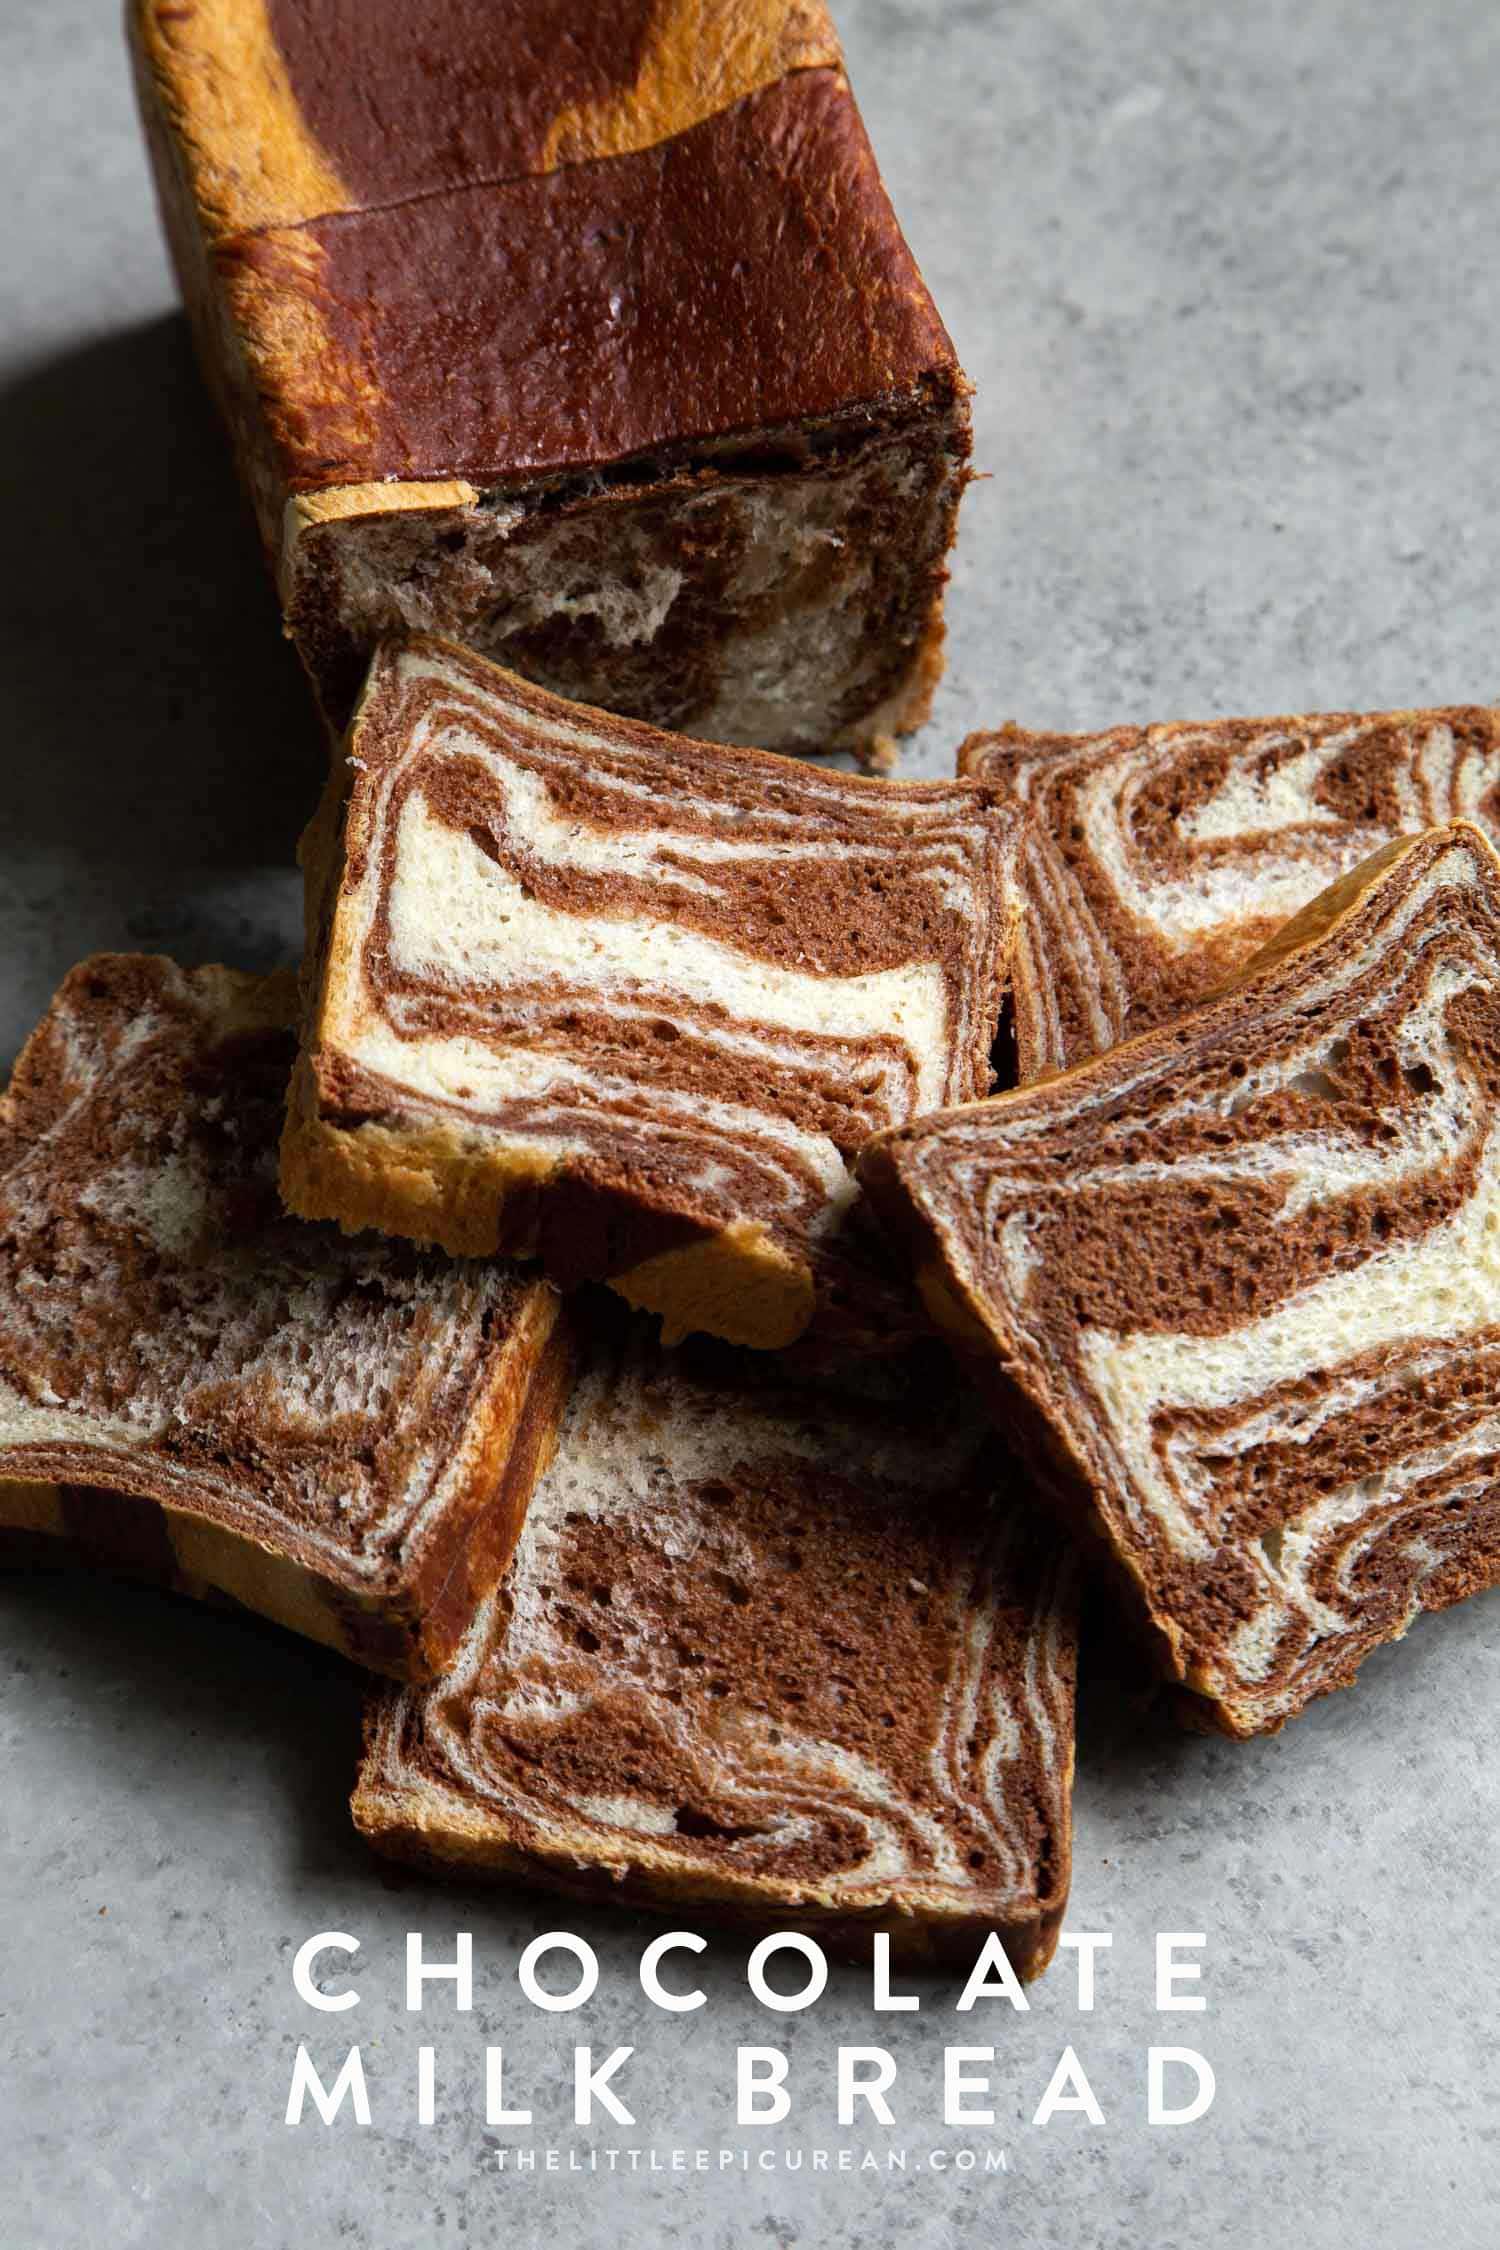
Table of Contents
Japanese Chocolate Milk Bread
There’s no wrong way to enjoy this chocolate milk bread.
Spread peanut butter and top it with sliced bananas. Or maybe, whipped cream cheese spread with sliced strawberries and a drizzle of honey.
For a little more work, turn it into French toast.
Or for something more decadent, bake it into chocolate swirl bread pudding.
However you choose to enjoy this milk bread, it’s bound to be soft, fluffy, and delicious.
Water Roux Creates Soft Fluffy Bread
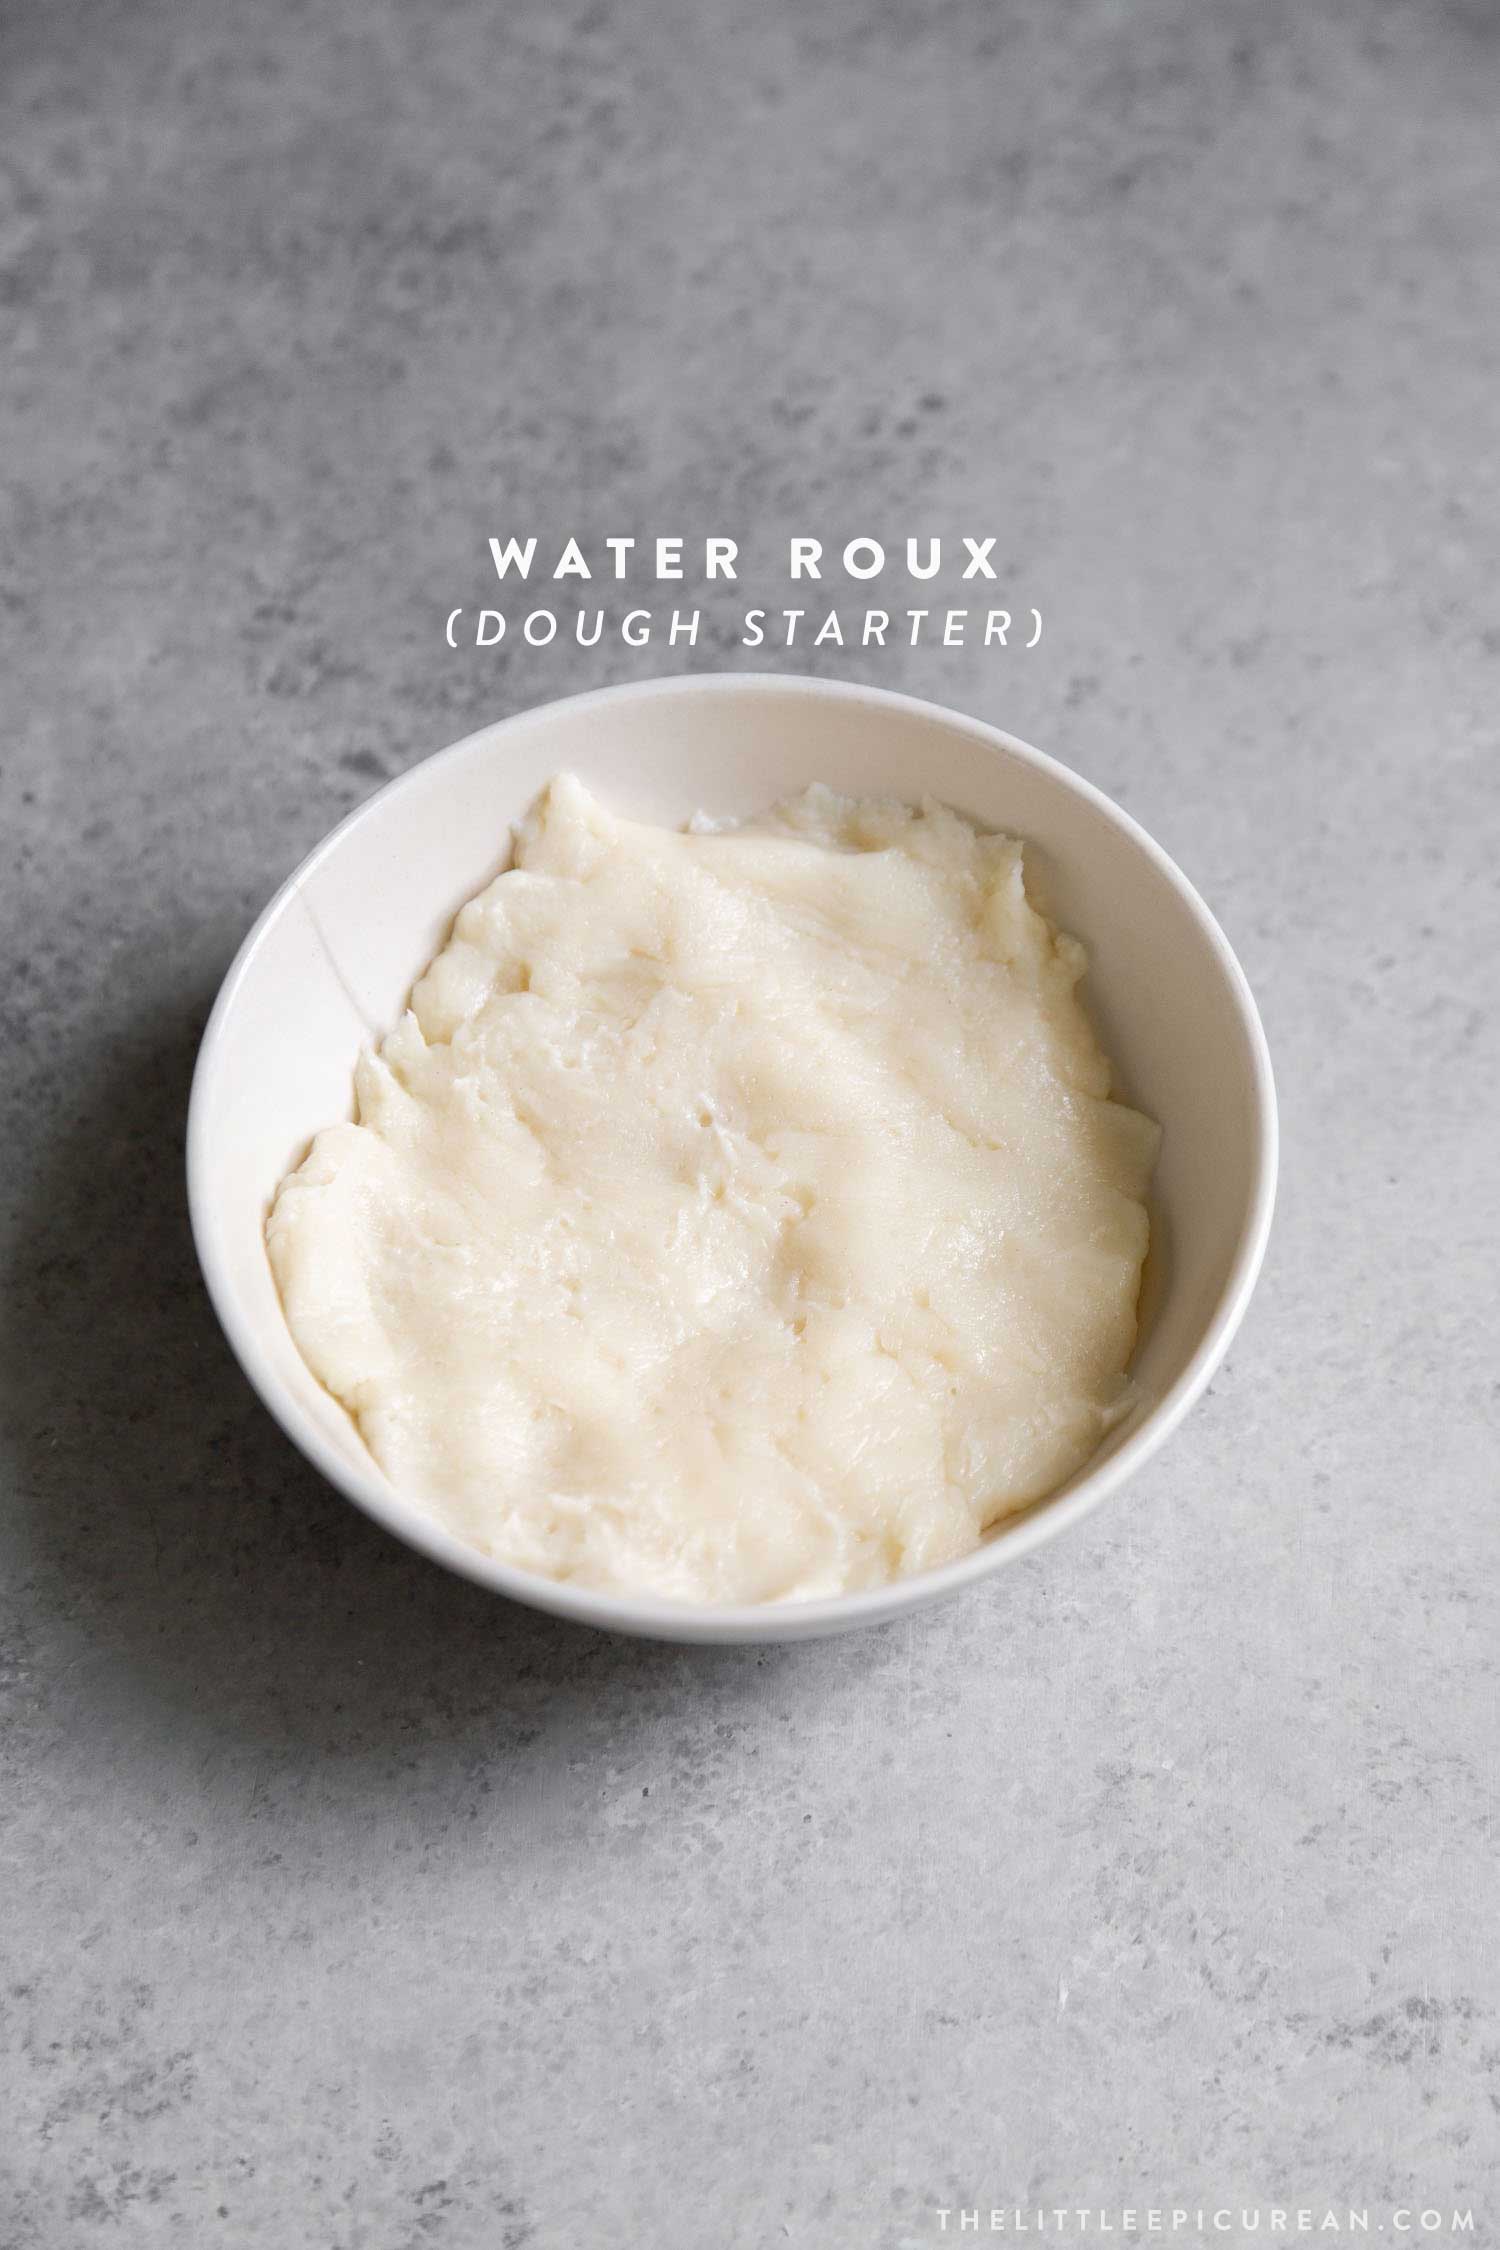
Japanese milk bread, also known as Hokkaido milk bread, is known for its pillow soft interior. The bread achieves its iconic texture from the use of a dough starter or water roux.
Creating a water roux is super simple. Flour, milk, and water is heated together to form a thick paste. This paste creates a forgiving, easy to work with dough.
*NOTE: The recipe listed here makes TWO loaves! You will use half the water roux to make the cream colored milk dough and the other half to make the brown chocolate milk dough.
What is Milk Powder?
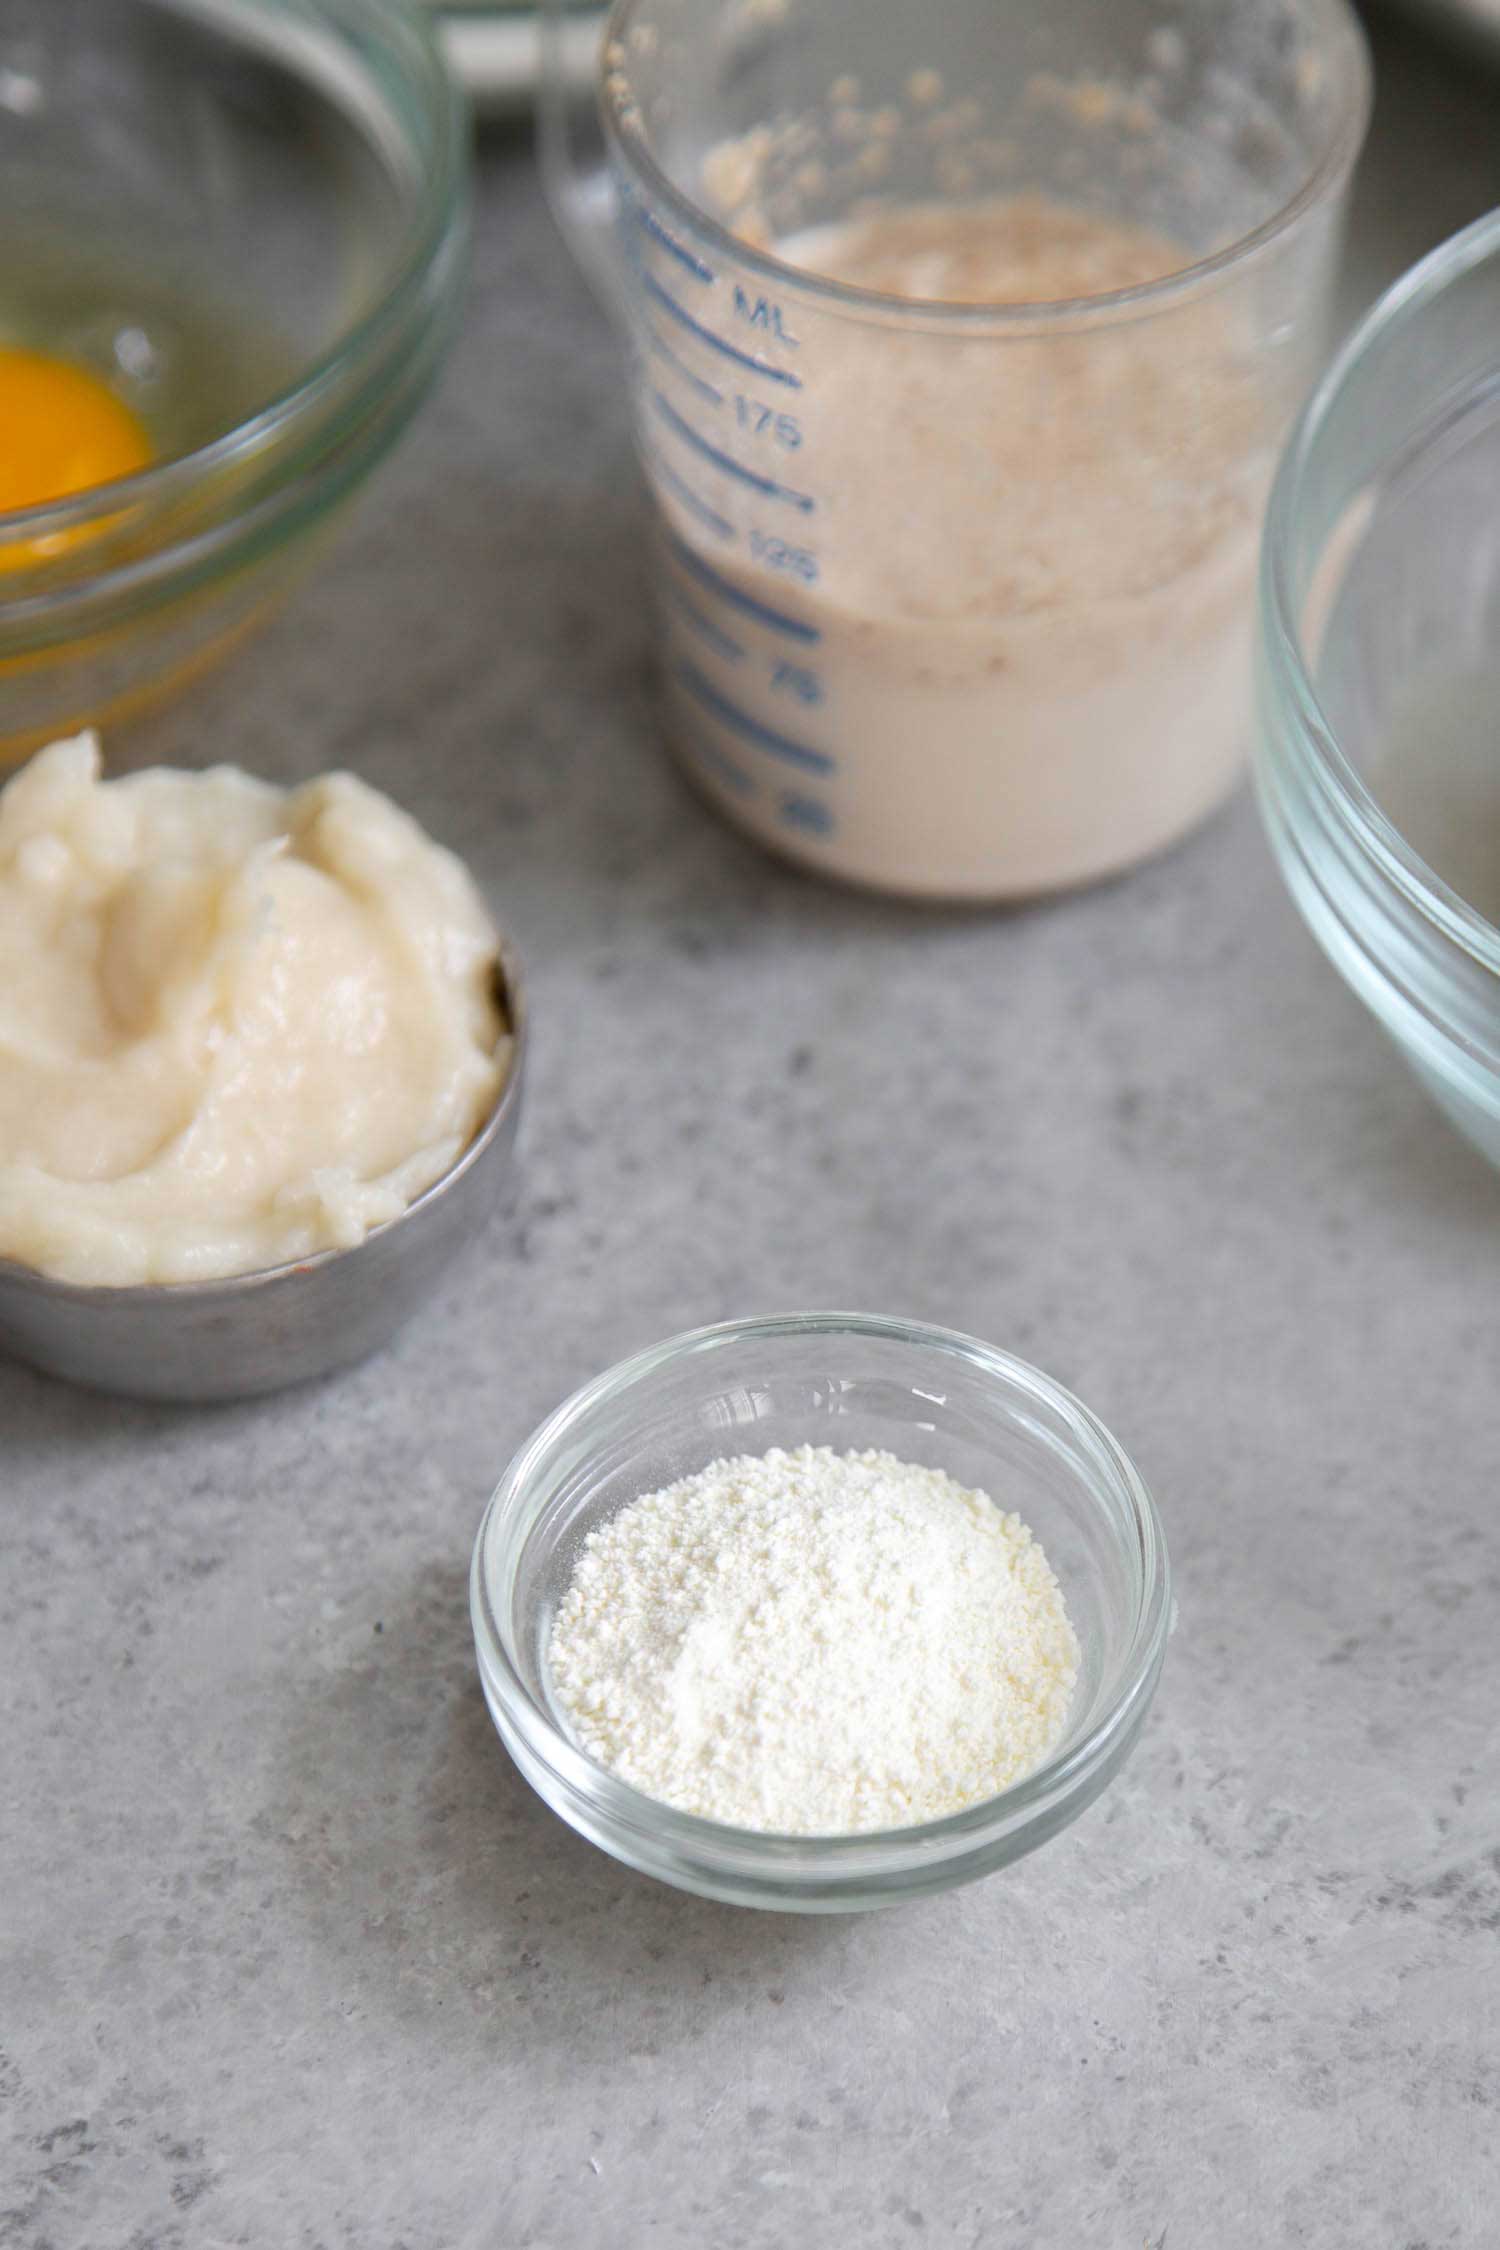
Known by name names including: powdered milk, dried milk, and instant milk. In simple terms, milk powder is dehydrated milk!
It is used in a variety of dessert and baked good recipes. It’s great for recipes that could benefit from the flavor of milk without the added liquid.
Find it in the baking aisle of supermarkets alongside flour and sugar. Instant non-fat milk powder is most commonly available. Dried whole milk is a bit more difficult to find.
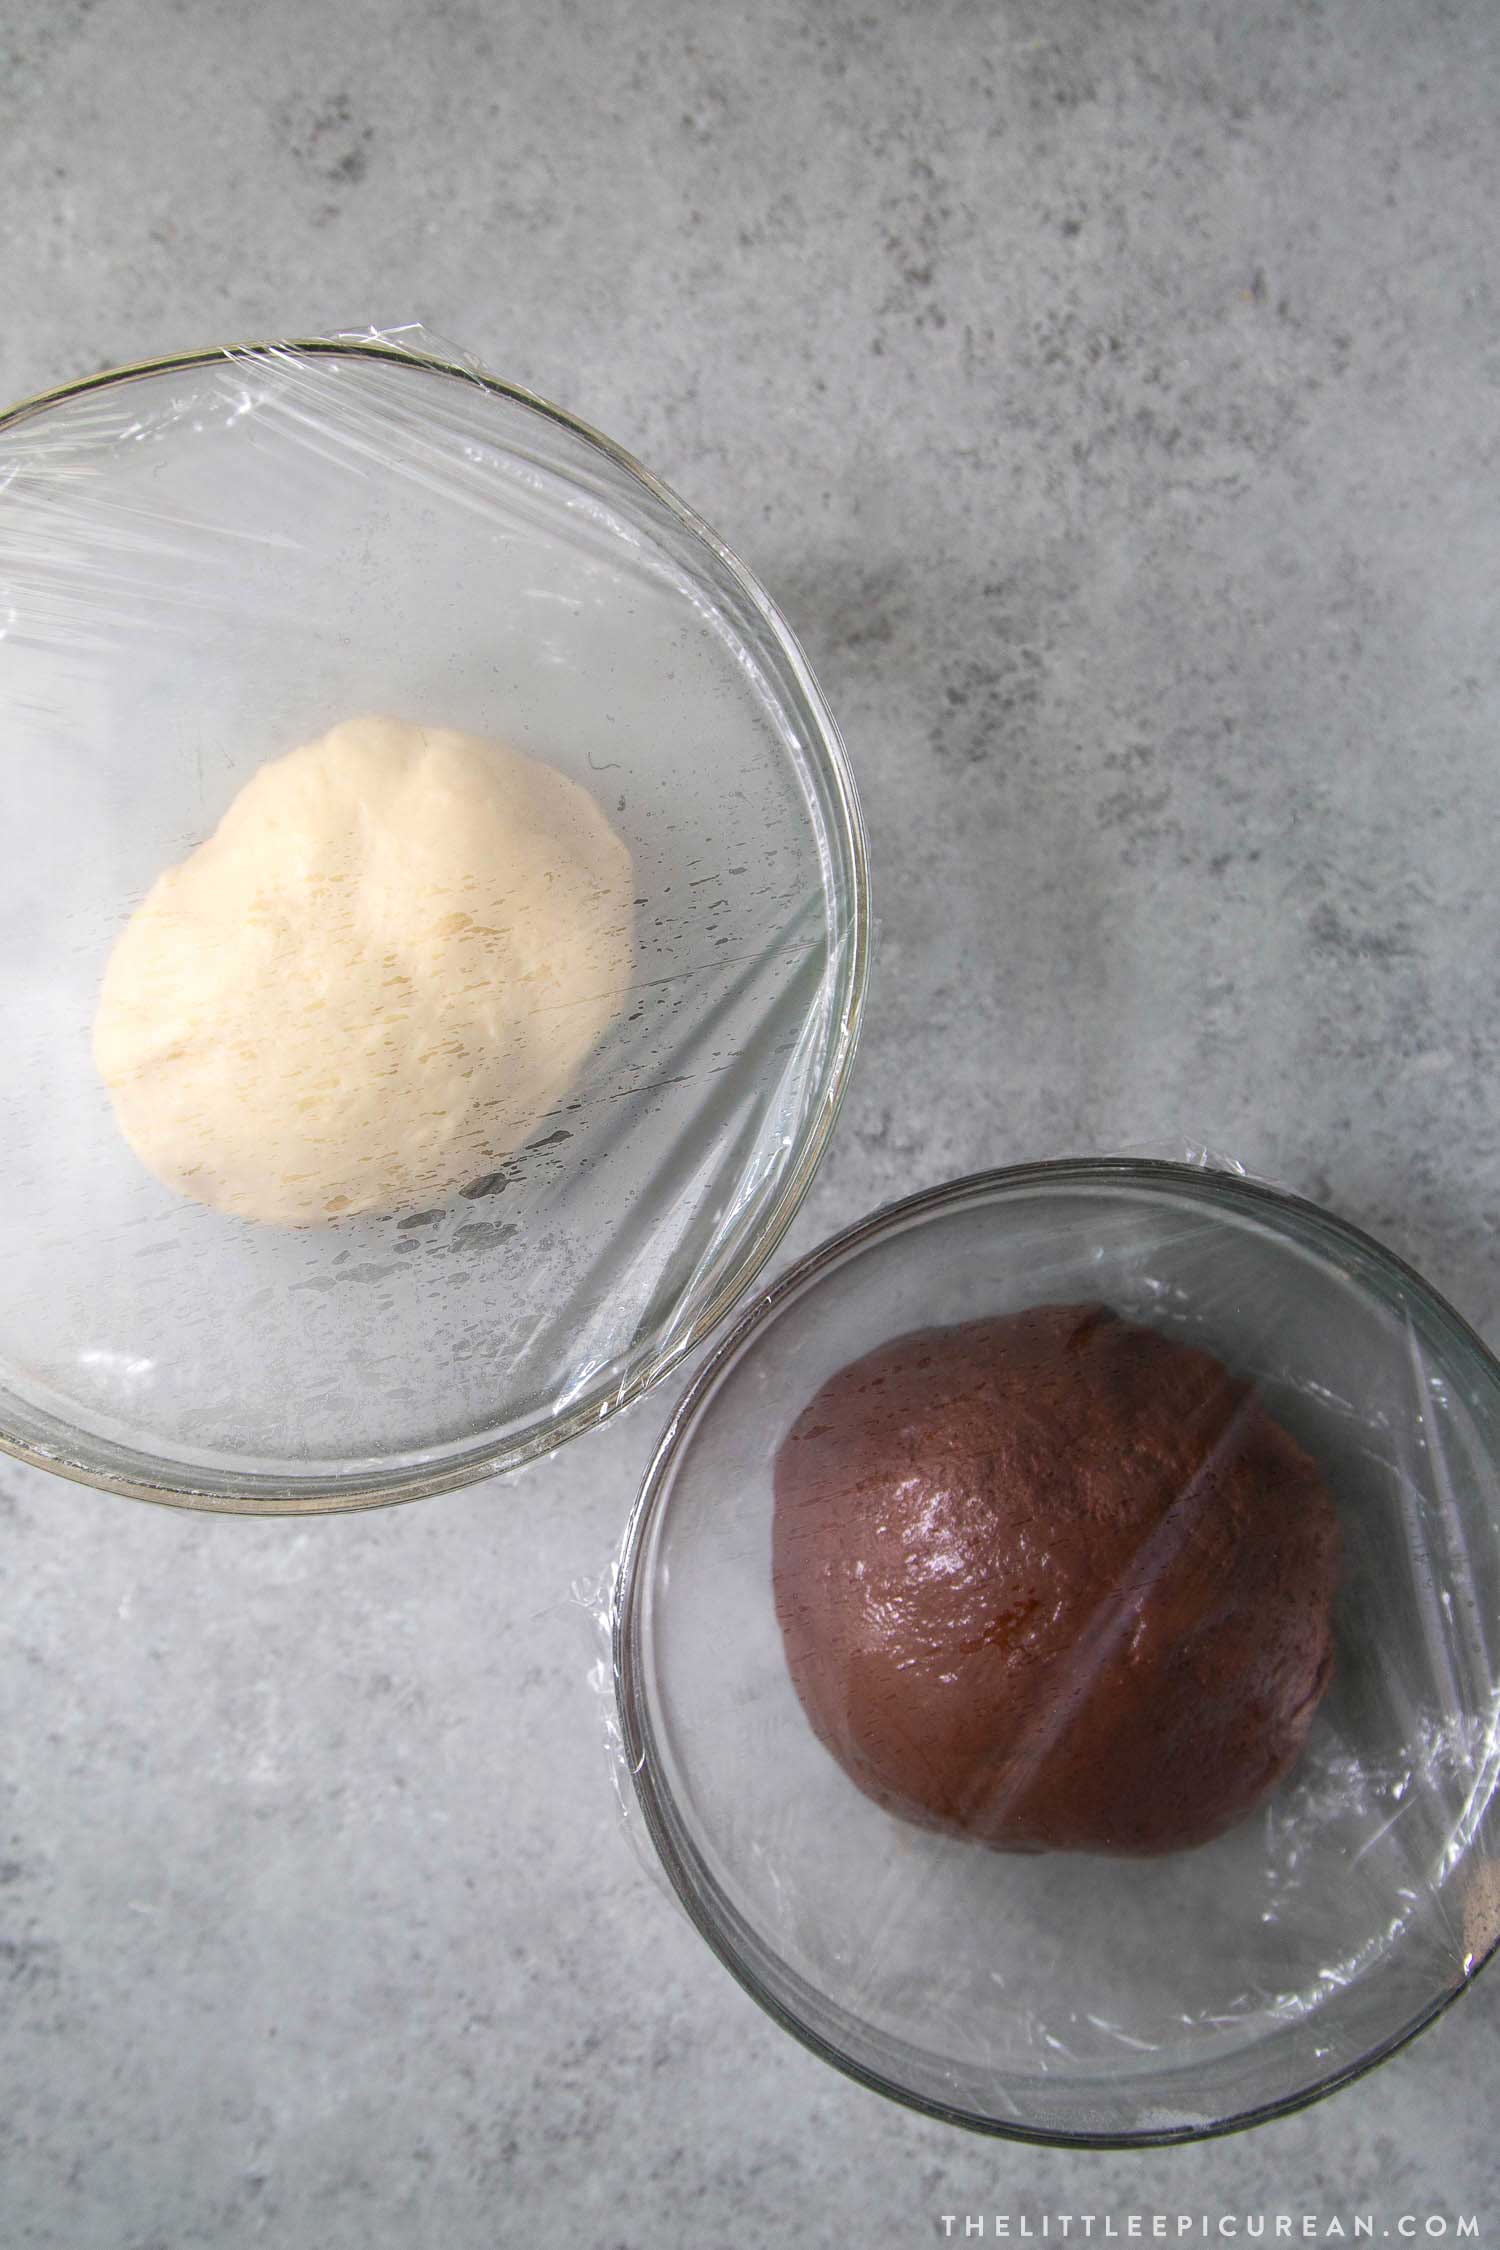
Two Doughs Swirled Together
This recipe makes two loafs of bread. It also requires you to make two separate doughs, a cream colored milk dough and brown milk chocolate dough.
I suggest starting with the milk dough. No need to clean out the mixing bowl. Any remnants will be kneaded into the milk chocolate dough.
Each loaf will have 4 cream colored milk doughs and 4 brown colored chocolate milk doughs. It is important to keep the dough covered with plastic wrap to prevent it from drying out.
Depending on the humidity and temperature of your working environment, it may take anywhere from 45 minute to 90 minutes for the dough to double in volume.
NOTE: You can use either instant yeast or dry active yeast for this recipe. Instant yeast tends to rise faster than dry active yeast.
How to assemble marbled dough
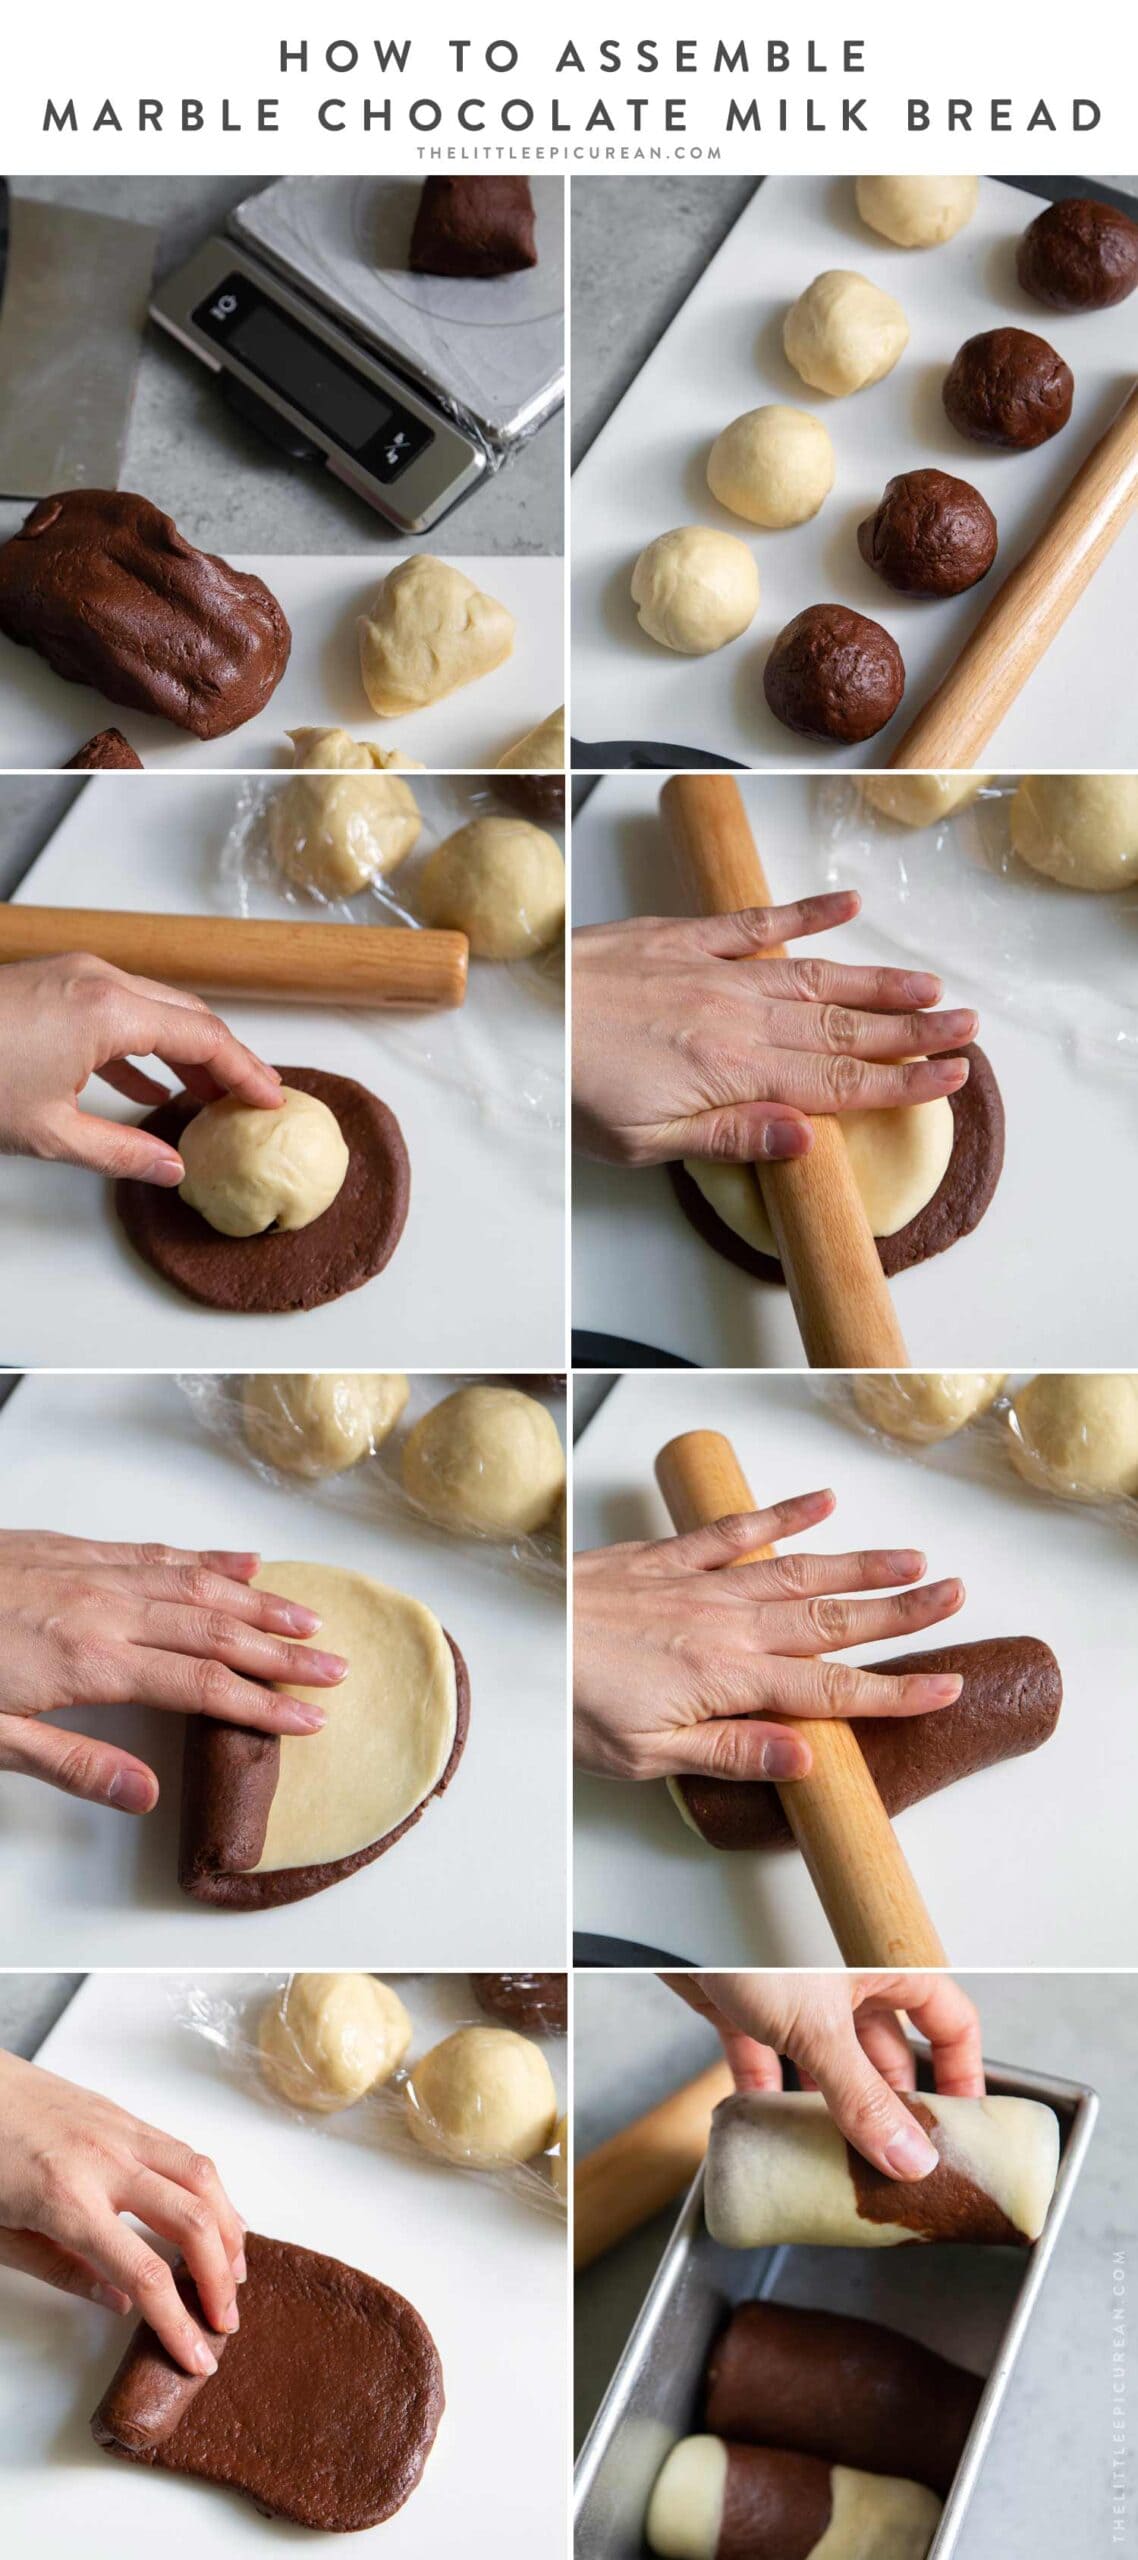
- Divide each dough into 8 equal parts. Use a kitchen scale for ease and accuracy. You will end up with a total of 16 parts.
- Roll each part into a ball. Keep dough covered with plastic wrap as you work to prevent dough from drying out.
- Take one chocolate dough ball. Flatten or roll out to a length of 8-inches and width of 5-inches. Grab a milk dough ball and place on top of rolled out chocolate dough.
- Roll milk dough to same measurements of chocolate dough.
- Starting at the shorter end, roll dough into a log.
- Place log seam side down on work surface. Use a small rolling pin to flatten the log. Roll dough into a rectangle 5-inches wide and 7-inches long.
- Starting at the shorter end, roll dough into a log.
- Place log seam side down into loaf pan.
Repeat steps until each loaf pan has a total of four logs. For a better marble effect, alternate outer dough color.
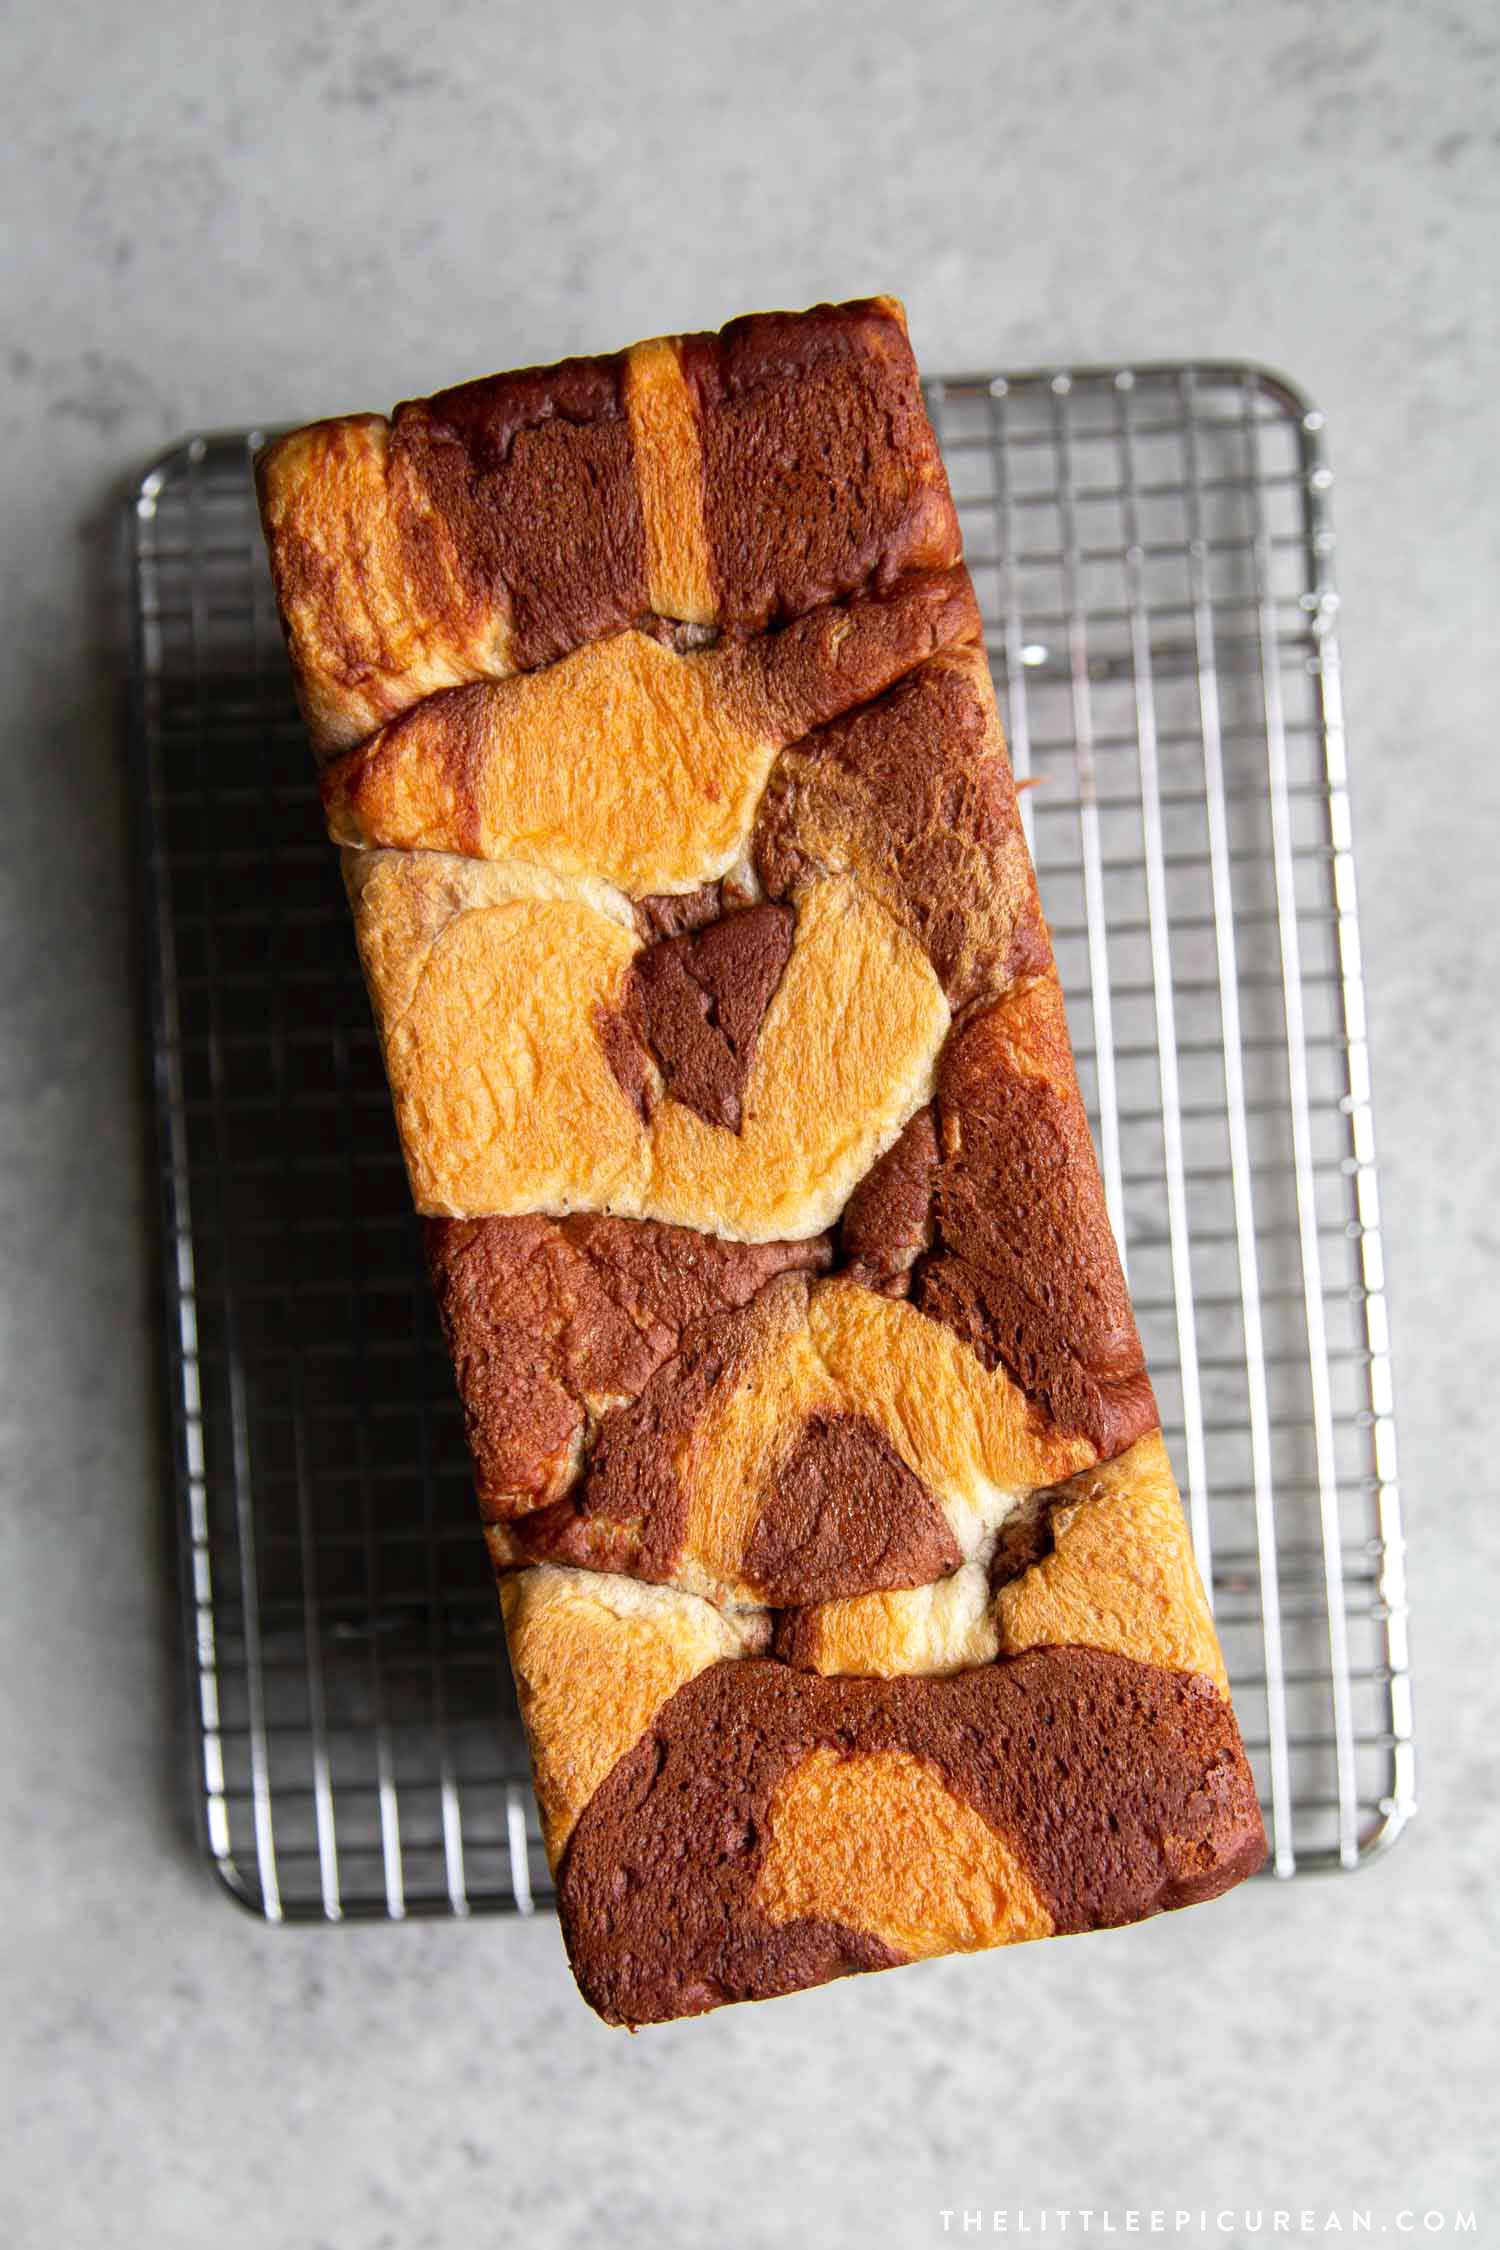
Recommended bread loaf pans
- Pullman Loaf Pan: creates perfectly square breads
The photo above shows bread baked in a pullman loaf pan with lid. I purchased mine from Williams Sonoma years ago.
- Standard Loaf Pan: creates rounded top bread loaf
The standard loaf pan used for quick breads like banana bread may be used for this recipe. It will created a domed, rounded bread loaf.
Either pan works well in this recipe. Pullman loaf will result in a straight-edged rectangular block. Whereas, the standard loaf pan will create a tall loaf with peaks and valleys.
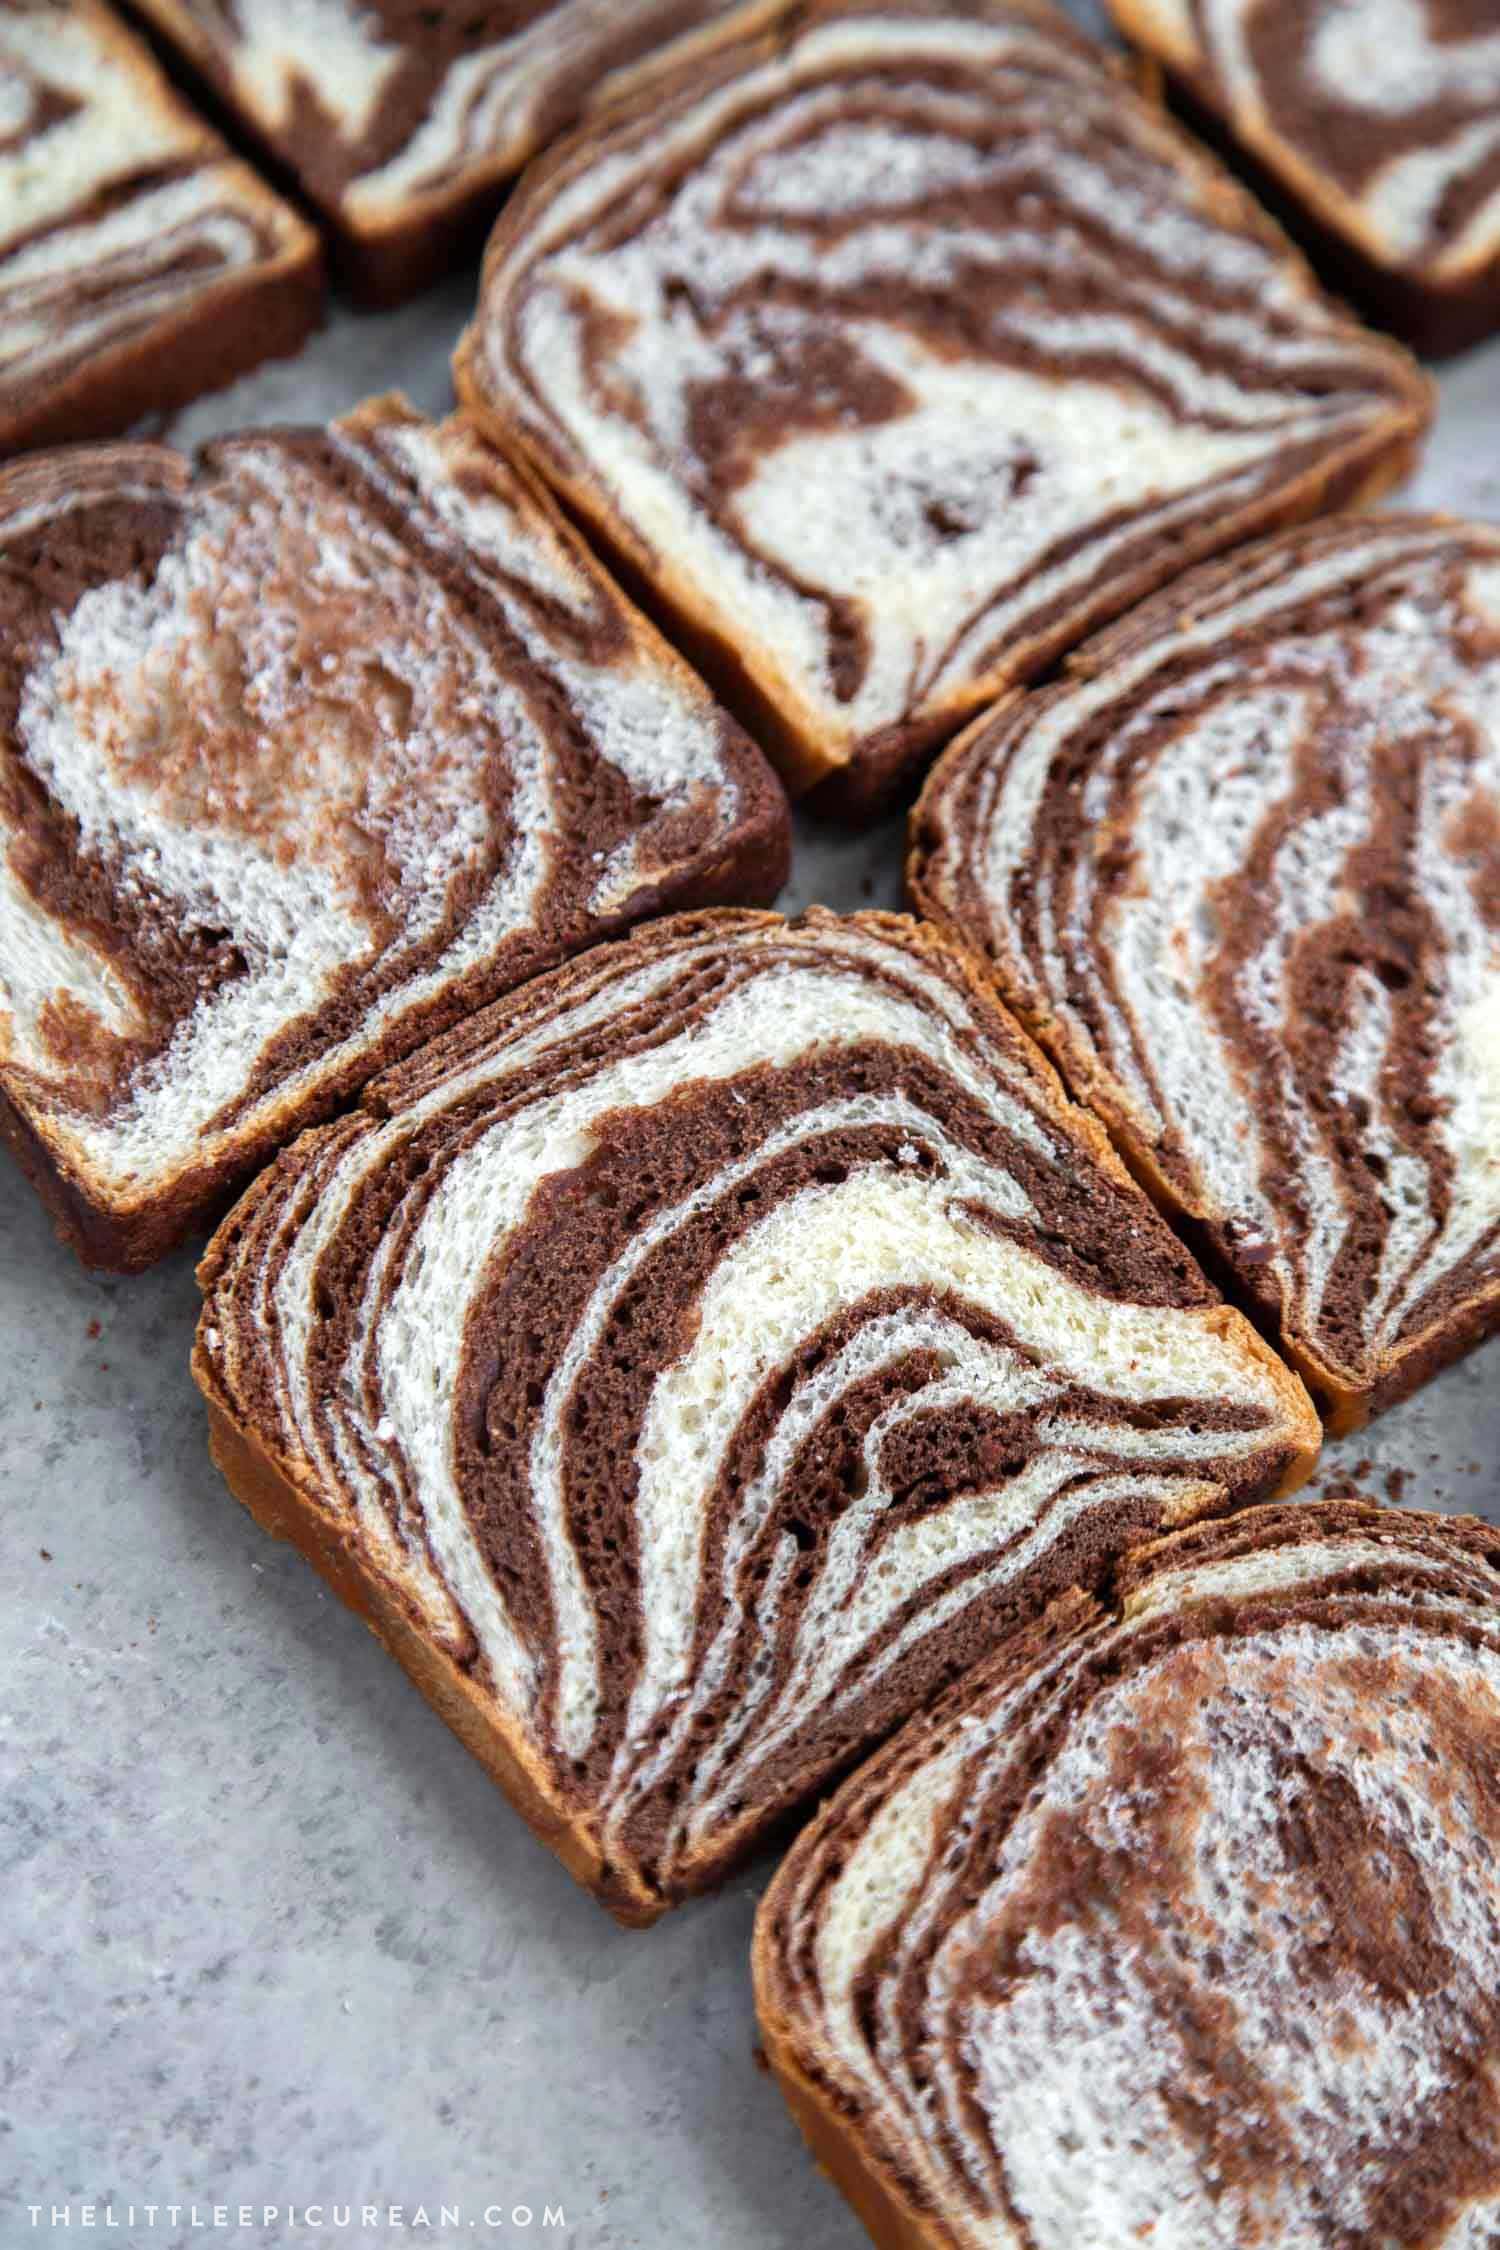
What does the finished bread taste like?
On a scale of one to ten sweeteness (ten being most sweet), this bread is about 6. It’s not overtly sweet.
The marbled chocolate milk bread is the perfect vehicle for your favorite sweet toppings.
It’s a soft and fluffy versatile bread. The chocolate flavor is apparent, but not pronounced. Use Dutch-process cocoa powder for best results.
The cocoa powder add color and just a touch of flavor. If you want a very chocolate rich, flavor forward bread, I suggest making this chocolate babka instead.
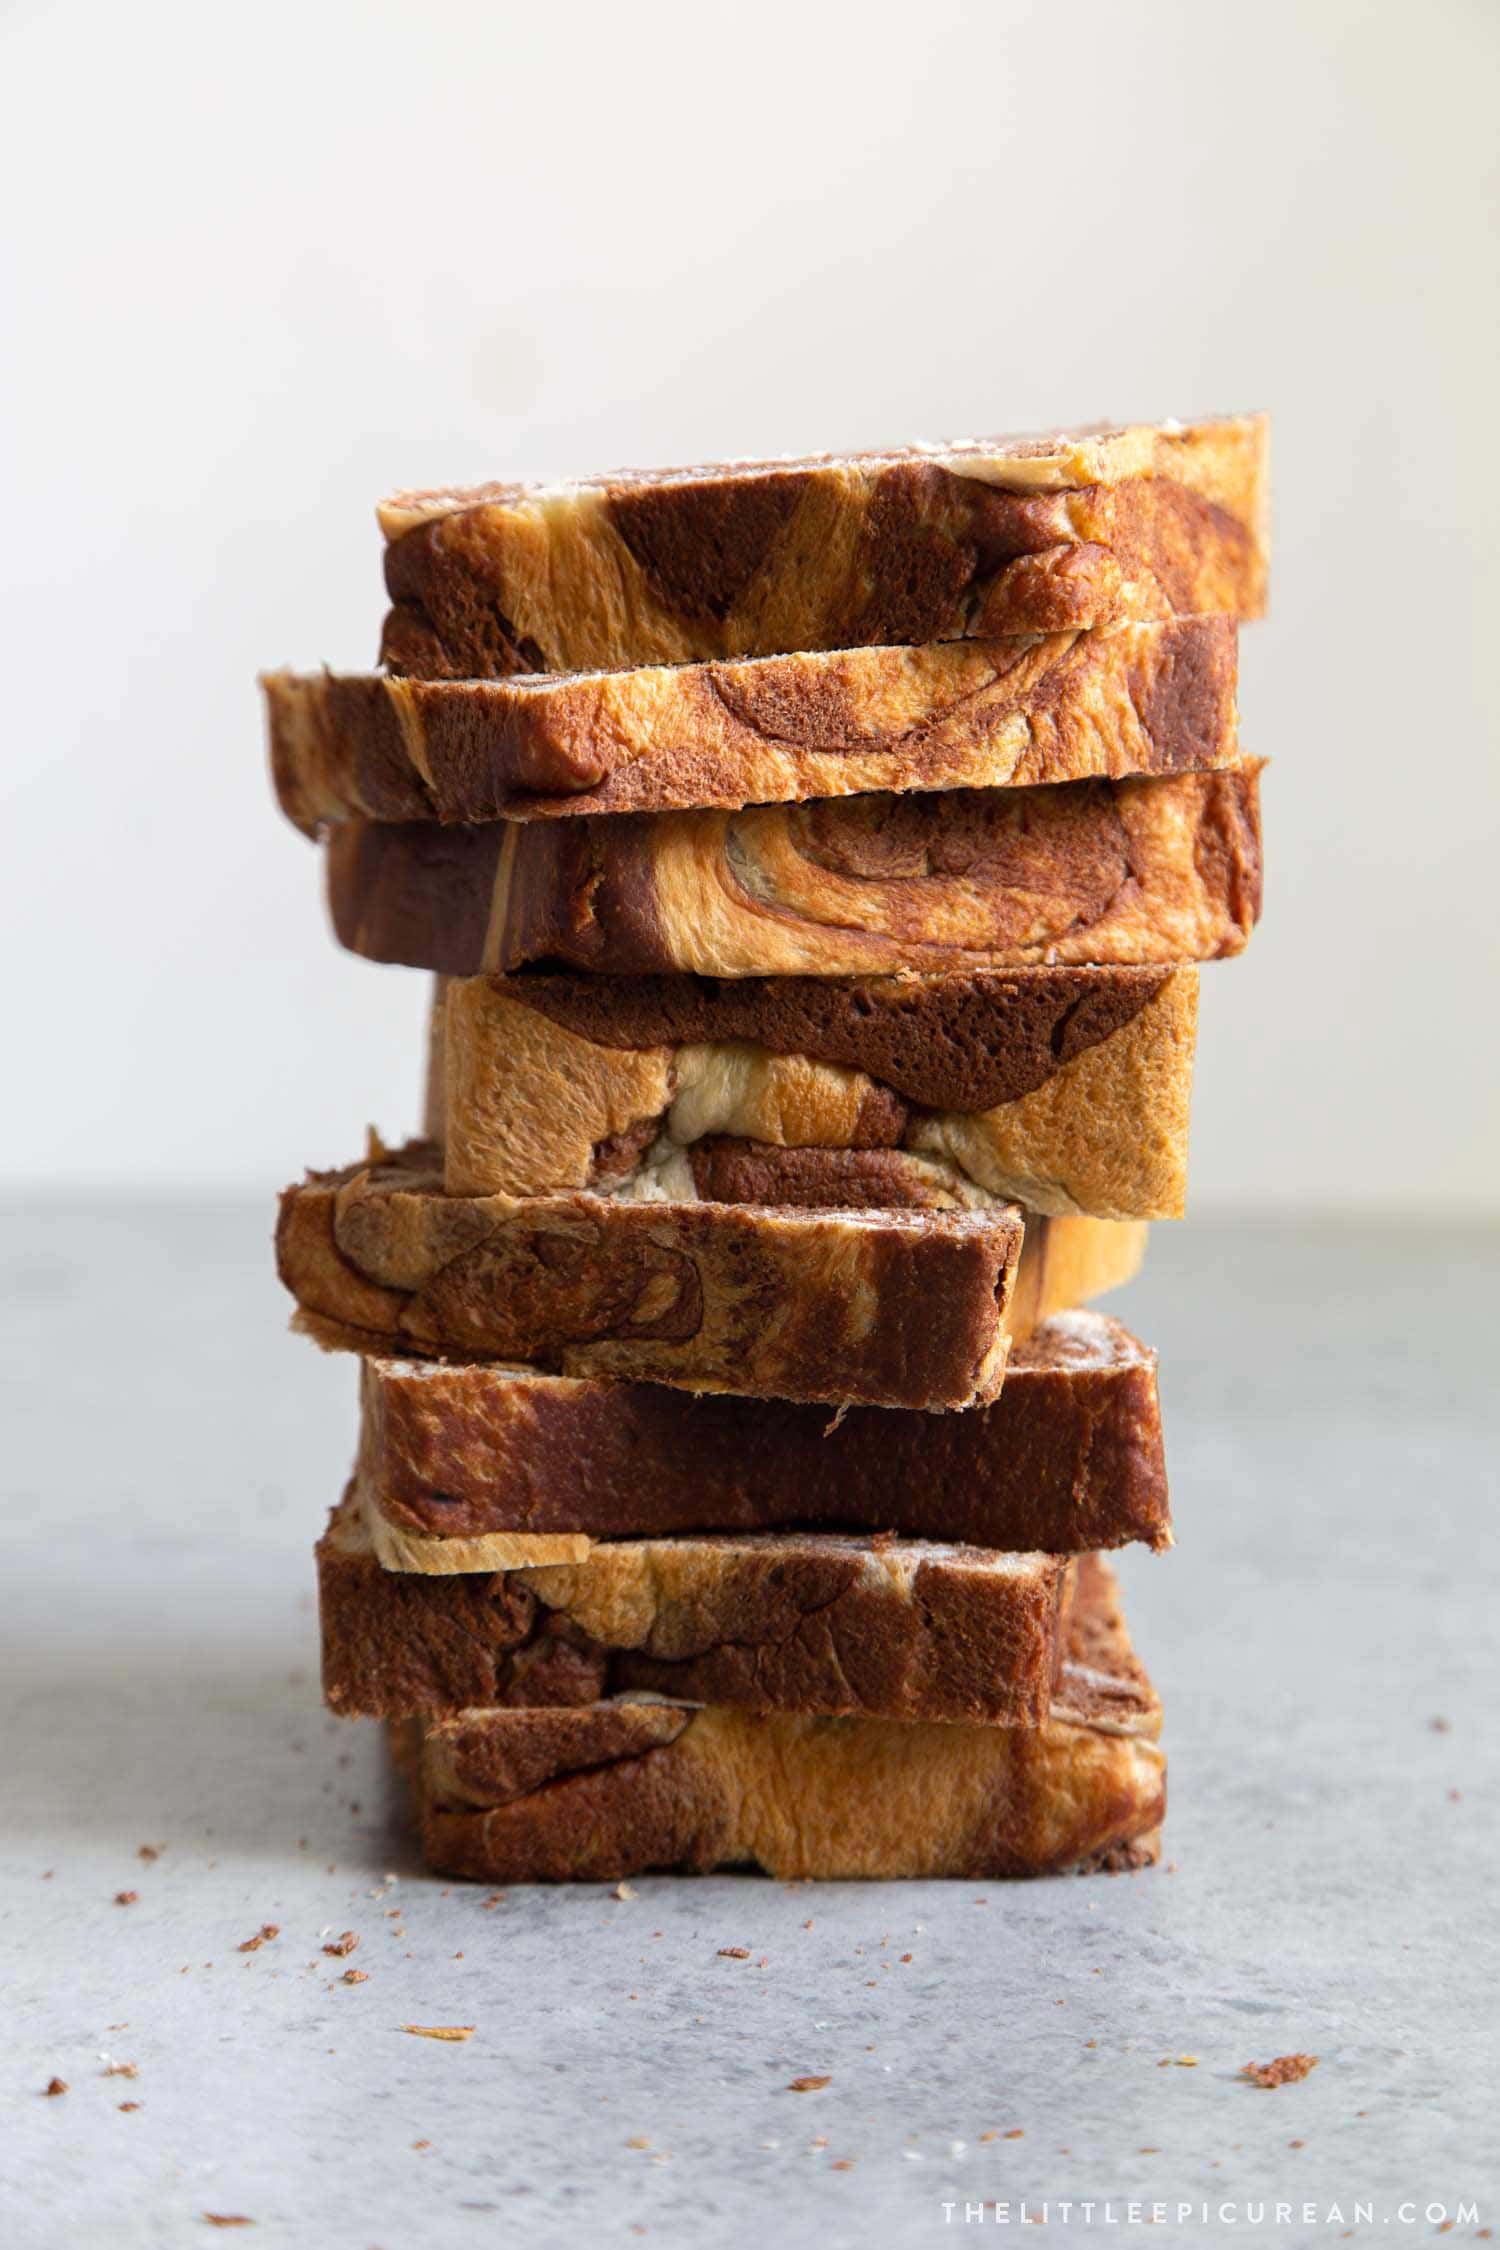
Storage and Leftovers
Thanks to the water roux, this milk bread will stay soft days after baking!
Allow the baked bread to cool temperature before storing. Wrap tightly in plastic wrap or keep in an airtight container at room temperature for 3-5 days.
For longer storage, wrap loaf in plastic wrap and place inside a ziptop bag. Store in the freezer for up to one month. Defrost at room temperature.
Chocolate Milk Bread
Ingredients
Starter Roux:
- 45 grams (⅓ cup) all-purpose flour
- 120 ml (½ cup) whole milk
- 120 ml (½ cup) water
Milk Dough:
- 7 grams (2 ¼ tsp) active dry yeast, *see notes for instant yeast
- 120 ml (½ cup) whole milk, warmed to 100-110°F
- 325 grams bread flour
- 50 grams (¼ cup) granulated sugar
- 1 Tbsp milk powder, *
- 1 tsp kosher salt
- 1 large egg,, room temp
- 60 grams (¼ cup) unsalted butter
Milk Chocolate Dough:
- 7 grams (2 ¼ tsp) active dry yeast
- 120 ml (½ cup) whole milk, warmed to 100-110°F
- 310 grams (2 cups + 6 Tbsp) bread flour
- 50 grams (½cup) unsweetened cocoa powder
- 100 grams (½ cup) granulated sugar
- 2 Tbsp milk powder
- 1 tsp kosher salt
- 1 large egg, room temp
- 60 grams (¼ cup) unsalted butter, softened, room temp
Instructions
Starter Roux:
- In a medium pot, whisk together flour, milk, and water. Set over medium heat. Stir often, making sure to pay attention to the bottom edges of the pot. Cook for about 5 minutes, until the mixture has thickened to the consistency of mashed potatoes.
- Remove from heat. Transfer mixture to a small bowl. Cover with plastic wrap, allowing wrap to lay directly on top of mixture. Cool to room temperature.
Dough:
- Dissolve yeast and 1 tsp sugar in warm milk. Let mixture sit for 5-7 minutes to allow yeast to activate.*see notes if using instant yeast
- In the bowl of a stand mixer, whisk together bread flour, remaining sugar, milk powder, and salt. Attach dough hook to mixer. Add in half of cooled starter roux mixture (about ½ cup), egg, and yeast-milk mixture. Knead on low speed for 5 minutes. Scrape down bowl to ensure thorough mixing.
- Add softened butter and continue to knead on low speed for 5 minutes until butter in integrated into dough. Increase to medium speed and knead for another 5 minutes until dough is smooth and pulls away from the sides of the bowl.
- Transfer dough to a lightly greased bowl. Cover with plastic wrap and let rest for one hour until dough has doubled in volume. Meanwhile, prepare milk chocolate dough.
Milk Chocolate Dough:
- Dissolve yeast and 1 tsp sugar in warm milk. Let mixture sit for 5-7 minutes to allow yeast to activate.*see notes if using instant yeast
- In the bowl of a stand mixer, whisk together flour, cocoa powder, remaining sugar, milk powder, and salt. Attach dough hook to mixer. Add in remaining ½ of cooled starter roux mixture, egg, and yeast-milk mixture. Knead on low speed for 5 minutes. Scrape down bowl to ensure thorough mixing.
- Add softened butter and continue to knead on low speed for 5 minutes until butter is incorporated into dough. Increase to medium speed and knead for another 5 minutes until dough is smooth and pulls away from the sides of the bowl.
- Transfer dough to a lightly greased bowl. Cover with plastic wrap and let rest for one hour, until dough has doubled in volume.
Assembly:
- Grease two 9×4 or 9×5-inch loaf pans or pullman loaf pans. If desired, line pans with parchment paper to allow for easy bread removal. Set aside.
- Working with milk dough first. Punch down risen dough. Transfer to clean work surface. Divide dough into 8 equal parts. (Use a kitchen scale for ease and accuracy.) Roll each part into a ball. Cover dough with plastic wrap as you work to prevent dough from drying out or forming a skin.
- Next, work with milk chocolate dough. Punch down risen dough. Transfer to clean work surface. Divide dough into 8 equal parts. Roll each part into a ball. Cover dough with plastic wrap as you work to prevent dough from drying out or forming a skin.
- Grab one milk dough ball. Flatten or roll out dough to a length of about 8-inches and width of 5-inches. Grab milk chocolate ball and repeat rolling to same measurements. Place milk chocolate dough over milk dough. Starting at the shorter end, roll dough together into a log.
- Place log seam side down on work surface. Use a small rolling pin to flatten and roll log into a rectangle about 5-inches wide and 7-inches long. Starting at the shorter end, roll dough into a log. Place log seam side down into prepared loaf pan. Repeat process until each pan has a total of four logs.
- Cover the two loaf pans with plastic wrap. Allow dough to rise until doubled in volume, about 40 minutes.
Baking:
- Preheat oven to 350°F.
- Remove plastic wrap from loaf pans. *If using standard loaf pan, lightly brush the top of risen dough with heavy cream or milk. Bake in preheated oven for 35-40 minutes until the top of the bread is golden brown and the internal temperature of the bread registers at least 190°F. *If using pull pan loaf, cover pan with lid. Bake for 18-20 minutes. Remove lid, and bake for another 18-20 minutes until internal temperature of bread registers at least 190°F on digital kitchen thermometer.
- Let bread cool in pan for 5 minutes. Unmold bread from pan and place on wire rack. Cool to room temperature. Once cooled, use serrated knife to slice bread.
Notes
Ingredient Notes:
- Milk powder is found in the baking aisle of the supermarket alongside flour and sugar. It is also labeled as “instant dry milk.” Non-fat dry milk powder is the most common variety sold. Whole dry milk will also work in this recipe. The milk powder provides additional flavor. Simply omit, if you cannot find it.
- The recipe works best with bread flour. However, you can use all-purpose flour.
Nutrition
Nutrition information is automatically calculated, so should only be used as an approximation.
 Like this recipe? Rate & comment below!


I try the recipe yesterday it was amazing but i need to know how i can use the oven it should be up and down same time? Because when i use up and down i feel its not cooked good
The bread came out wonderful! I enjoyed with butter, honey and a cinnamon-sugar topping!
This bread tastes amazing!
this is so delicious and the recipe directions easy to follow! I only have one loaf pan so i made rolls with the other and they’re a hit too! thank you so much!
Thank you for trying the recipe! I appreciate you leaving a comment. So glad you enjoyed it!
I’ve made this yesterday, but I made some changes to the recipe, I skipped the “white” part and only made the chocolate part and added some chocolate chips to it. So it made 1 loaf. But, the problem is the dough somewhat overwhelming and it push out of the pan and dropping out of it into the base of the oven. I wonder what could possibly wrong with the bread or the dough. Did I put too much chocolate chips on it? Or my pan is too small? I used shokupan pan which size is 19x10x10 cm. Overall this recipe is a blessing, it remains me to my childhood bread. Thanks so much for the recipe.
The pan you used is a bit smaller than what I used. I recommend using a pan that is about 23 x 13 cm. You may had added to much chocolate chips which could have weighed the bread down.
It looks great. I really want to give it a go but want to do one loaf. Does that mean I simply half the ingredients ? Can you let me know how much egg and instant yeast I need to use for just one loaf?
Thanks .
This recipe works best as two loaves since it is difficult to only use half an egg for the dough.
Hi Jennifer! I Made one loaf by only making the milk bread dough in the recipe and splitting it into half. Then I kneaded 3 tablespoons of cocoa powder and 1/2 tablespoon of honey into one of the halves. It does take time (extra 5-10 minutes of kneading) from the cocoa powder to combine with the dough but mine came out fine :)! Hope this helps!
I made this yesterday and this recipe is spot-on. Next time, i will try adding mini chocolate chips in one of two loaves. For the 325g of flour for the milk dough, I used 2 1/2 cups. Thank you for posting this recipe!
Thanks for trying the recipe! Glad you enjoyed it! Adding chocolate chips is a great idea. It will definitely pump up the chocolate flavor.