Learn how to measure flour properly. Baking is a science. Therefore, it is important to use precise flour measurements for baking recipes.
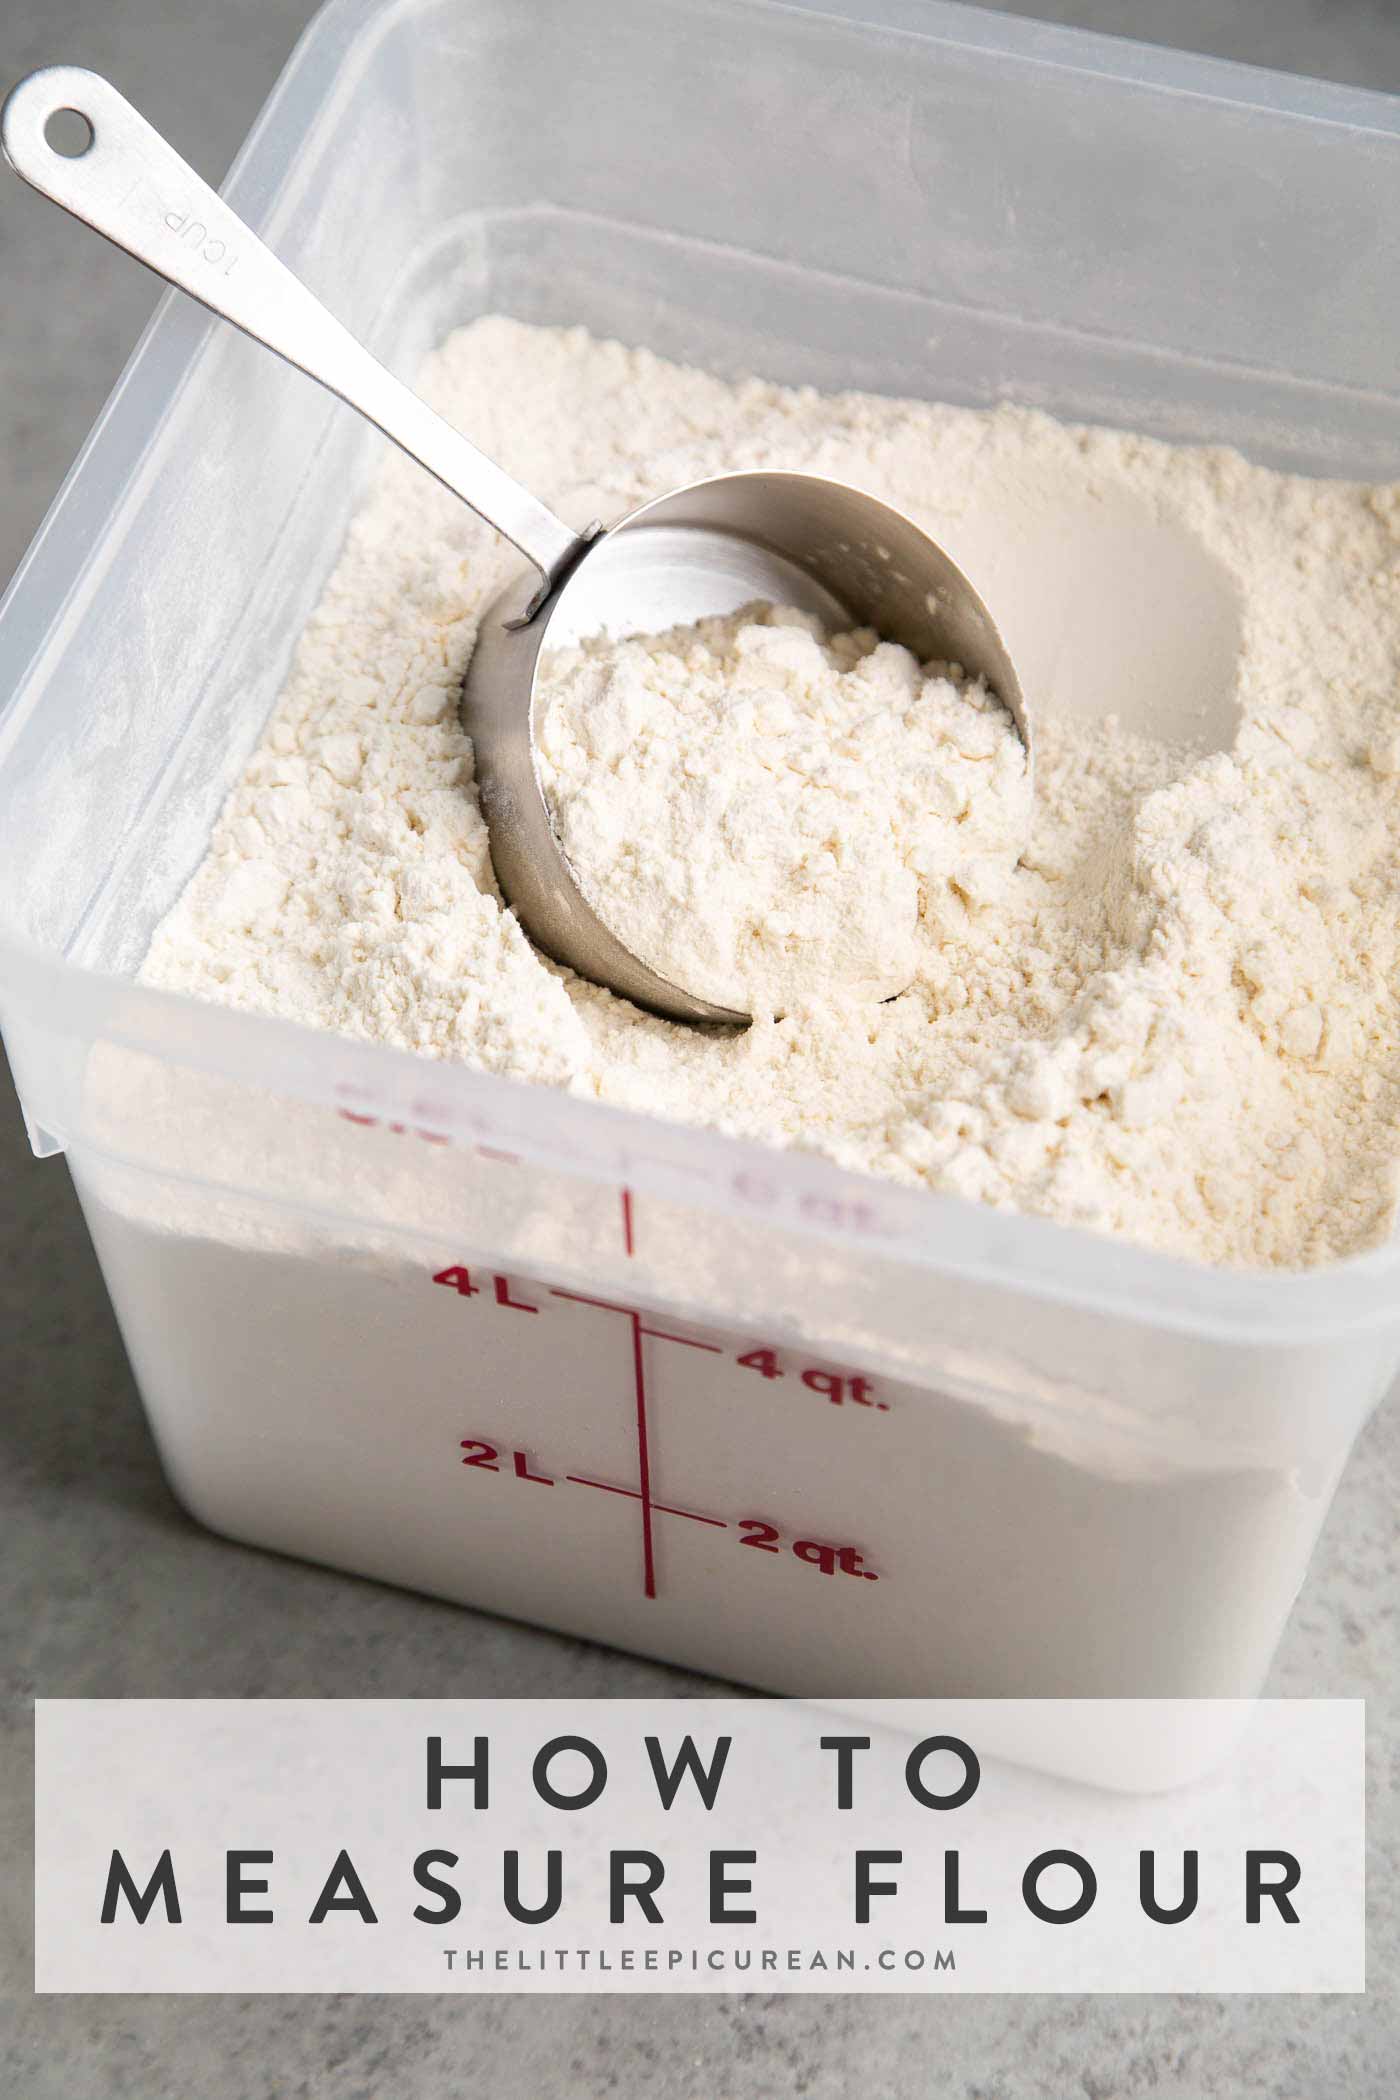
Having a problem with certain baking recipes? Perhaps your dry ingredient measurements are off.
Use of a digital kitchen scale is the most accurate way to measure flour.
For consistency, all the recipes featured on The Little Epicurean use the measurement of volume to weight of 1 cup all-purpose flour equal to 130 grams.
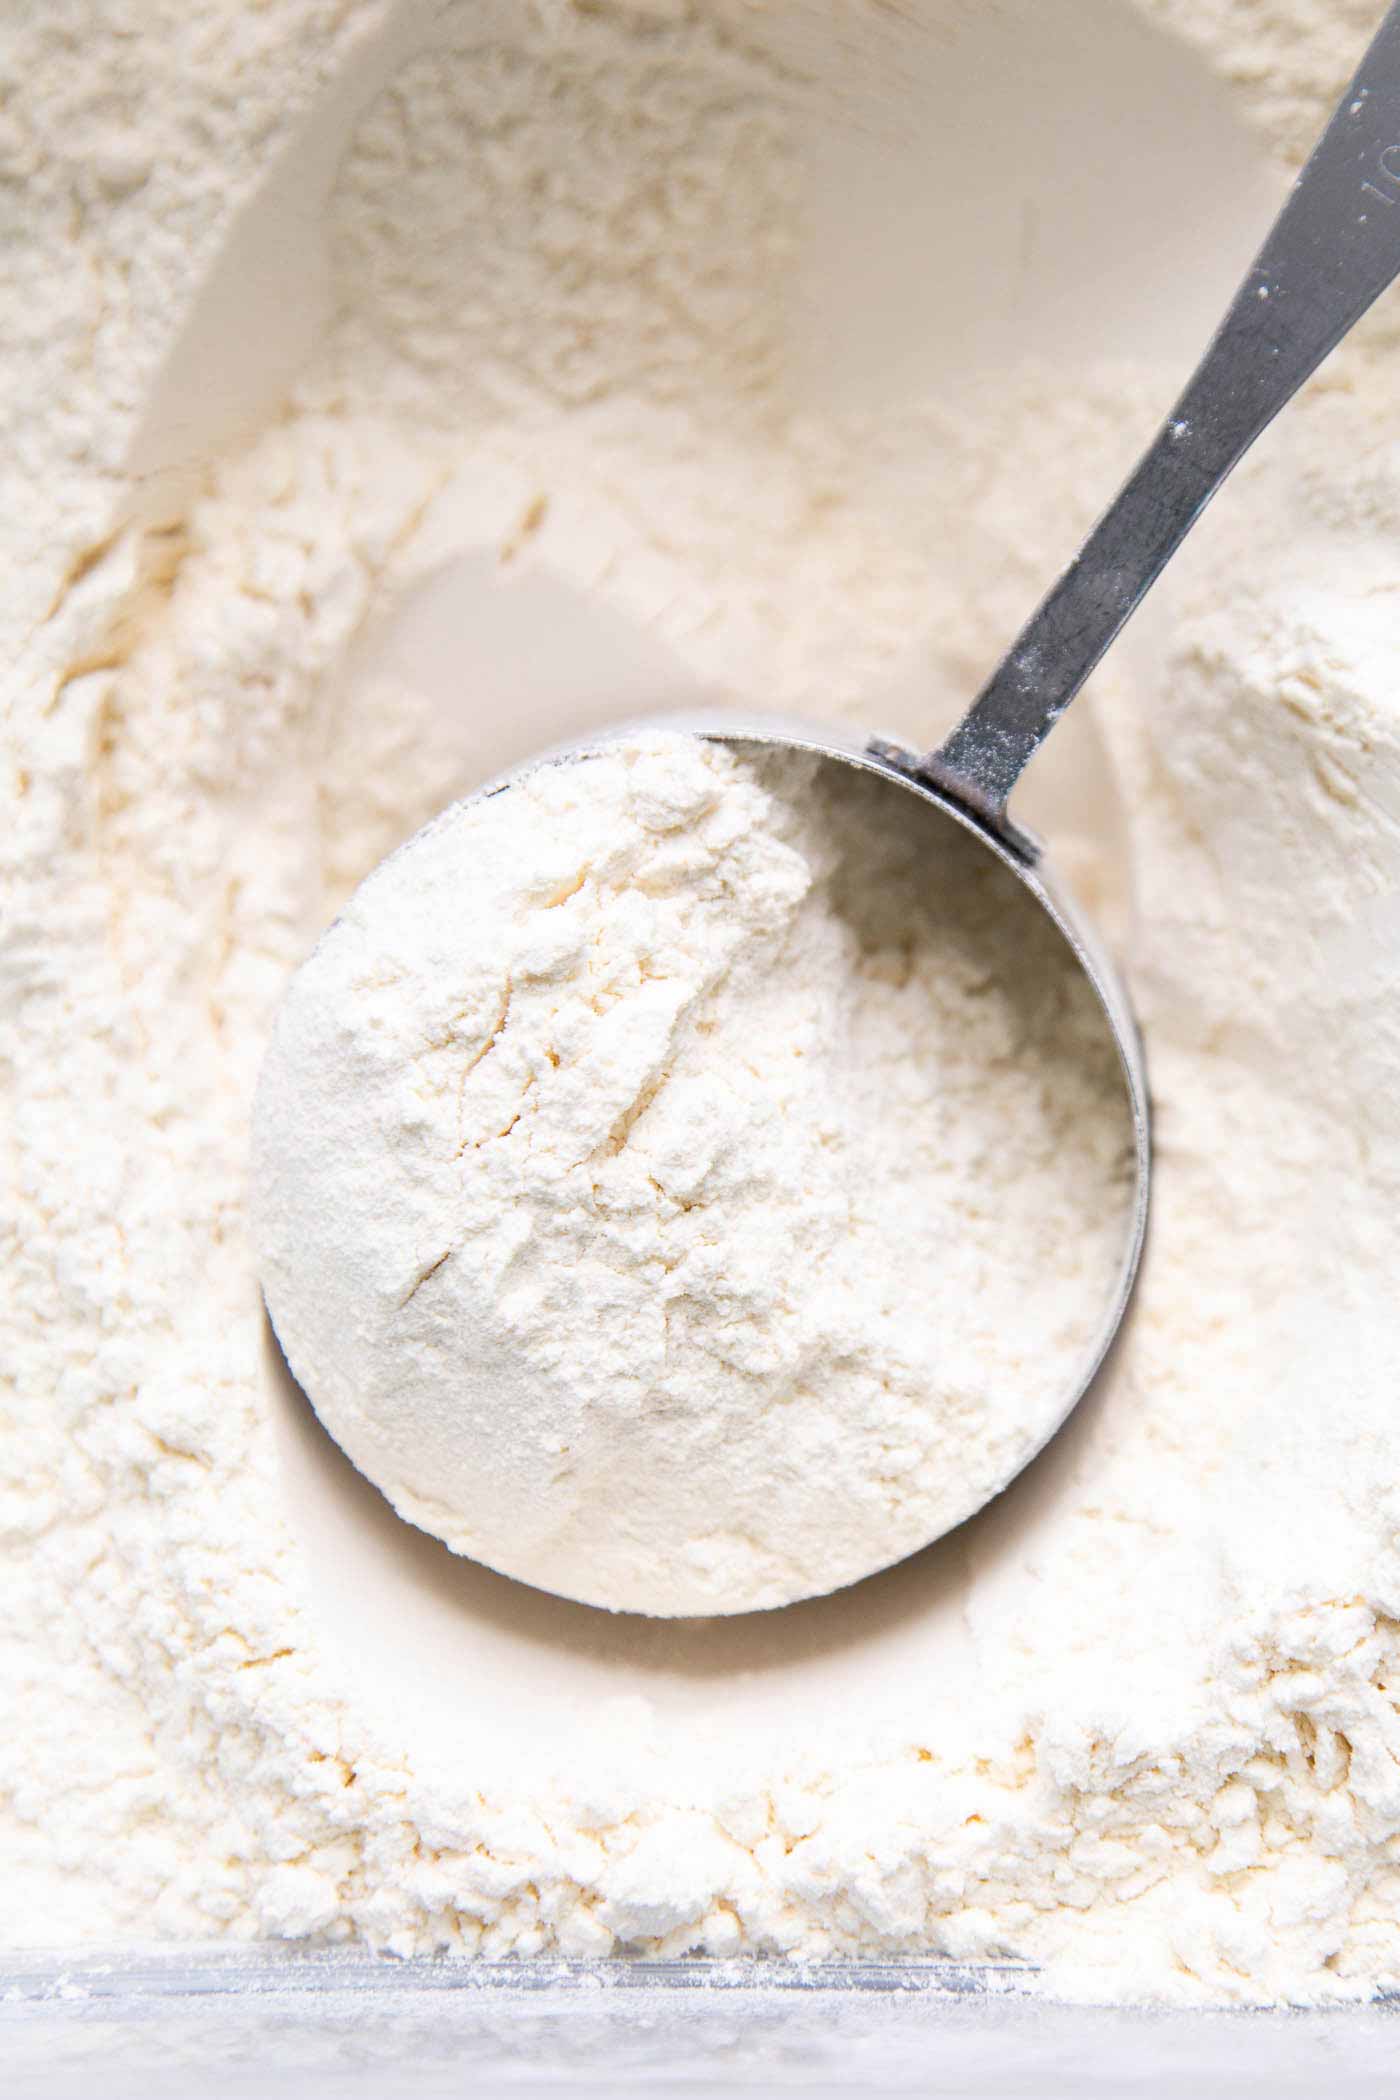
Cups to Grams Flour Measurements
Every baker has their set measurement for 1 cup of all-purpose flour. It ranges from 120 to 140 grams.
King Arthur Baking Company uses 120 grams or 4.25 oz. Cook’s Illustrated uses 140 grams or 5 oz. Christopher Kimball’s Milk Street lists 1 cup of all-purpose flour as 130 grams.
Which one is correct? Which measurements should you follow?
If a recipe lists the weight for ingredients, I would follow that measurement over volume (cups).
The Problem with Measuring Cups
A cup is not always a cup. Cup measurements differ between the United States and other countries.
For example, a disclaimer in the popular Australian cooking magazine Donna Hay points out that 1 Australian tablespoon is equal to 20 ml in Australia, but translates to 15 ml in America. It’s not that much of a difference in small quantities. However, once you start working with larger amounts, the discrepancy increases.
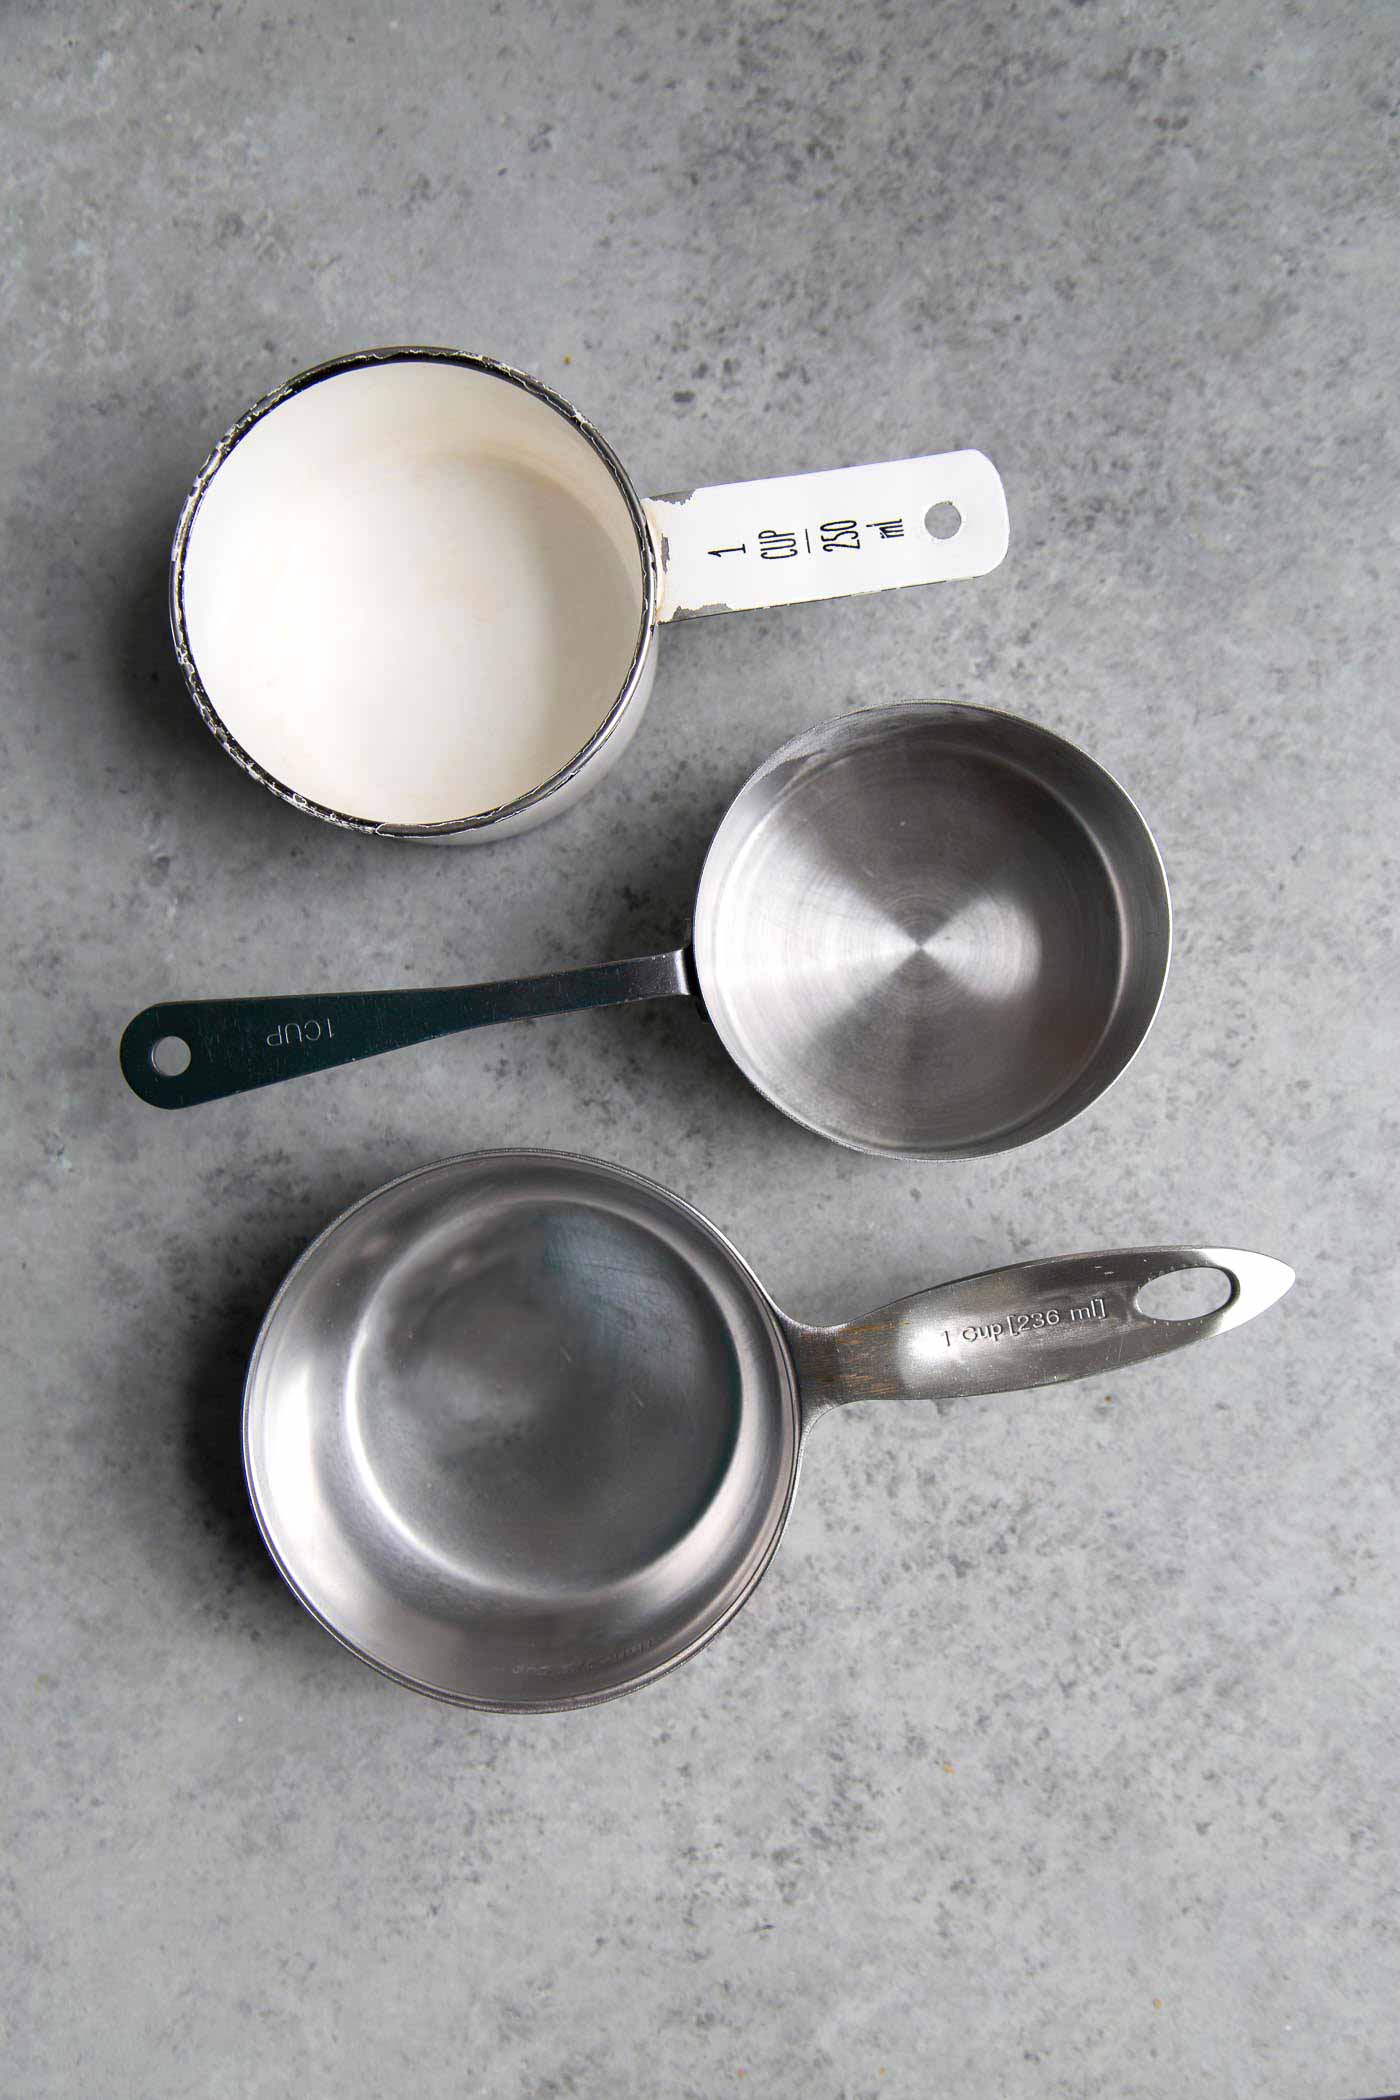
I conducted an experiment using the three 1-cup measuring cups photographed above. All three of these measuring cups were purchased in the United States.
Right off the bat, you will notice that the white 1-cup measuring cup on the top lists 1 cup is equal to 250 ml on the handle. The bottom 1-cup measuring cup lists 1 cup is equal to 236 ml on the handle.
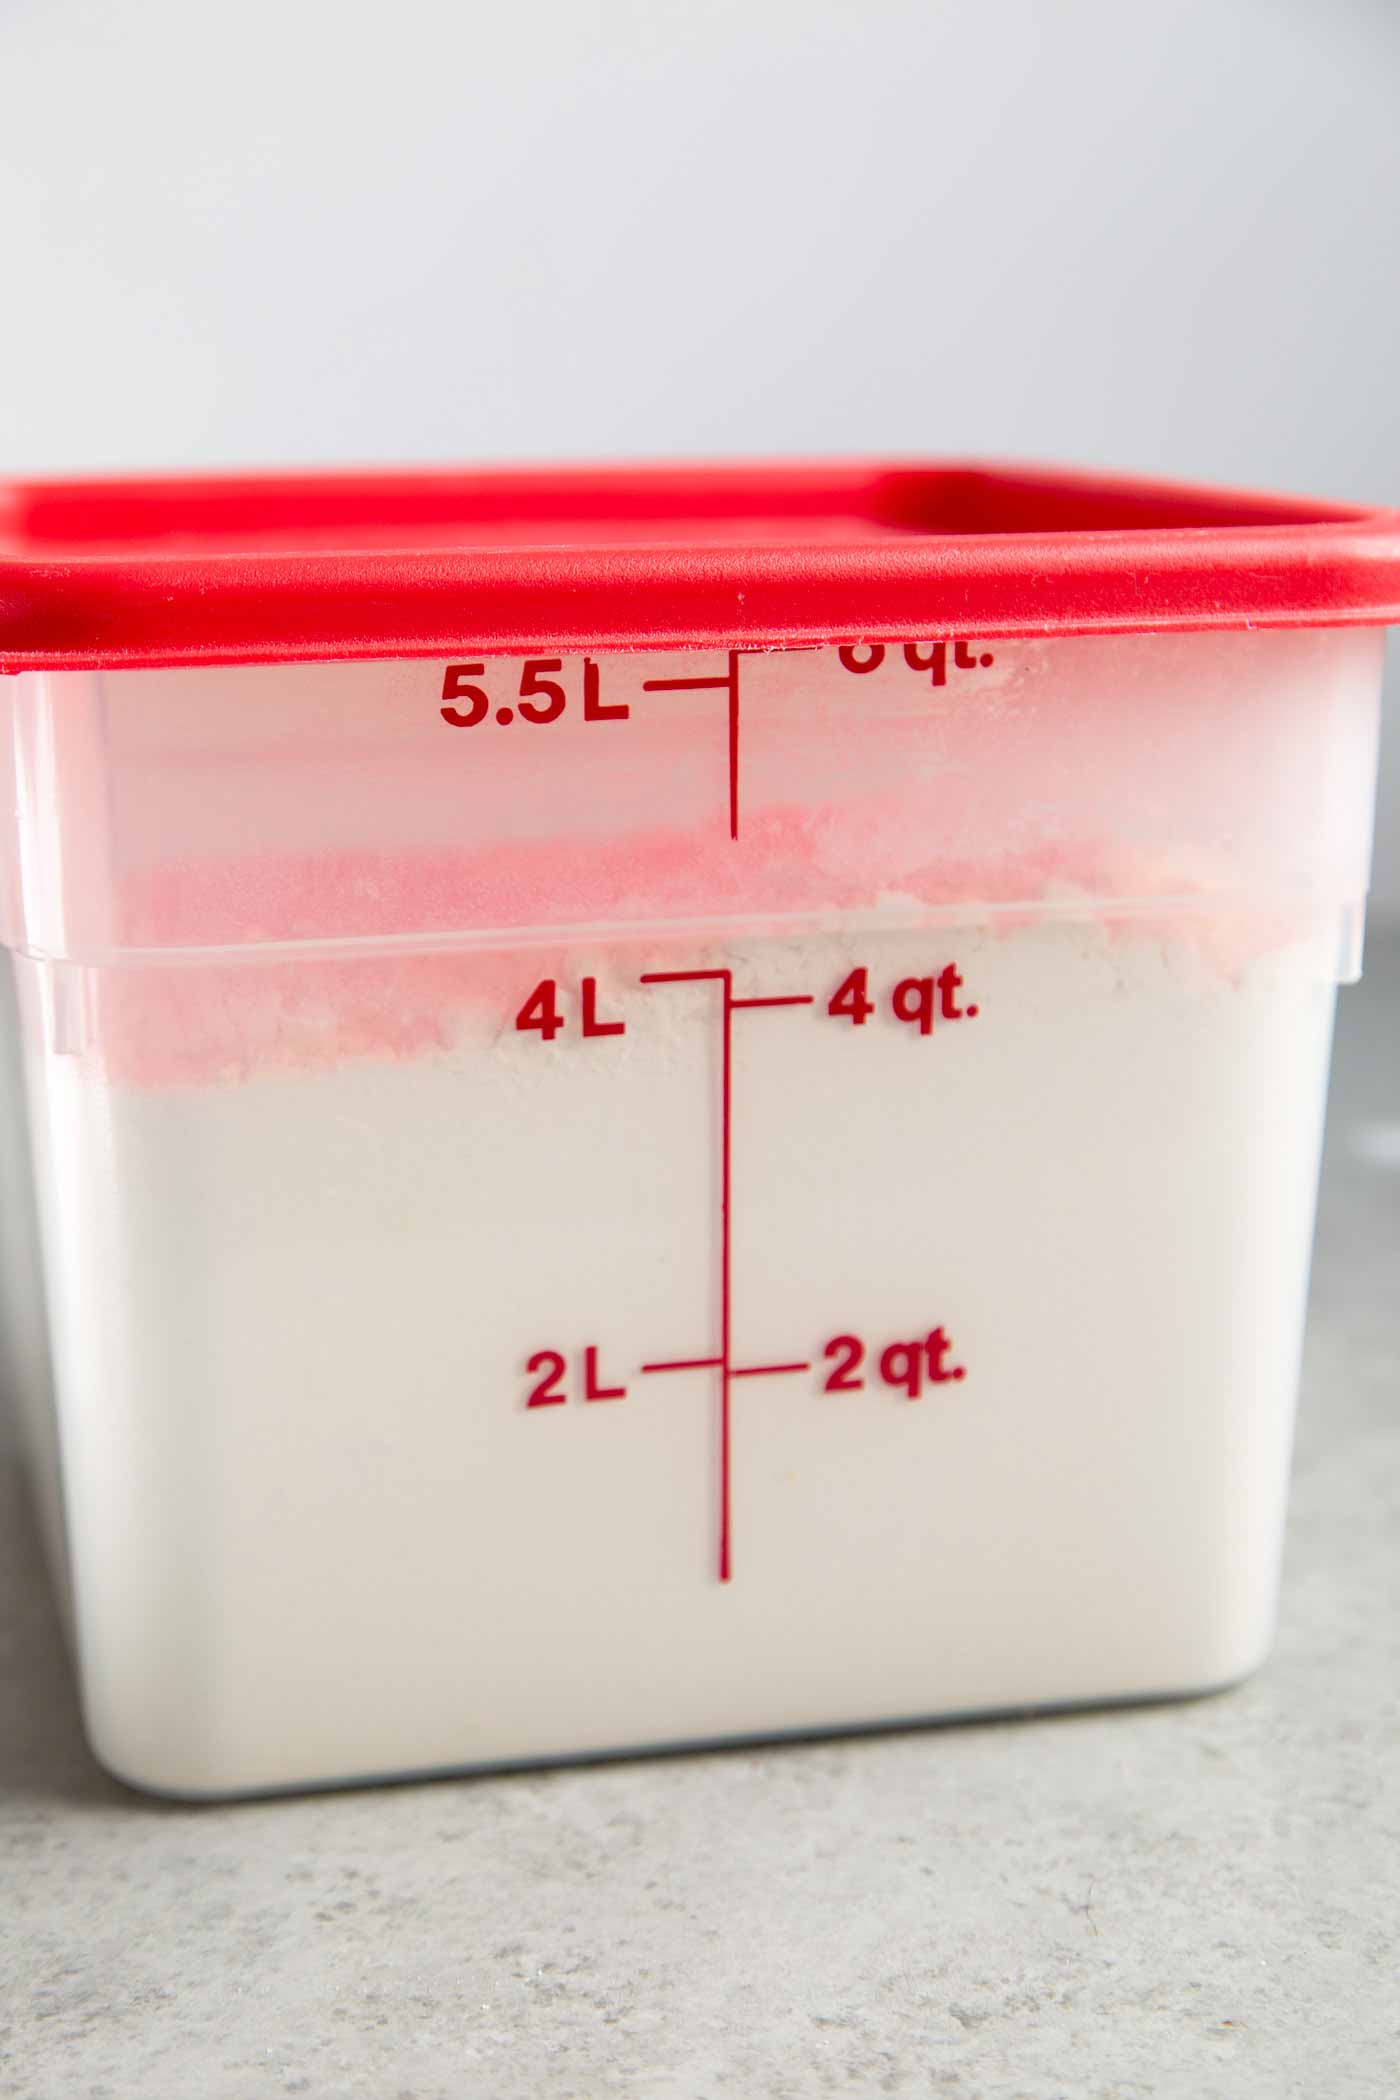
How to Store Flour and other dry ingredients
The three most important factors when storing flour:
- Keep flour in an airtight container
- Store in a cool, dark place
- Make note of how old flour is
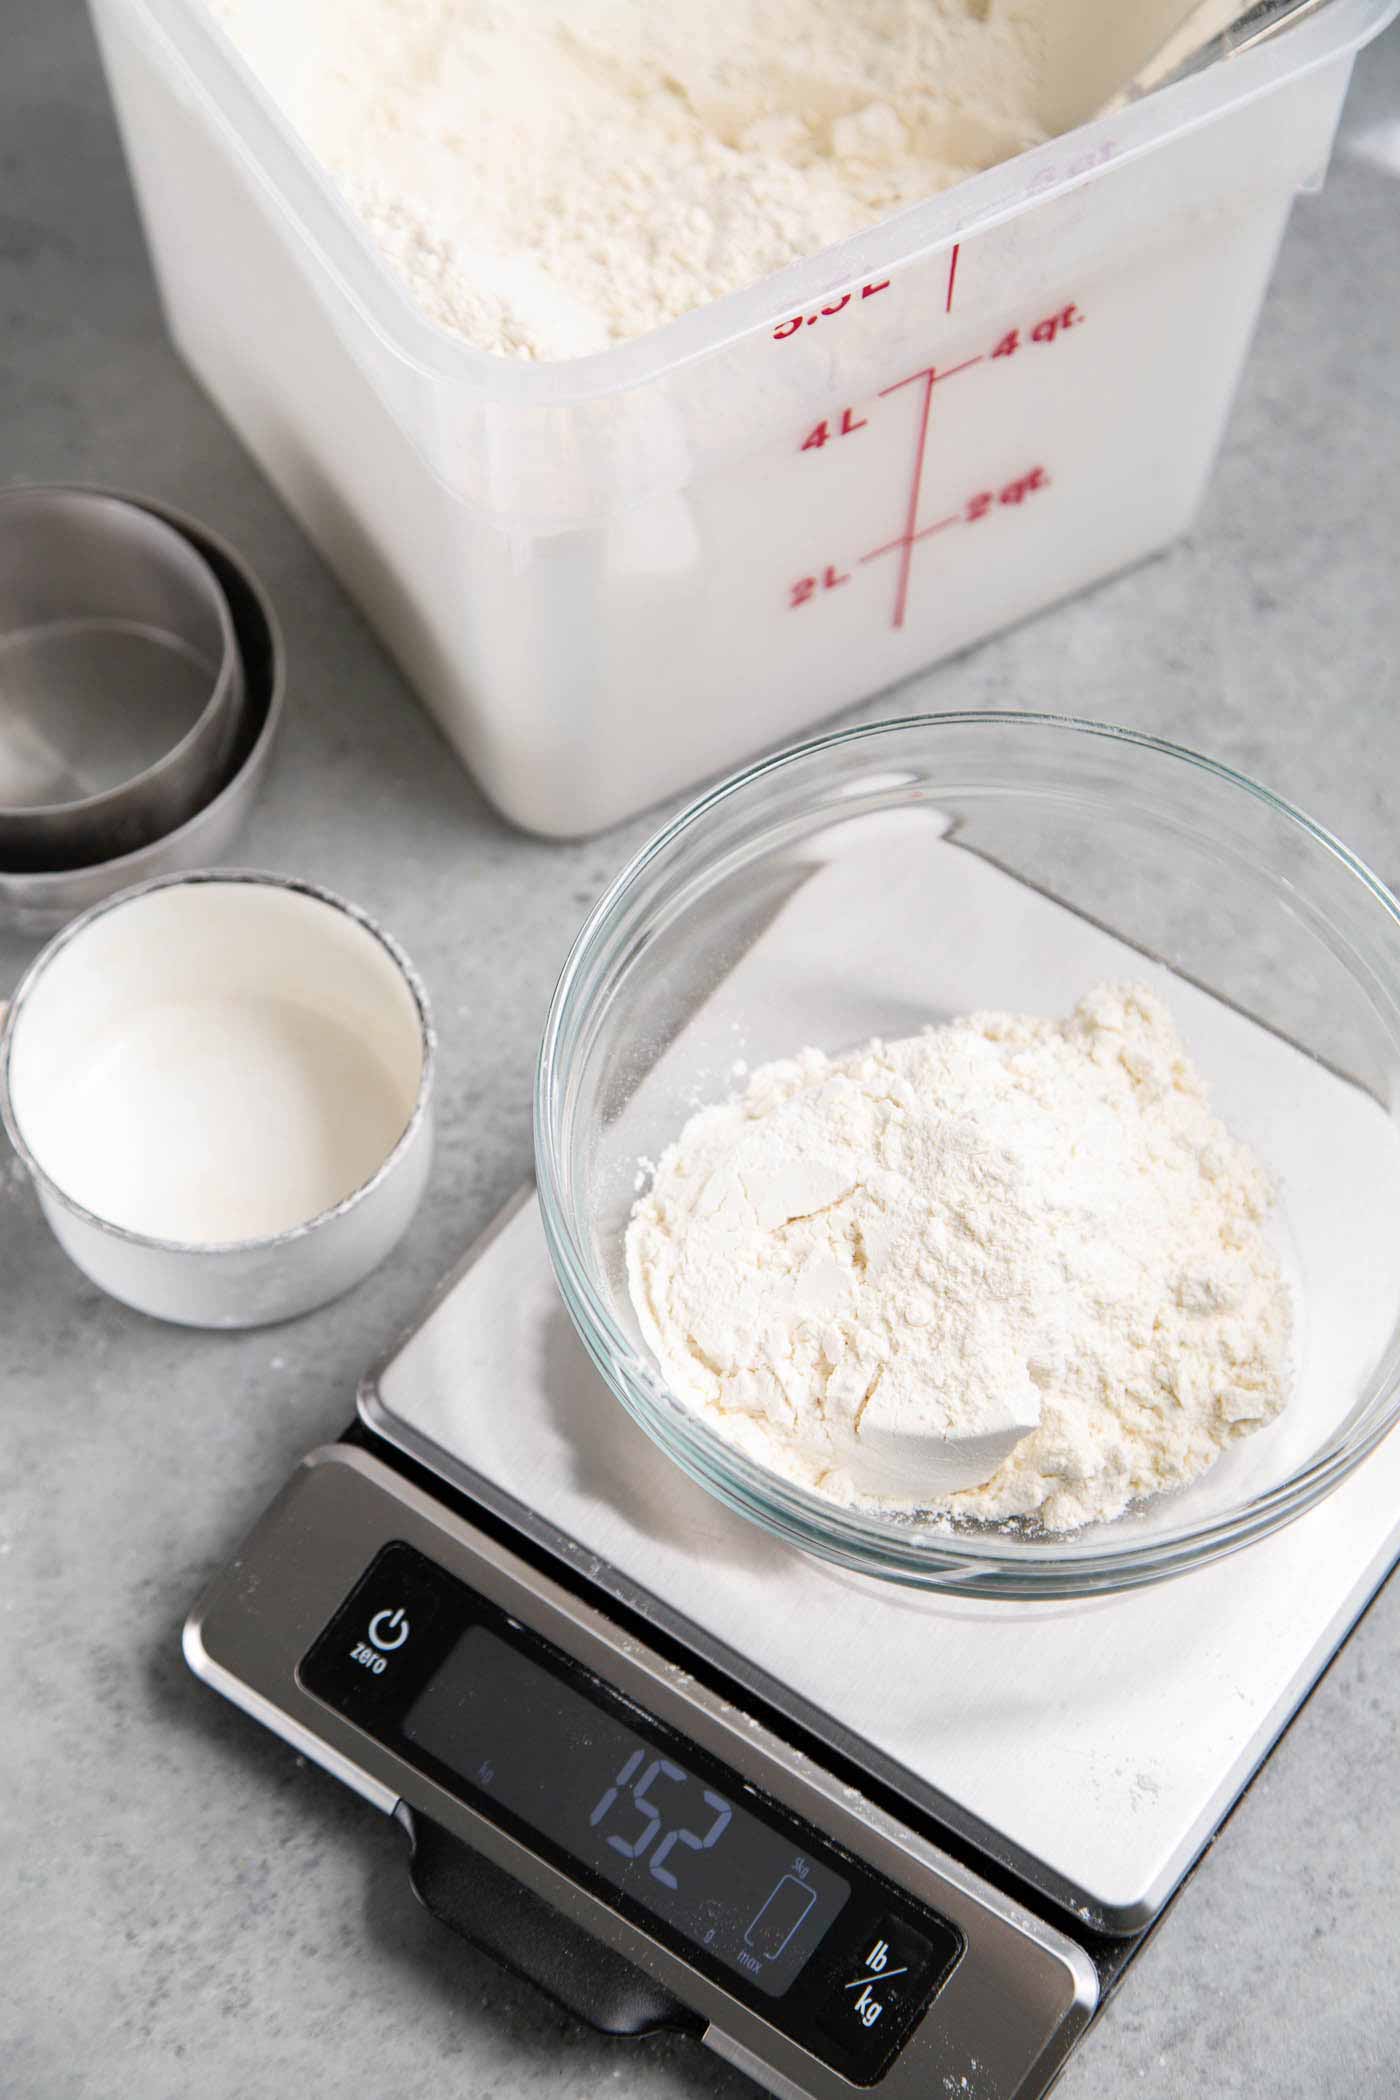
Flour needs to be kept in an airtight container like the Cambro container photographed above. Exposure to air causes flour to stale, oxidize, and decline in quality.
Improper flour storage can cause flour to go rancid. Or worse, it may grow mold or become a breeding ground for bugs and insects.
On average, flour keeps at room temperature for about six months. Keep in the fridge or freezer for longer storage. Better yet, buy flour in small quantities.
I like to keep a label with the date the flour bag was opened on the container.
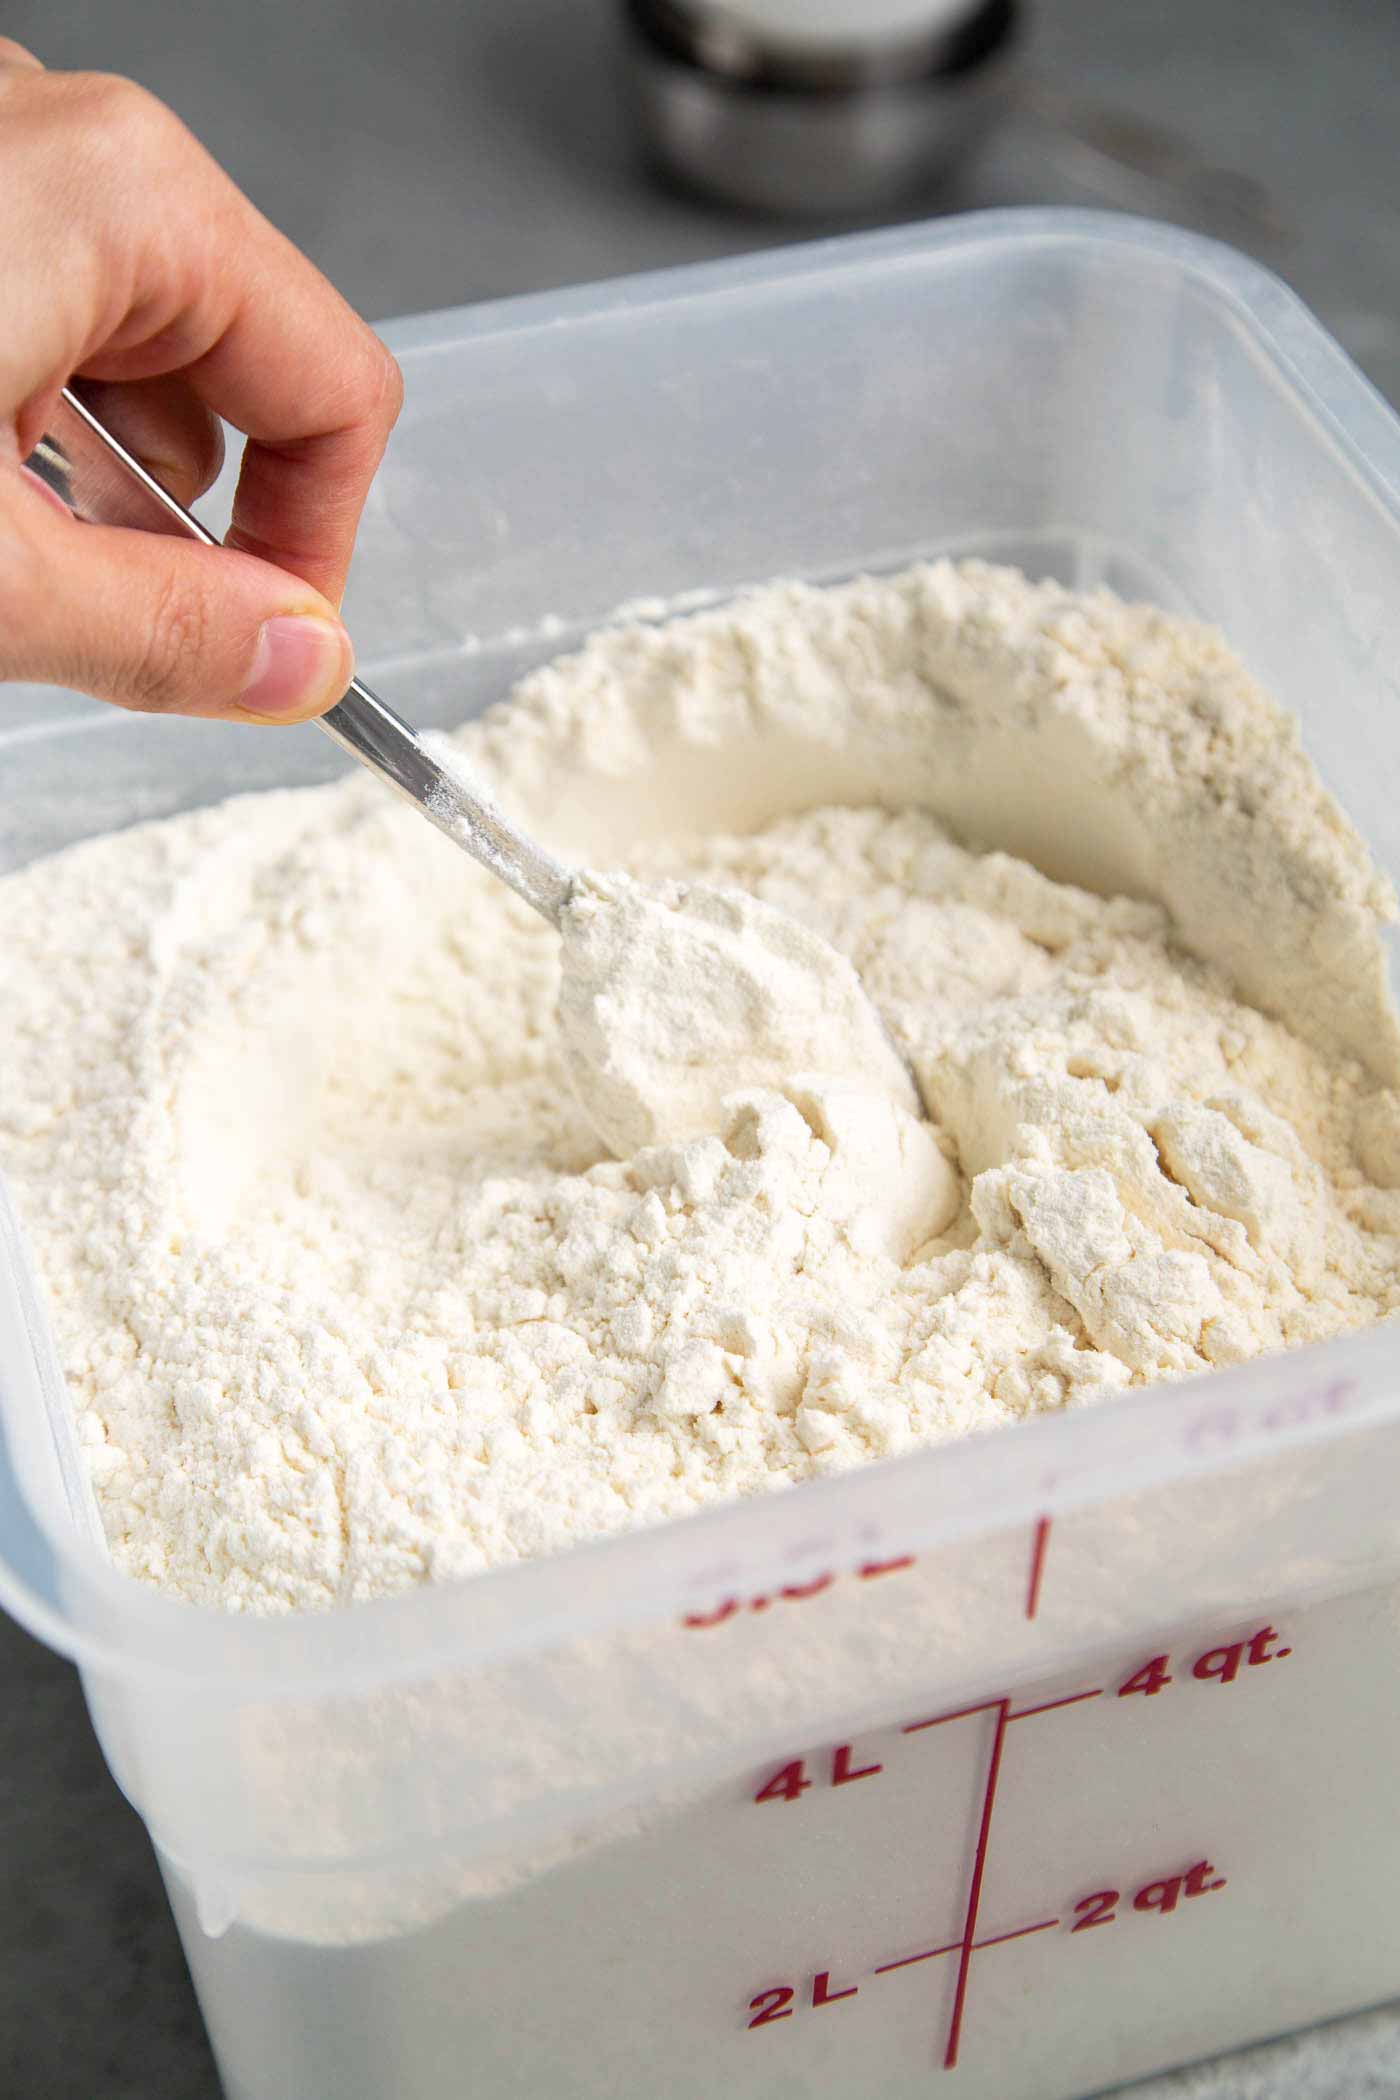
How to Measure Flour Without a Scale
I highly recommend purchasing a digital kitchen scale. This scale is very affordable on Amazon. (It’s only $11!)
Still not convinced you need a kitchen scale? Here is the proper way to measure flour without a scale.
First of all, please use the correct dry measuring cup! There are specific cups for dry ingredients. Do not use coffee mugs, bowls, or liquid measuring cups.
Spoon and Level Method
- Give the flour a good stir using a spoon, fork, or whisk.
- Use a large spoon to add flour into the measuring cup.
- Use a flat edge of a knife to level off the flour.
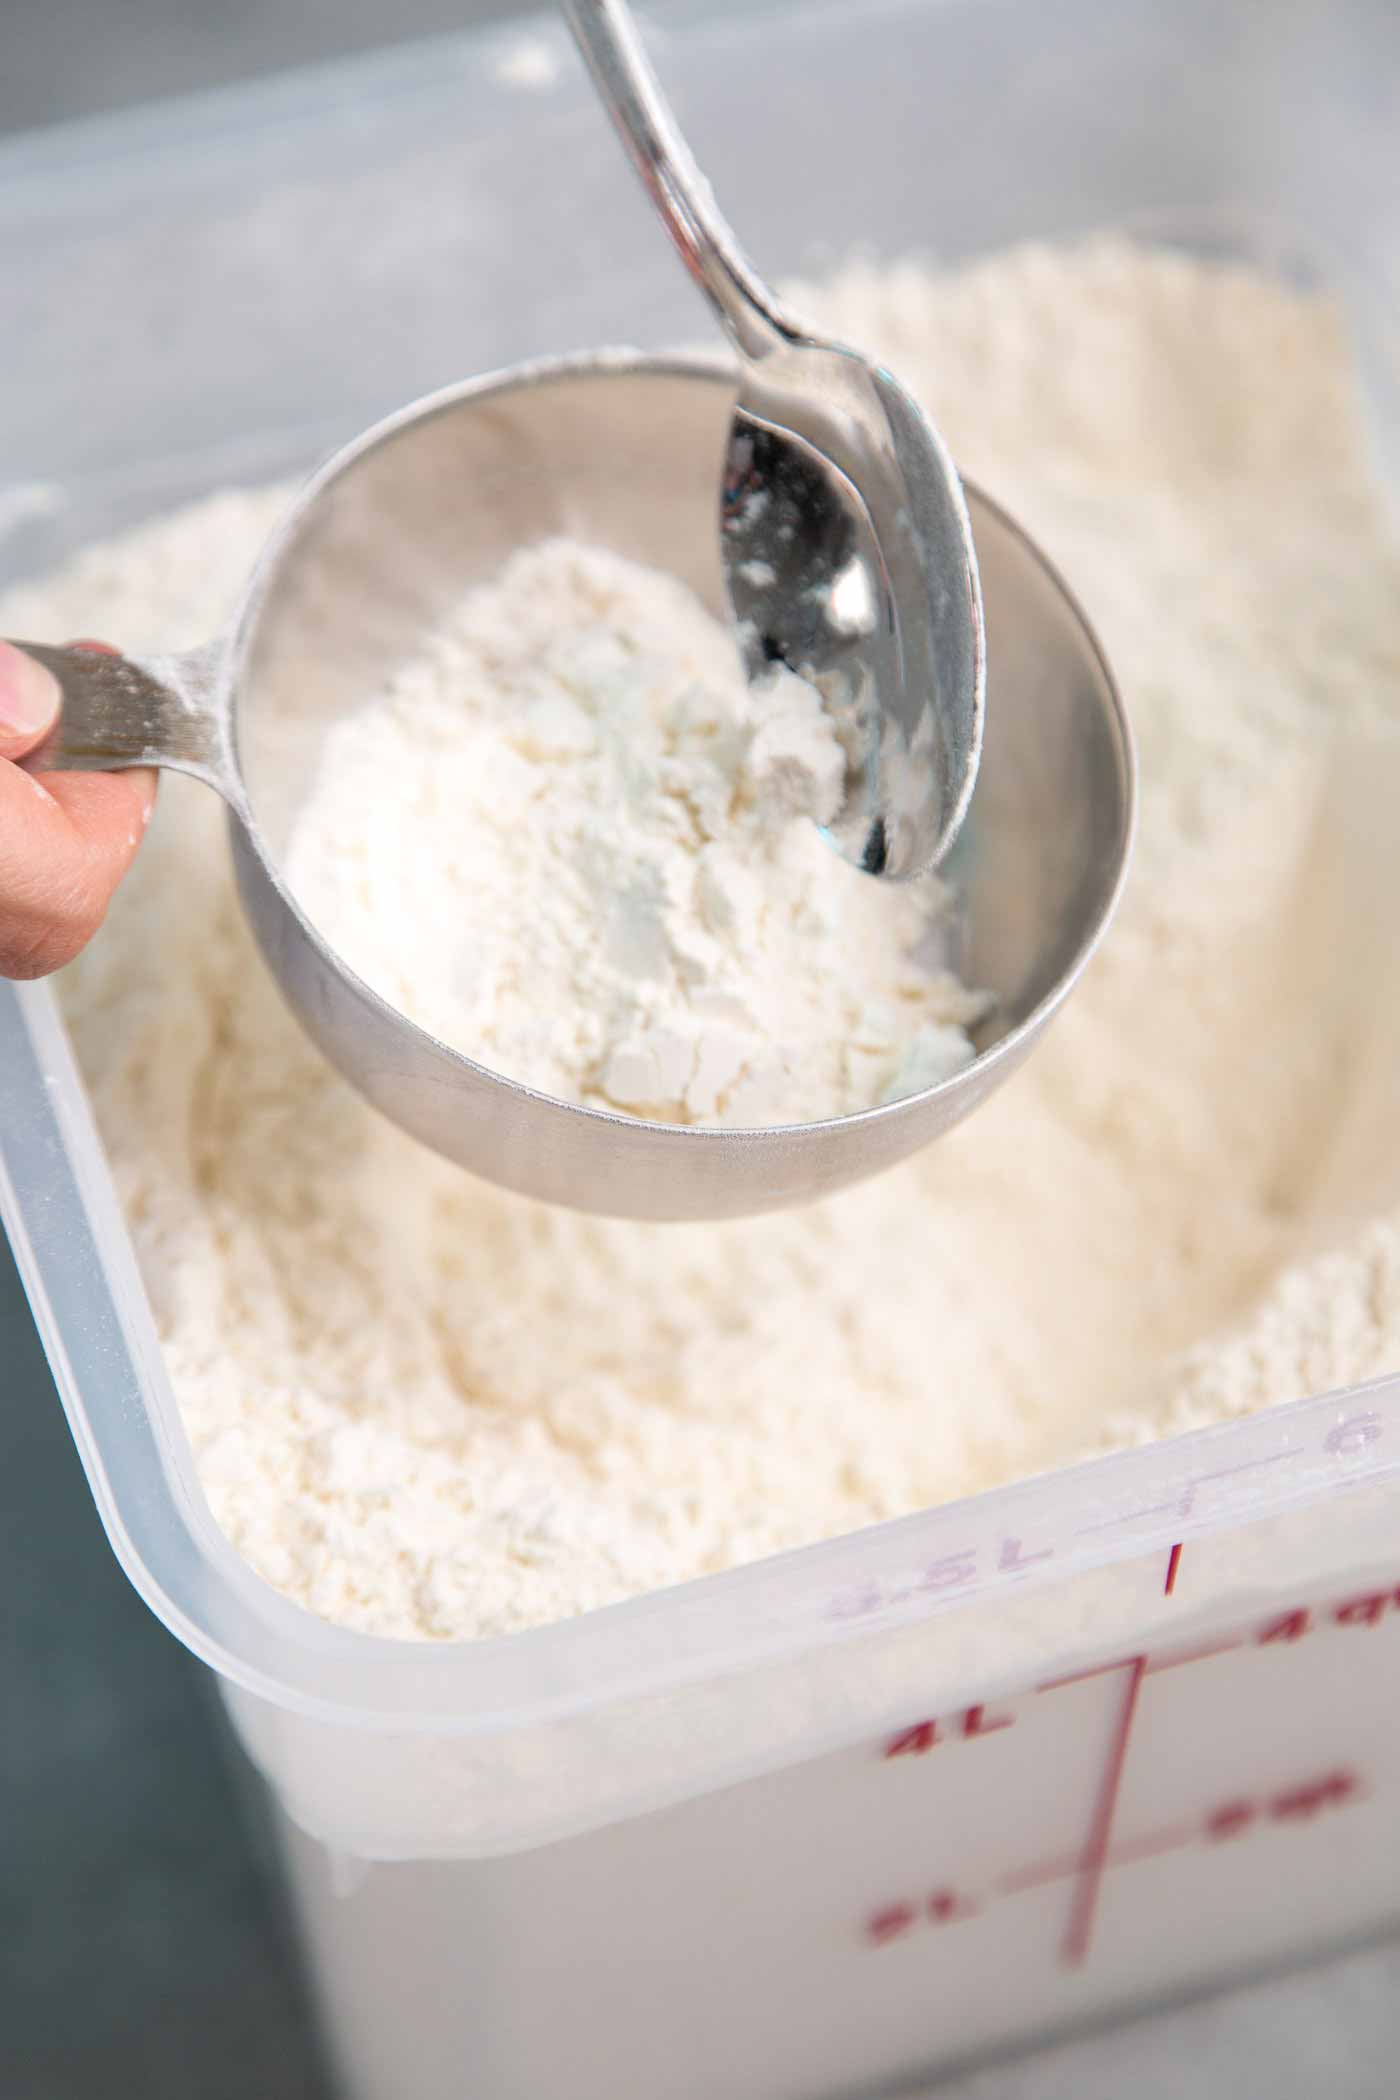
Do not pack in the flour! Do not shake the cup to level the flour. The flour should be loosely spooned into the measuring cup.
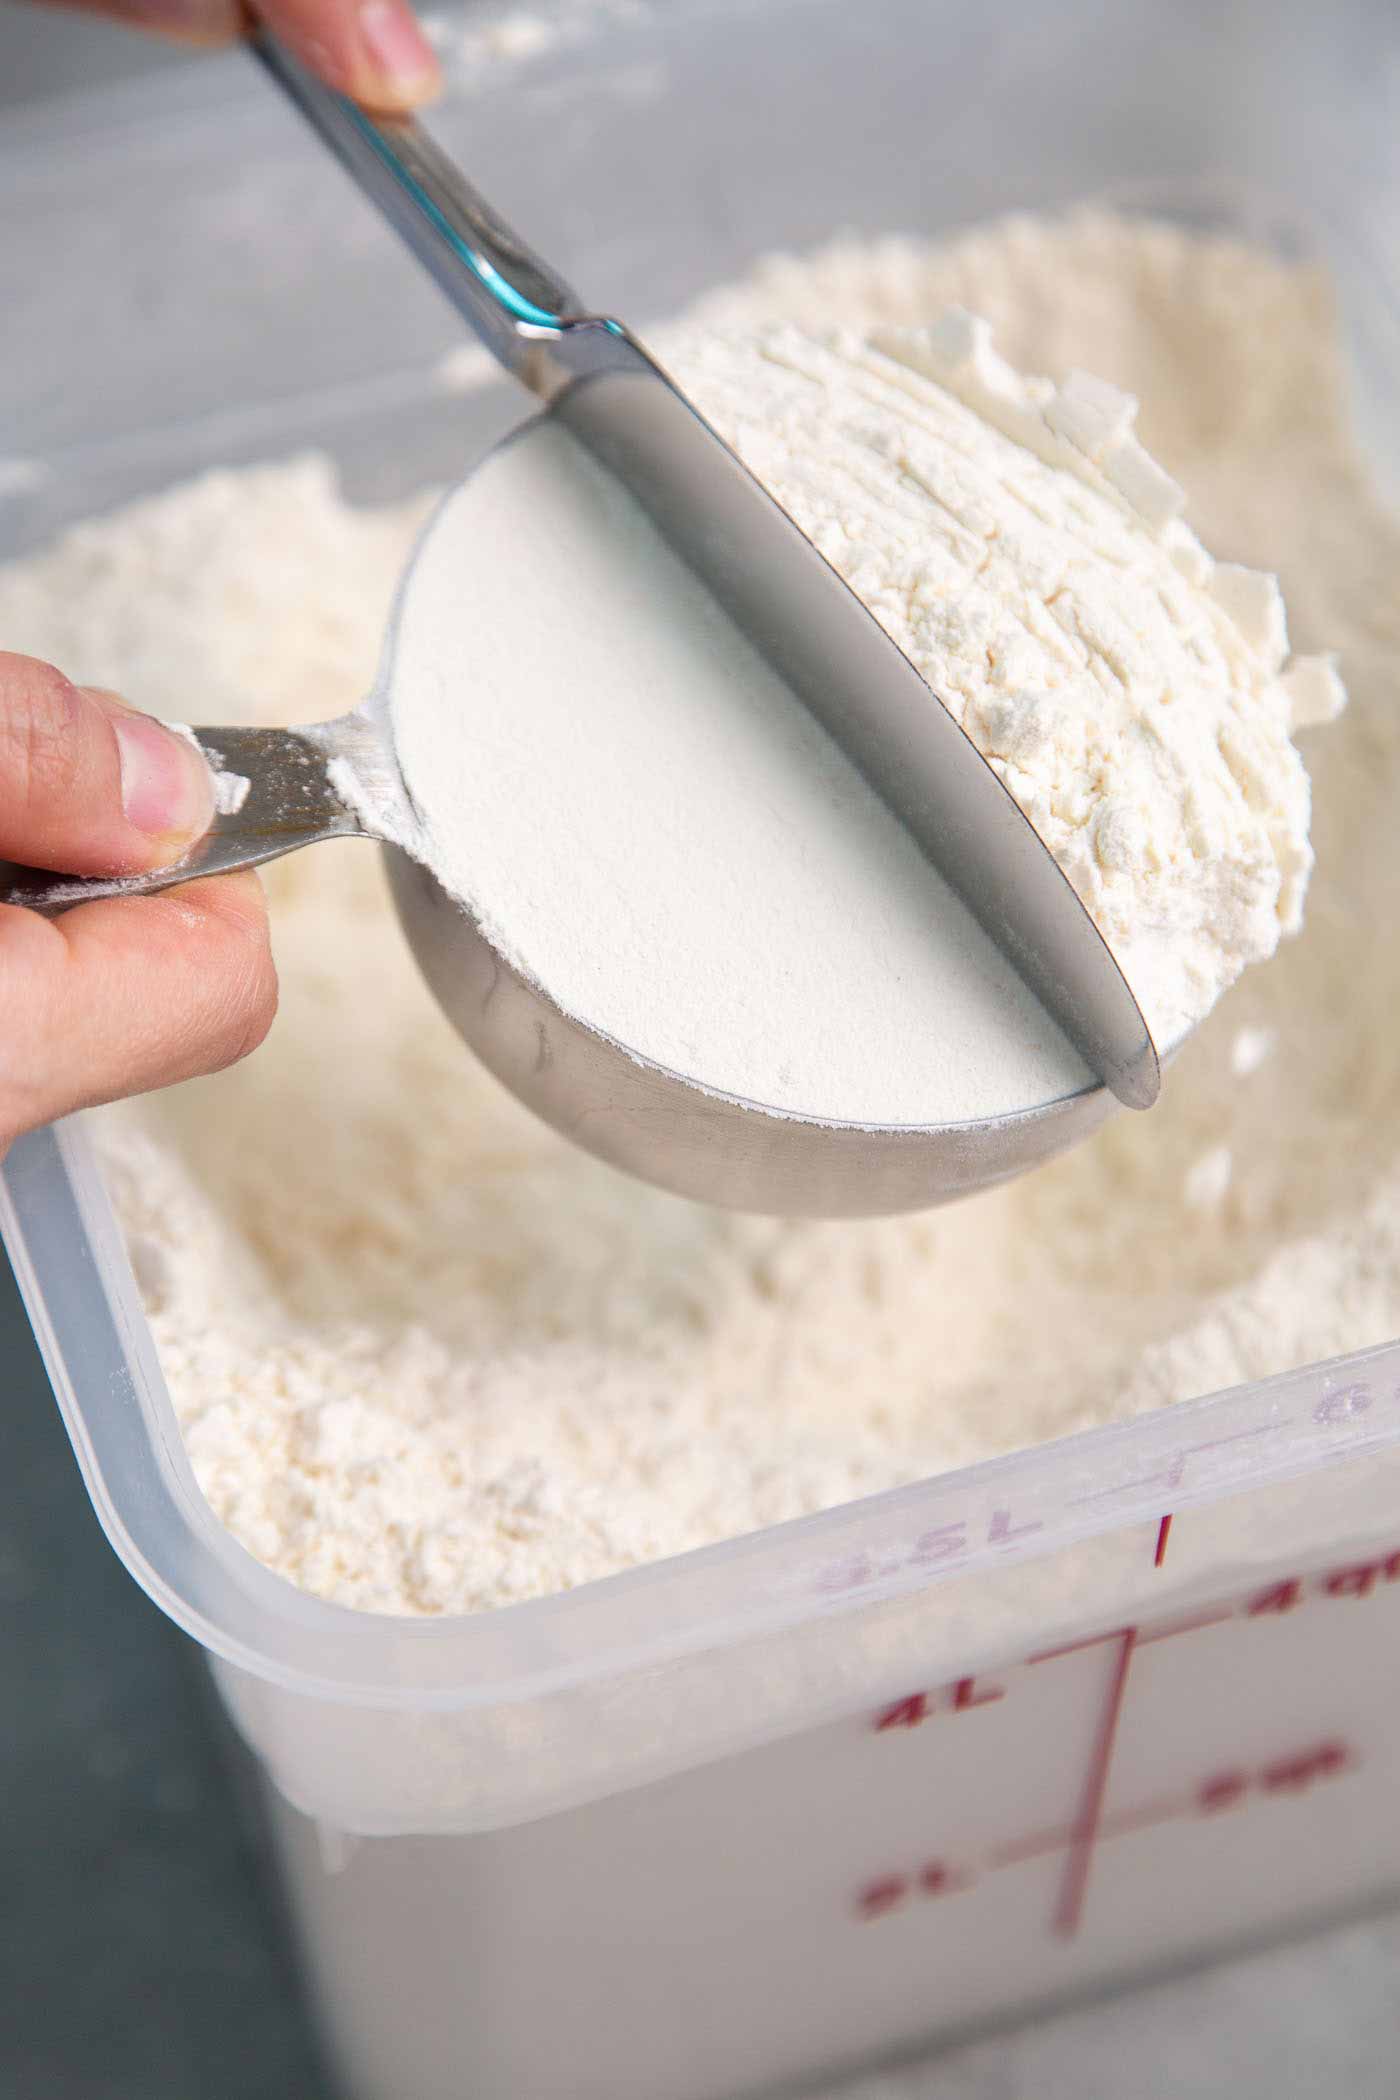
Once again, do not pack in the flour. Use the flat edge of a knife to brush off excess flour and level the flour.
DO NOT SCOOP DIRECTLY INTO FLOUR!
Whatever you do, DO NOT directly scoop flour using a measuring cup. This packs the flour into the cup, resulting in more than the average volume of flour in one cup.
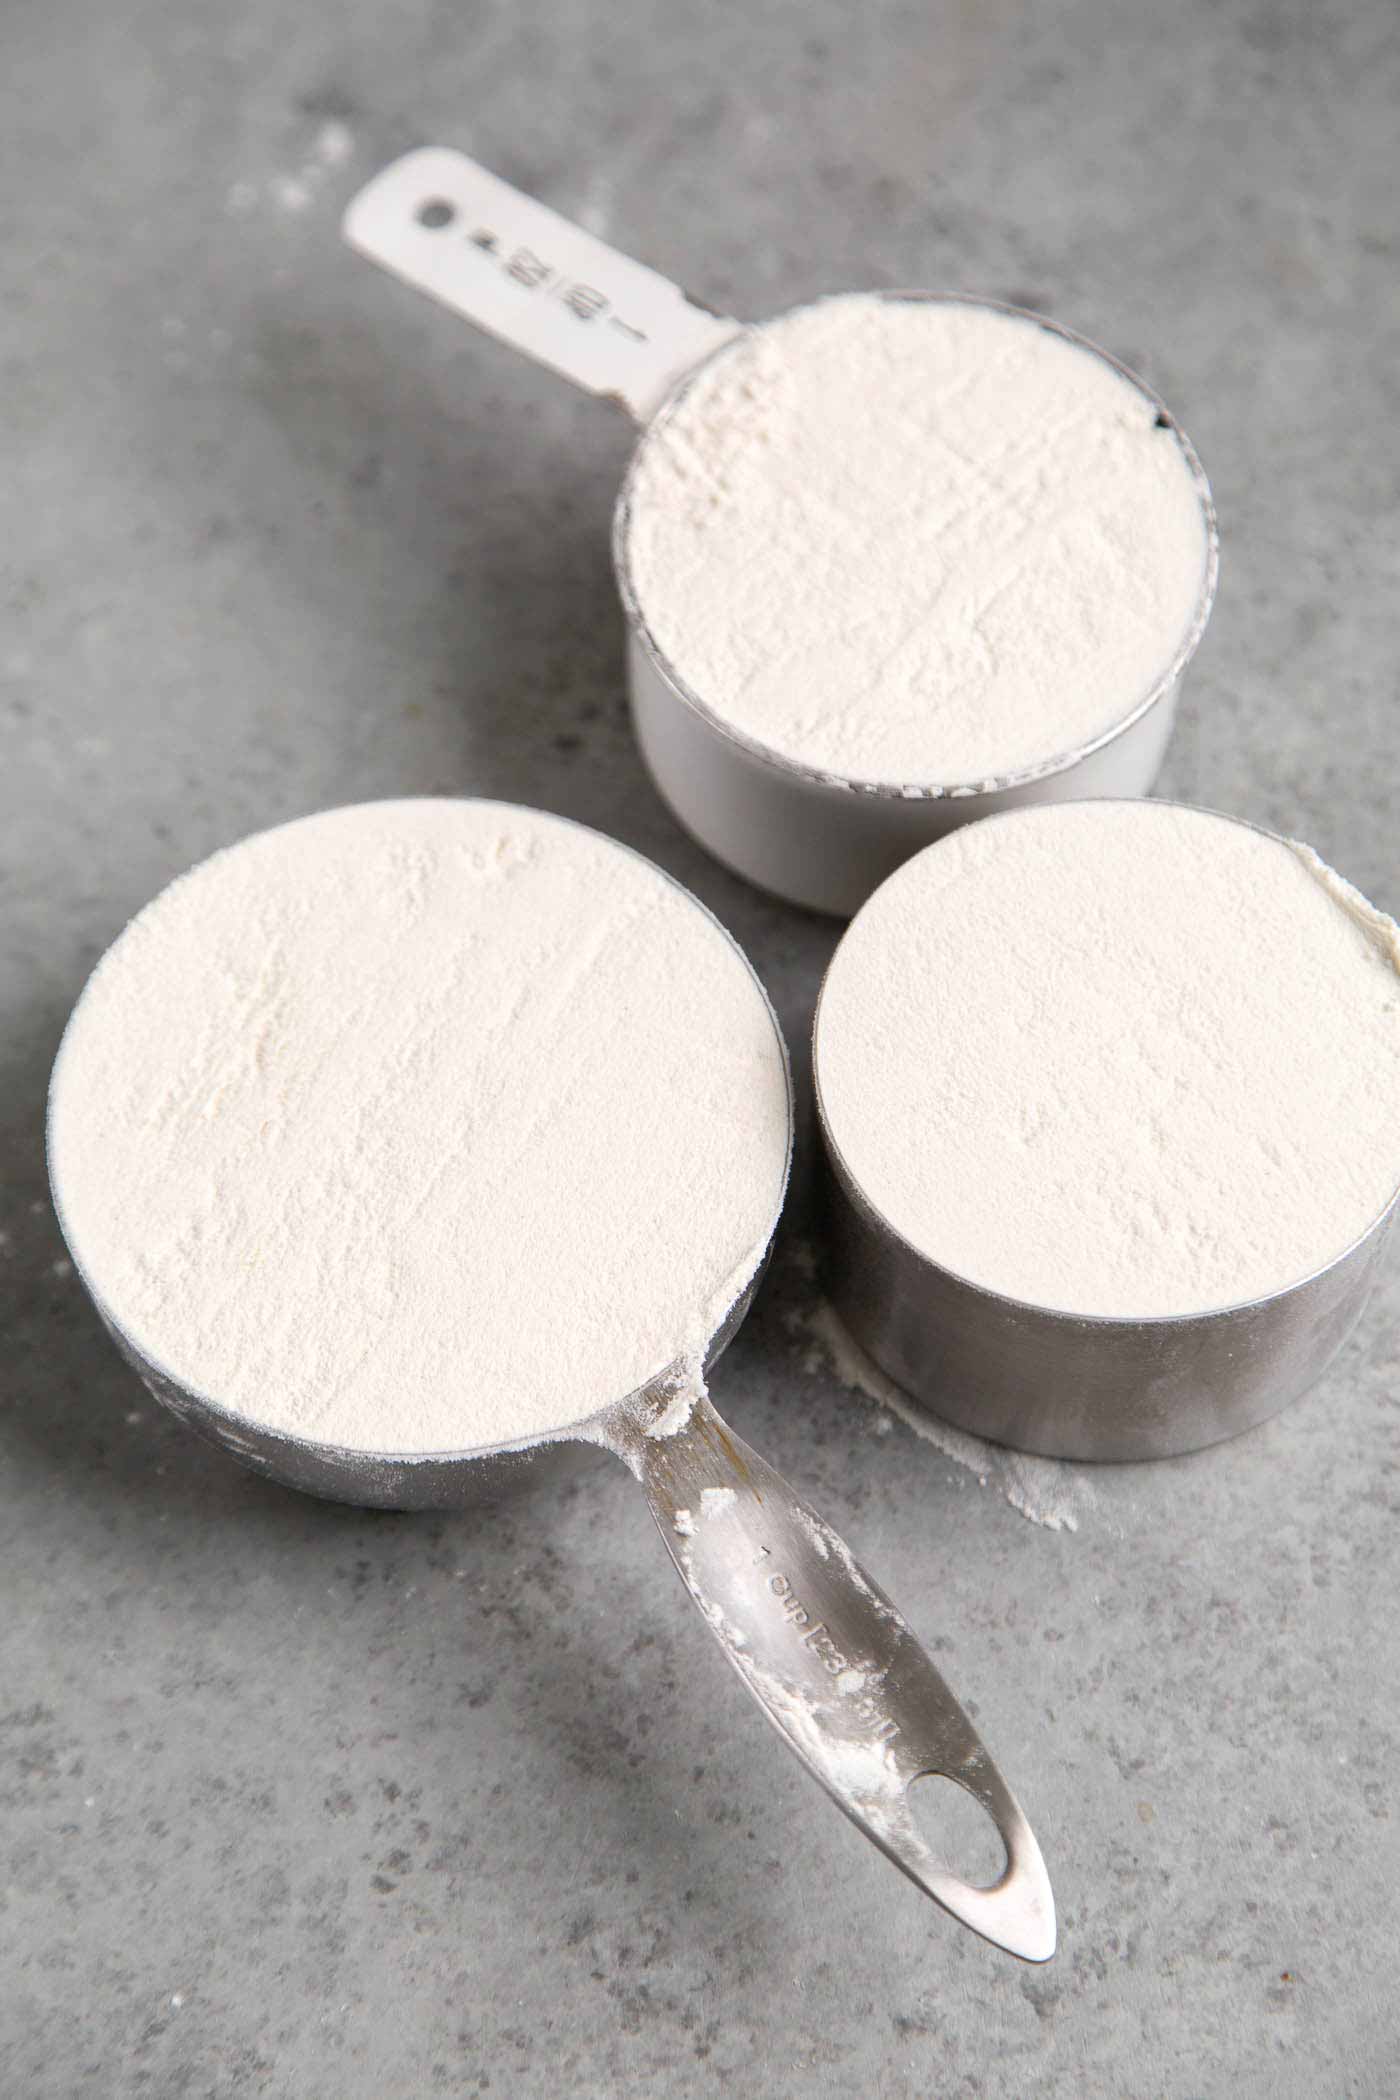
The inaccuracy of the spoon and level method
The three one-cup measuring cups were filled using the “spoon and level” method listed above. Despite fluffing and gently spooning the flour into the measuring cups, I ended up with a range of weights.
The 1-cup flour ranged in weight from 125 grams to 145 grams.
This is fine if you’re using a recipe that uses a small amount of flour. However, once you start using more than 4 cups of flour, the range in flour will greatly affect the recipe.
For example, if a recipe calls for 8 cups of flour:
- Using 1 cup = 120 grams will result in 960 grams
- Using 1 cup = 140 grams will result in 1,120 grams
That’s a difference of 160 grams (a little over 5.5 oz)! You’re adding more than cup of extra flour!
I hope that convinces you to start using a digital kitchen scale!
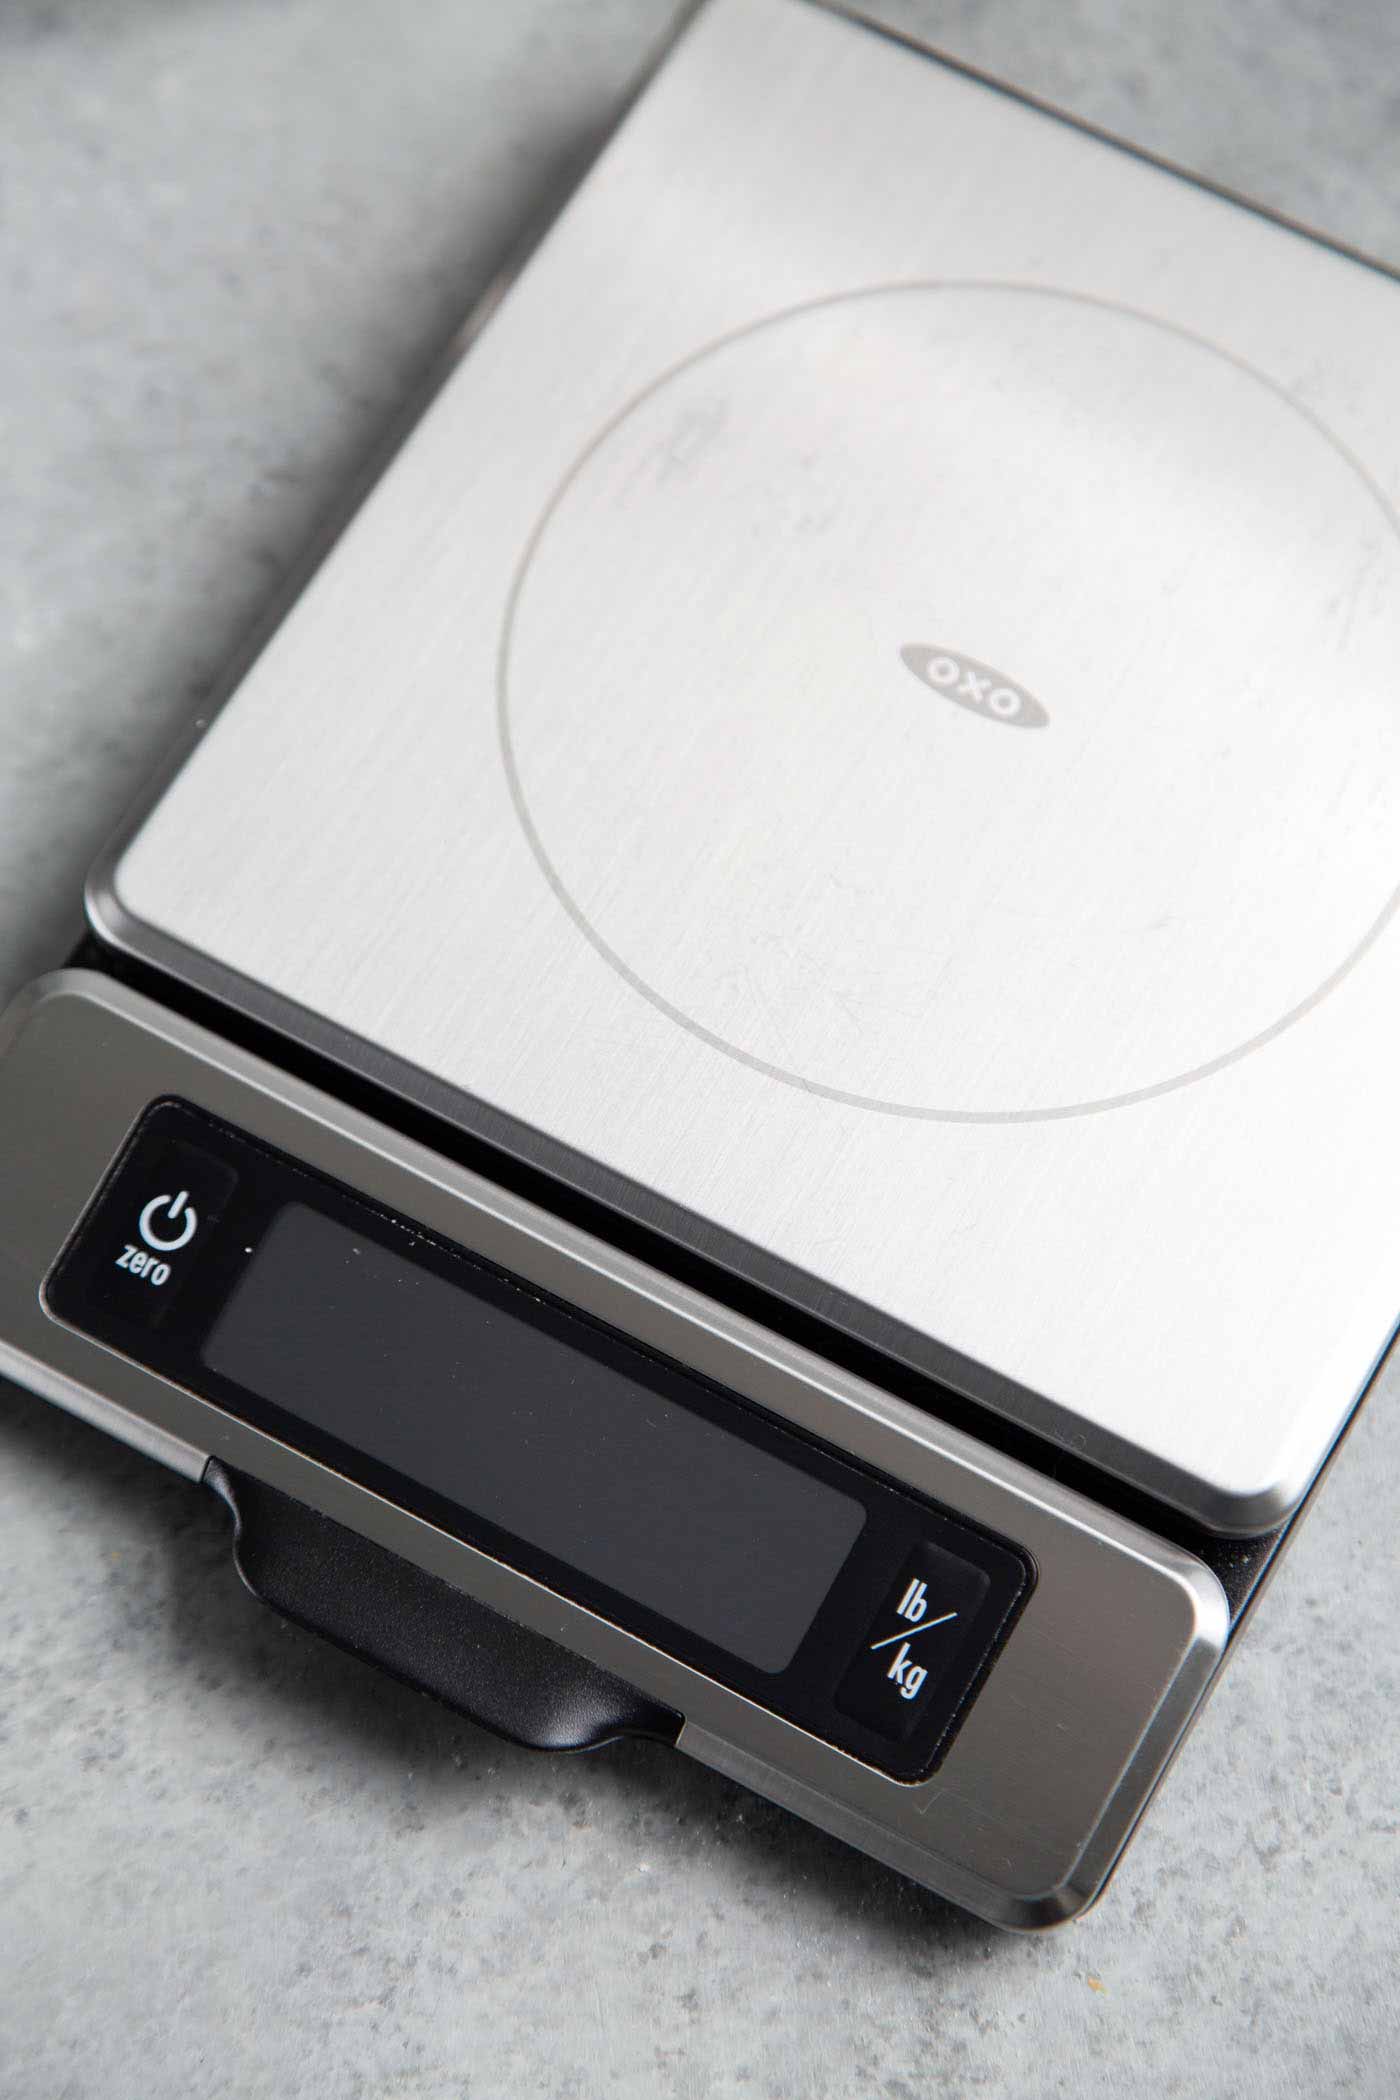
How to use a digital scale for measuring ingredients
- Place scale on a flat level surface. Turn on.
- Place empty bowl on digital scale. Hit the “on/tare/zero” button to deduct the weight of the bowl from the measurement.
- Add ingredients until desired amount is achieved.
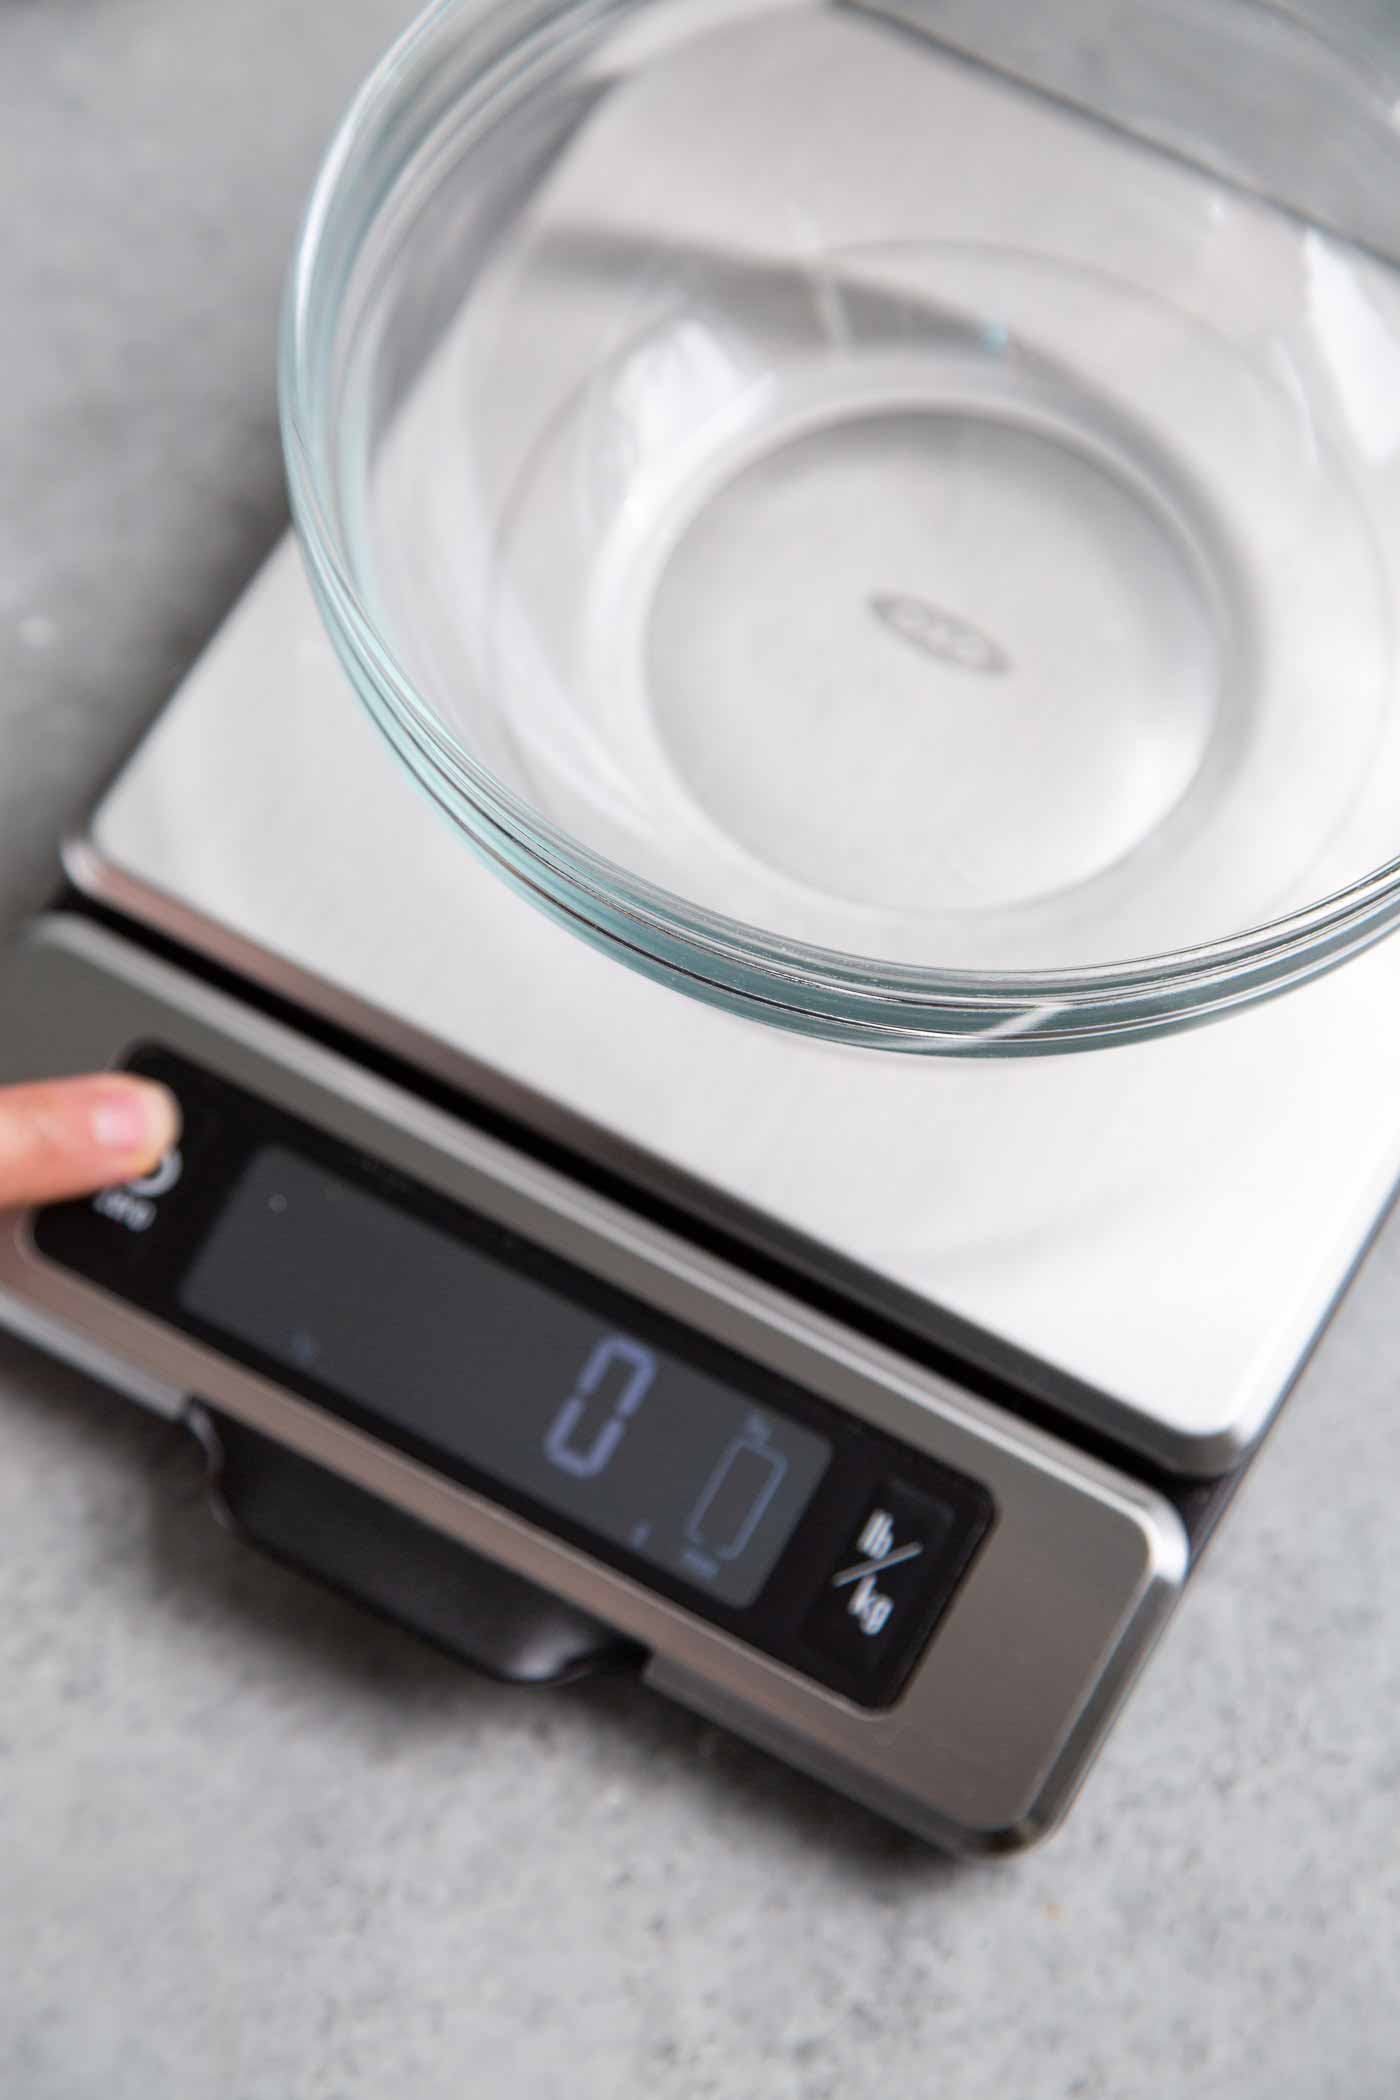
The “tare” button is also labeled “zero” or is often simply the “on/power” button. It is important to zero out the scale to remove the weight of the bowl or mixing bowl from the equation.
The display reads “zero” when tare is activated.
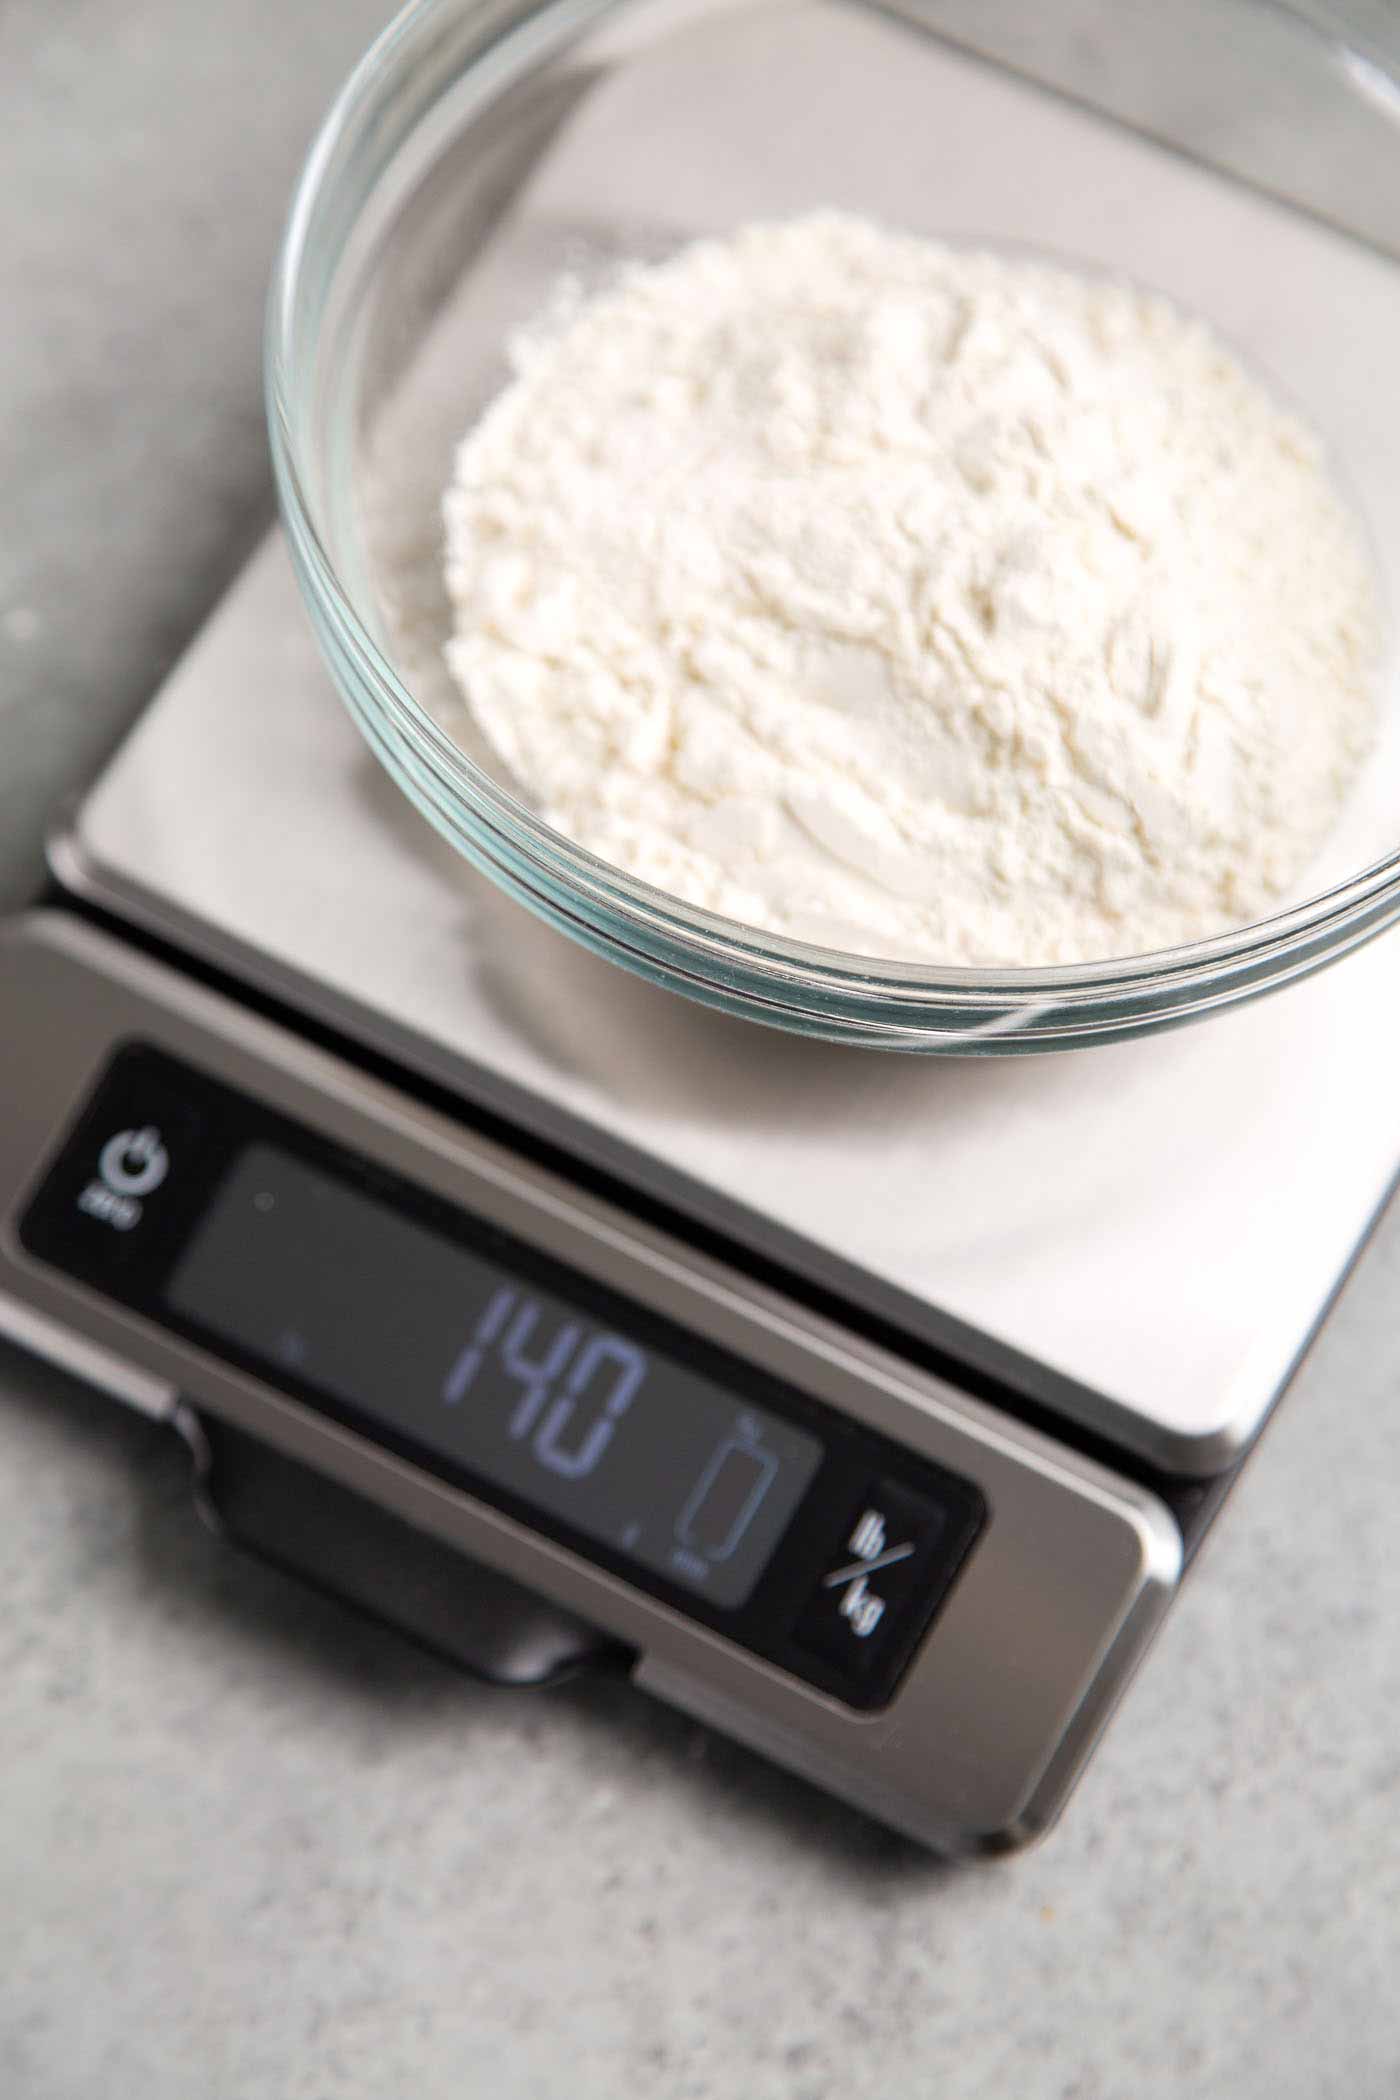
Add the dry ingredients until the desired weight is achieved.
Scales have the measurements for both pounds and kilograms available. United States is among a handful of countries that use pounds (lbs) for weight. The majority of the world uses kilograms (kg) or the metric system.
1 pound is equal to roughly 0.45 kilograms or 454 grams.
